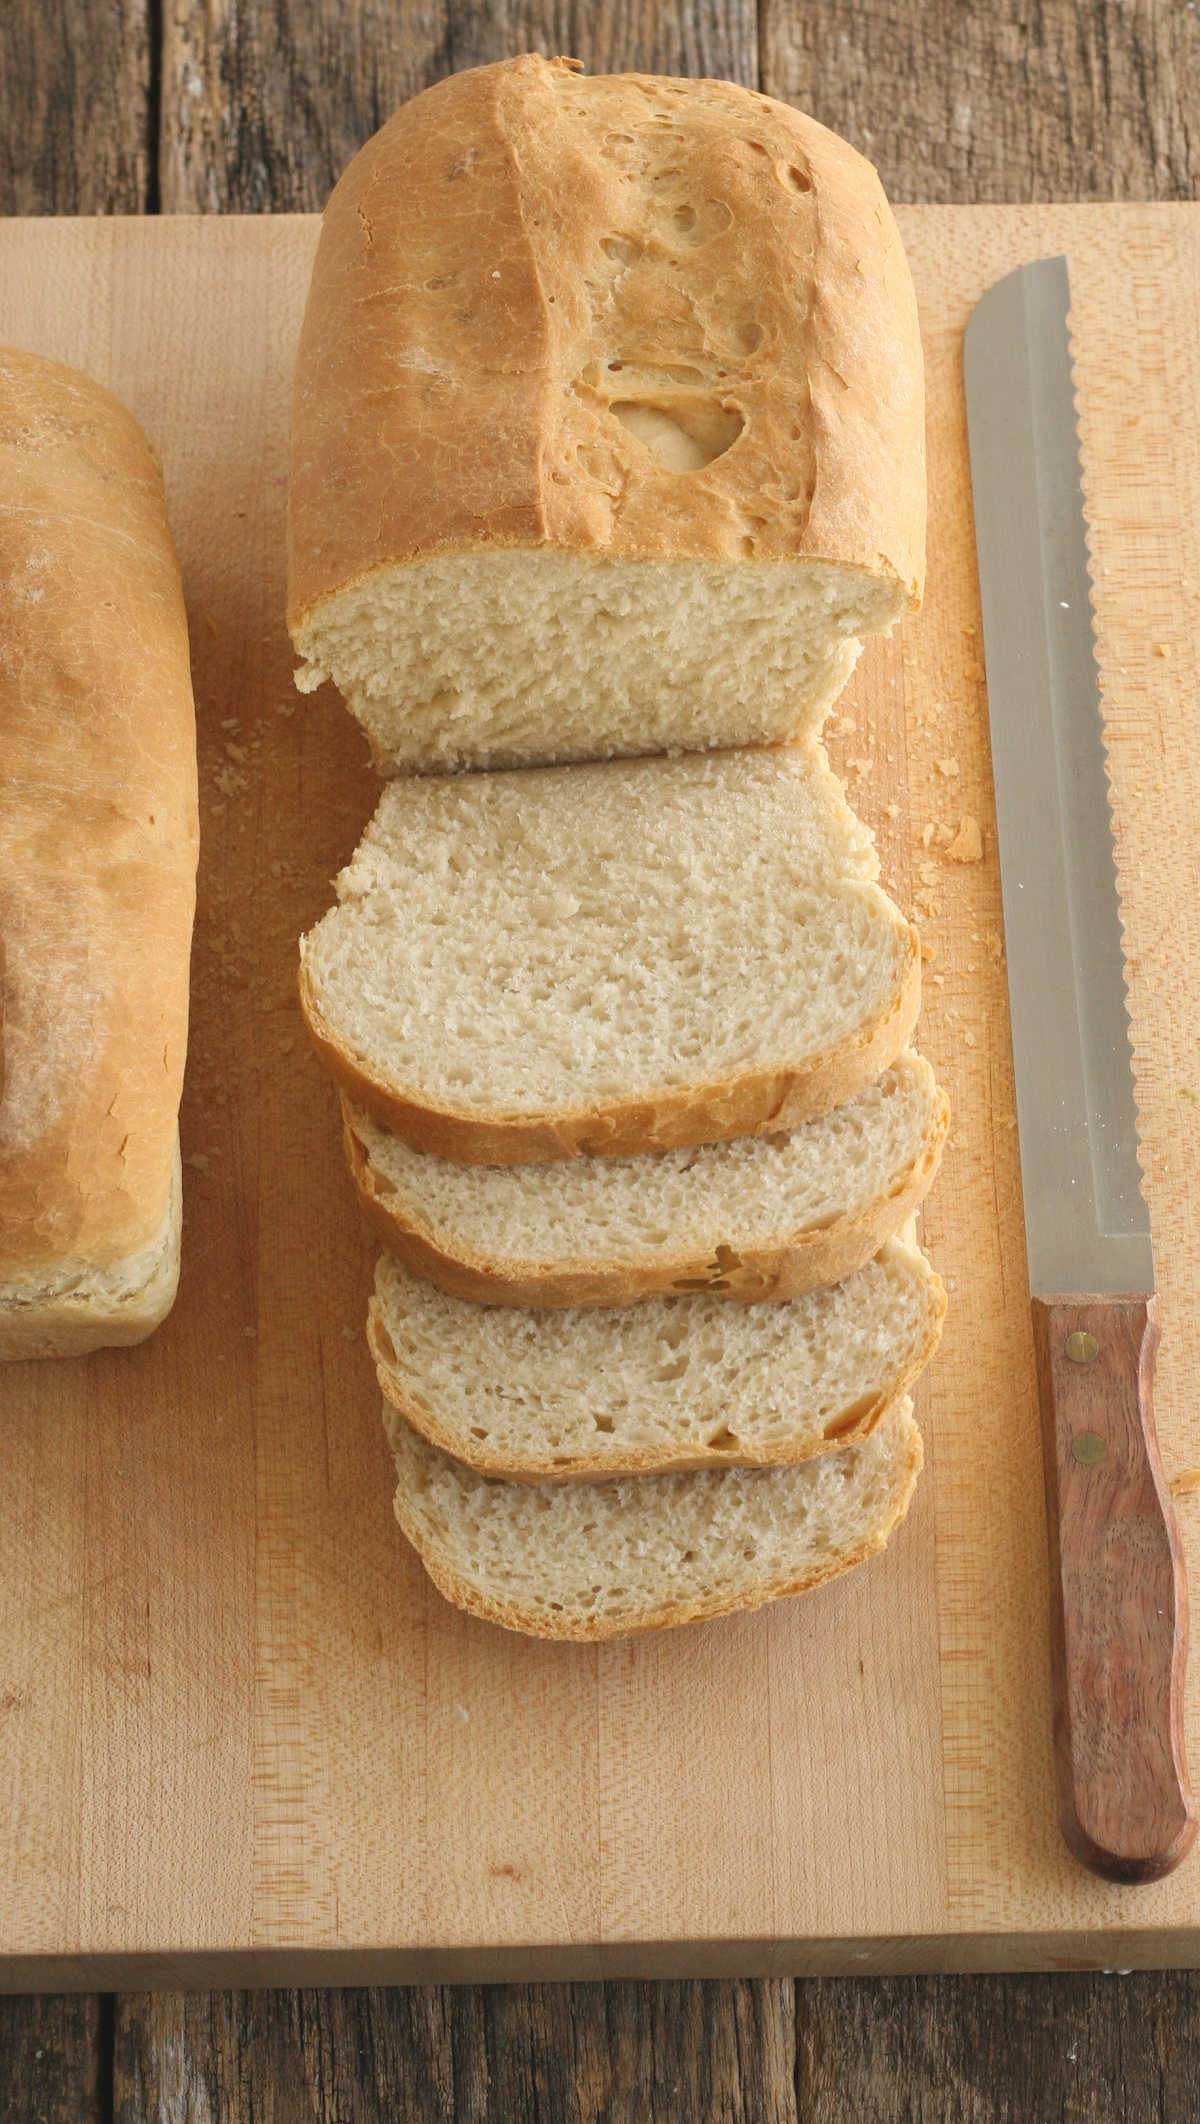
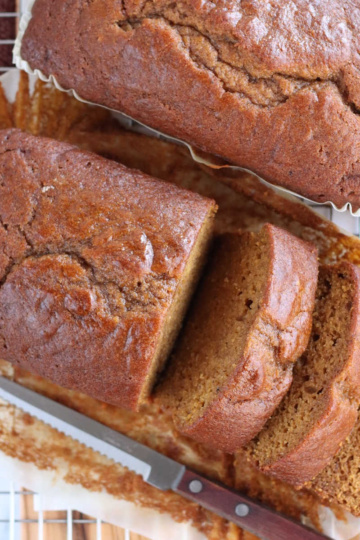
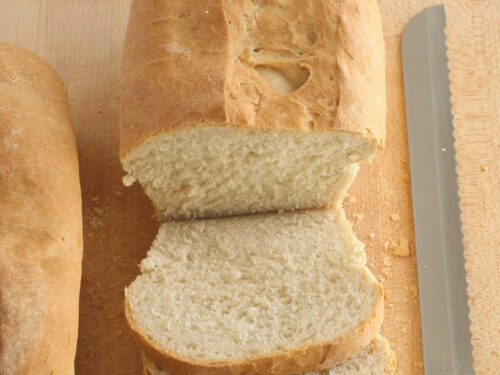
Sourdough sandwich bread is made with everyday ingredients, using discard or active sourdough starter. It’s got a soft crust and fluffy inside. Perfect for sandwiches, grilled cheese, French toast or paninis.
This sourdough bread recipe is easy to make with either your stand mixer or by hand in a mixing bowl. It’s got the tangy taste of authentic sourdough without the slow fermentation process. Makes two loaves and one of our most popular bread recipes!
One of the things I’m most fond of is the many heirloom recipes in my collection. This particular recipe was created from simple white bread recipe which I turned into a sourdough bread recipe. It comes from the kitchen of a dairy farm in Kansas.
Be sure and try my Beginners Sourdough Bread and Cinnamon Raisin Sourdough Bread and Sourdough Croissants.
Why this recipe works
- Uses simple ingredients – Readily available at most grocery stores.
- No artificial flavors or preservatives
- Quick Sourdough – Authentic tasting sourdough bread in a fraction of the time of traditional sourdough.
- Ease – Made with either a stand mixer or by hand in a mixing bowl. No stretching and folding required.
What you’ll need
- All-purpose or bread flour– Use whatever brand of flour you love. We typically look for all-purpose and bread flour that is unbleached. This gives this bread recipe more nutrients and helps ferment sourdough better.
- Sourdough Starter– Use any sourdough starter recipe you prefer. Scroll down to find the one we use.
- Active dry yeast – Helps leaven bread. Be sure not to use too hot of water or it will kill the yeast. For storage, we keep yeast in a glass jar in the fridge to extend its shelf-life.
- Whole milk – Gives this bread recipe a wonderful flavor. While we prefer to use whole milk, you can also use 2% if you prefer.
- Butter – We prefer to use unsalted butter so we can control the amount of salt in our recipes. Adds a beautiful flavor and texture to this sourdough bread recipe.
Get the sourdough starter going four to six days before you plan to bake the bread. You can keep the sourdough starter in the refrigerator and keep it fed for later use.
If you’ve never experienced homemade bread, this is one recipe you need to try. My mom had a wedding cake and bread baking business on the farm when we were little kids.
Making bread from scratch is something I love to do- it reminds me very much of her. And if you are a beginner to homemade bread, don’t worry! This bread recipe is perfect for any level baker.
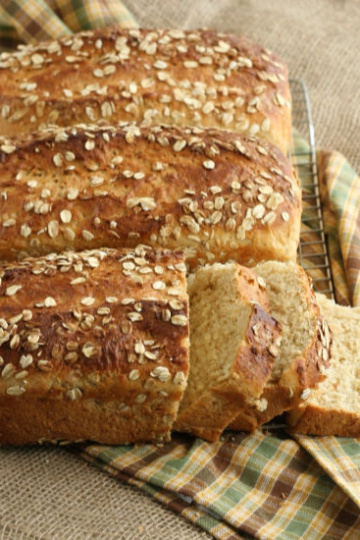
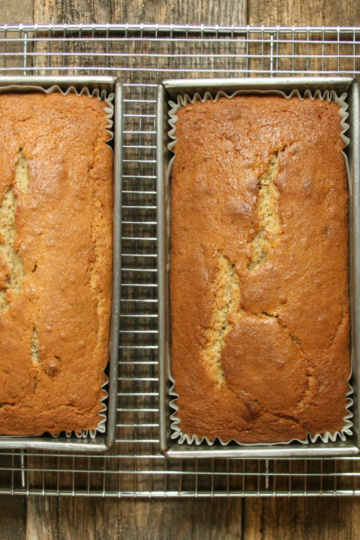
She would bake Banana Bread, Coffee Cake, Apple Pie, and Oatmeal Bread to sell to our neighbors and my dad’s co-workers. Be sure and try Strawberry Shortcake, Hot Cross Buns, and Cast Iron Dinner Rolls.
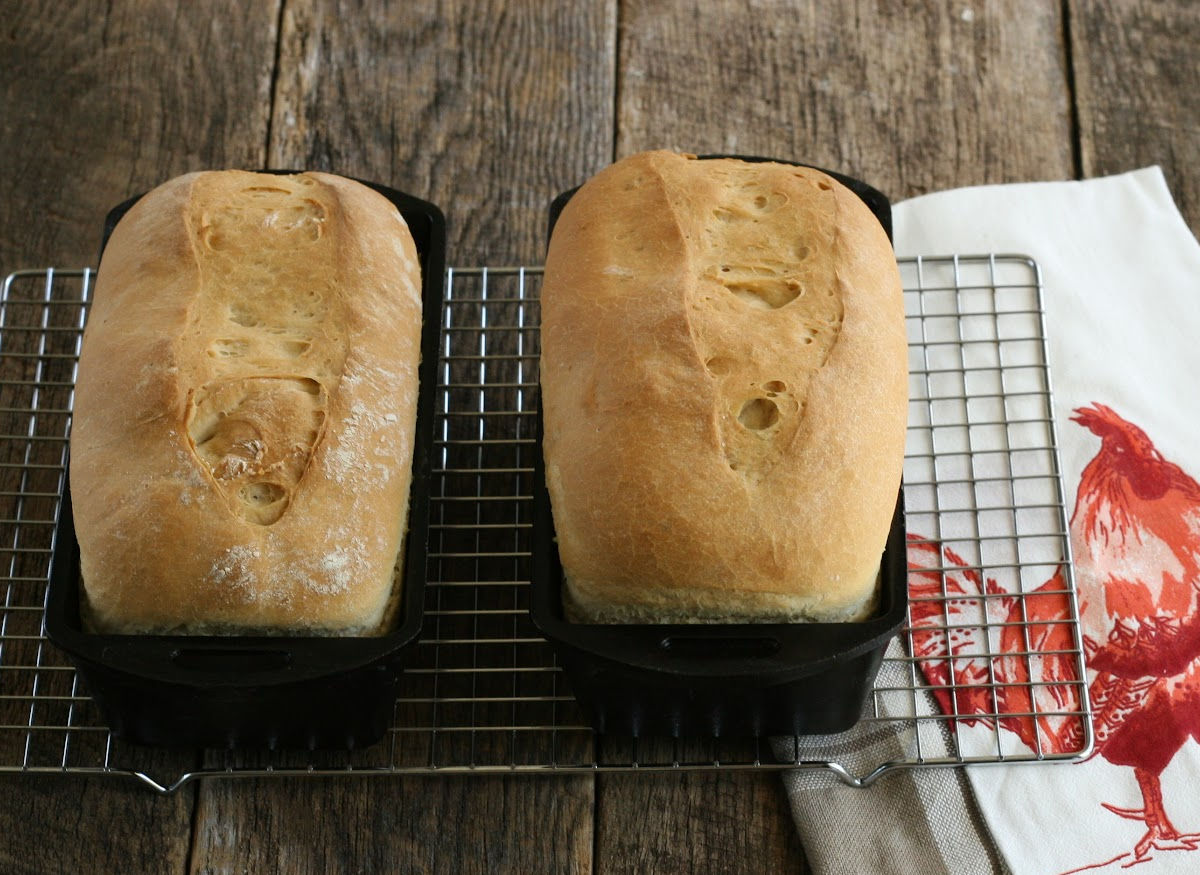
These cast iron bread pans are amazing! They help crisp up the bottom and sides of the sourdough bread! Order them here!
How to make Sourdough Sandwich Bread
- Make the sourdough starter. In a quart Mason jar or another jar with enough room for sourdough starter to expand, combine equal parts of unbleached all-purpose flour & water. Use a rubber spatula or bottle whisk to combine well. Cover with fabric square and rubber band so the jar can breathe. Each day, remove half of starter, discard and feed the starter with equal parts flour and water.
- Scald the milk in a small saucepan. Stir in the sugar to dissolve. Let cool to lukewarm. Pour the warm water into the bowl of a stand mixer or a large bowl; sprinkle with yeast and stir until dissolved.
- Combine remaining ingredients. Add the milk mixture, sourdough starter, salt, and 3 cups of the flour. Mix with the dough hook until smooth. Add butter & incorporate. Add enough of the remaining flour to make a smooth dough.
- Knead dough Turn dough out onto a floured surface and knead until smooth. Form into a ball and place into a greased bowl. Cover with plastic wrap and let rise in a warm place until doubled.
- Shape dough Punch down dough and let rest for about 15 minutes. Grease two 9 x 5-inch loaf pans. Divide the dough in half and shape into loaves.
- Bake Preheat the oven to 400 degrees F. Bake for about 40 minutes, or until golden brown. Remove from the bread pans and let cool completely.

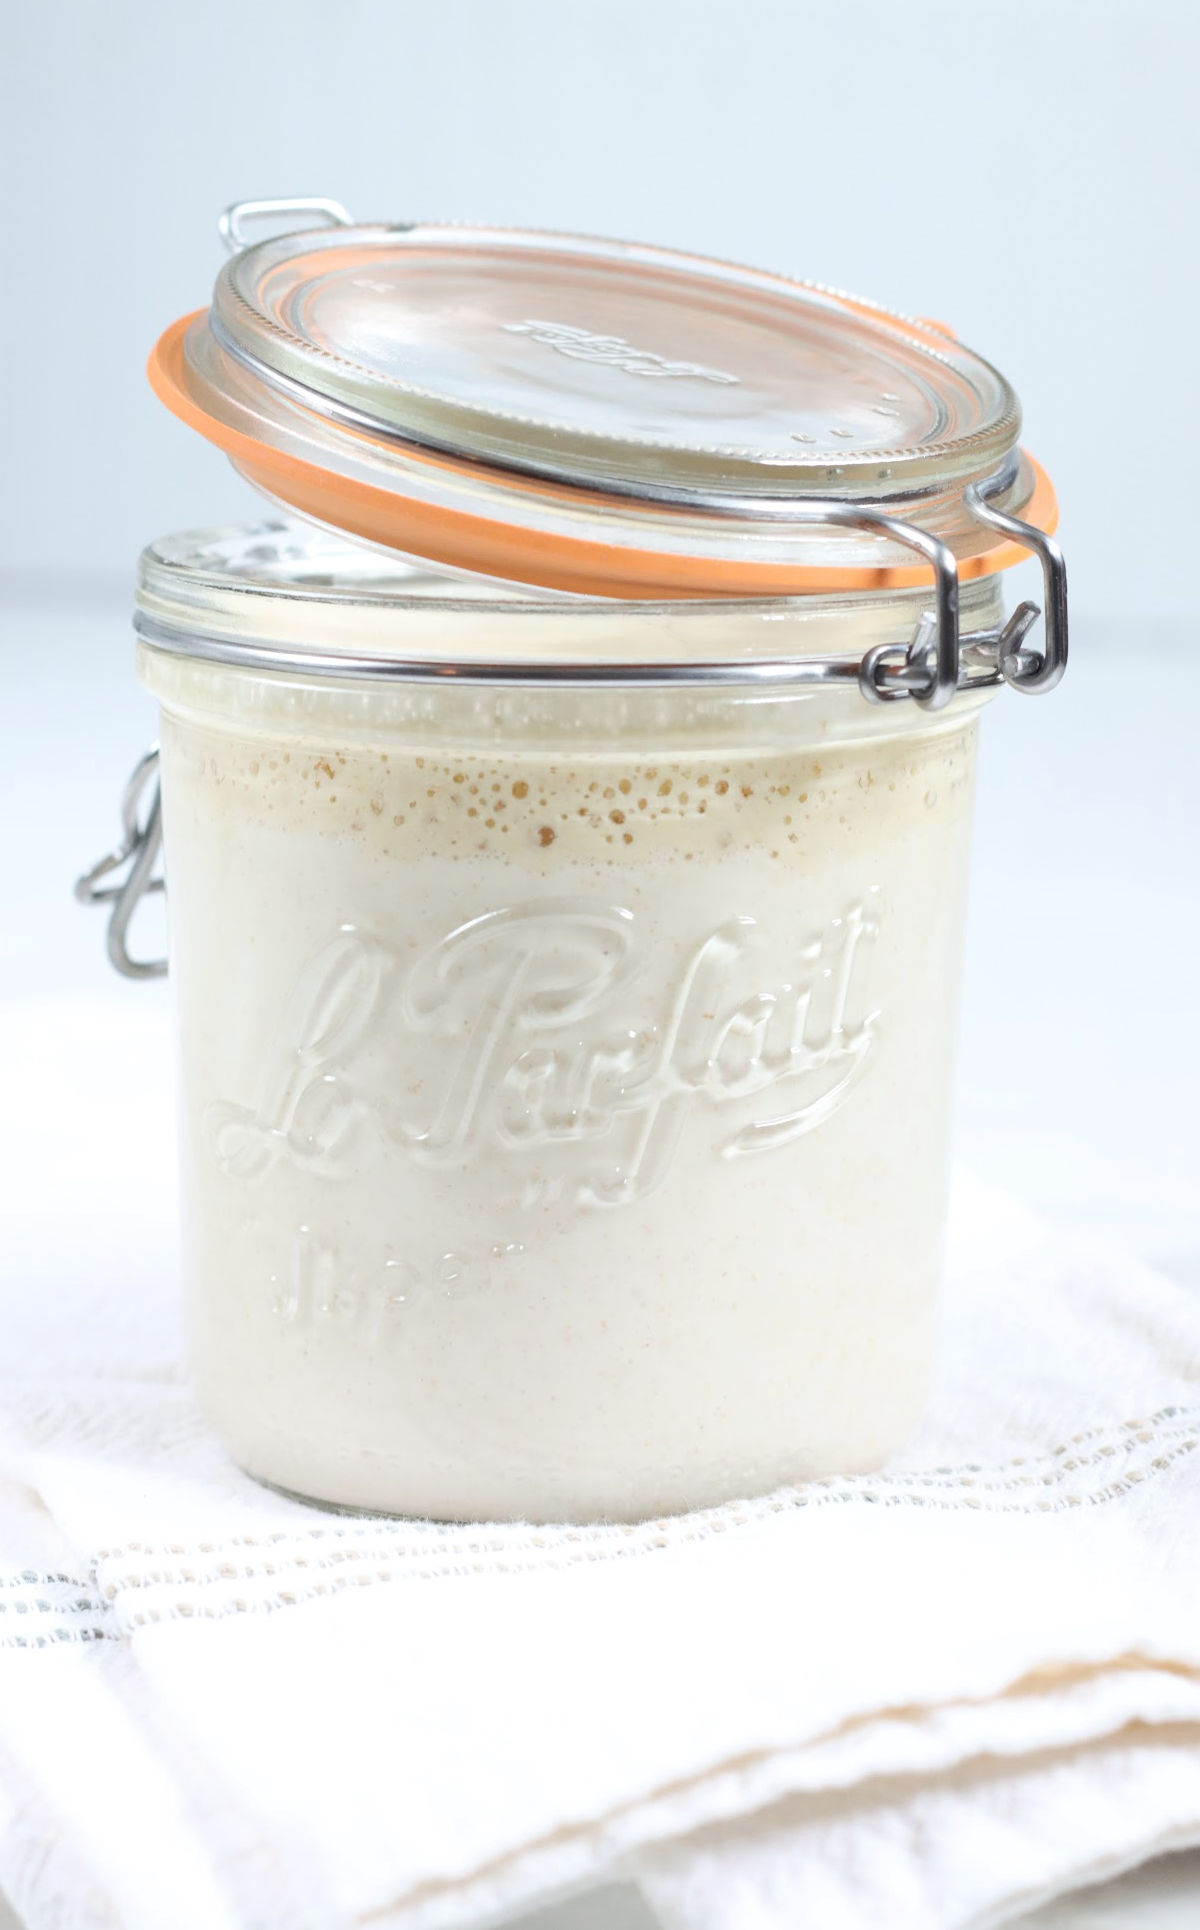
How to make sourdough starter
This is the sourdough starter I use in my kitchen. It’s made with simple ingredients and has wonderful sourdough flavor. Sourdough starter will be like a muffin batter consistency.
- 100 grams unbleached all-purpose flour
- 100 grams lukewarm water
Use a kitchen scale to measure the ingredients into a Mason jar or another jar. Use a wooden spurtle or small spatula to mix ingredients well. Cover loosely and let sit on the counter in a warm area. (I use simple fabric squares and a rubber band to cover the jar. This covers it so no debris gets in, while still letting it breathe.)
Each day, remove half of starter and discard. Add 50 grams unbleached all-purpose flour and 50 grams room temperature water. It will take about 2-3 weeks to achieve an active starter. If you don’t want to wait that long, speed up the process by buying dried sourdough culture.
For a very active starter, try adding a tablespoon of potato flakes (additional to your flour & water mixture.) You’ll need to add an additional 2-3 tablespoons of water, as potato flakes absorb quite a bit of moisture.
Use the discard for sourdough discard recipes or simply throw out.
Recipe FAQs
Any flour containing starch is suitable for a sourdough starter, since it is the sugar that the microbes feed on. We prefer a combination of unbleached all-purpose and bread flour.
No, it is possible to make great sourdough without a Dutch oven. By using a baking stone and adding moisture to the oven, you can make bread that is just as good as those baked in Dutch ovens. Adding moisture will give the sourdough a beautiful exterior crust.
You can roll the dough into small rounds to make homemade bread bowls! Try my Beef Chili Recipe, Loaded Potato Soup, Beef Stew Recipe served in sourdough bread bowls.
More Cast Iron Recipes
Did you make one of my recipes? Please take a moment to leave a star rating. Also, if you are on Pinterest, please feel free to leave a comment there! Follow A Farmgirl’s Kitchen on FACEBOOK, PINTEREST and YouTube and subscribe my mailing list for ALL the latest recipes!
Sourdough Bread
Ingredients
Sourdough Starter
- 100 grams all-purpose flour (unbleached)
- 100 grams lukewarm water
Sourdough Bread
- ½ cup whole milk
- 1 tablespoon granulated sugar
- 1 cup water lukewarm
- 2 ¼ teaspoons active dry yeast (.25-ounce packet)
- 1 cup sourdough starter (active or discard)
- 1 teaspoon salt
- 4 to 4 ½ cups bread or all-purpose flour (unbleached)
- ½ cup (1 stick) unsalted butter, softened
Instructions
Sourdough Starter
- Use a kitchen scale to measure the ingredients into a Mason jar or another jar. Use a wooden spurtle or small spatula to mix ingredients well. Cover loosely and let sit on the counter in a warm area.
- Each day, remove half of starter and discard. Add 50 grams unbleached all-purpose flour and 50 grams room temperature water. It will take roughly 3-4 weeks to create an active starter.
- If feeding the starter daily, just keep on the counter. Keep refrigerated otherwise and feed weekly.
Sourdough Bread
- Scald the milk in a small saucepan. Stir in the sugar to dissolve. Let cool to lukewarm. Pour the warm water into the bowl of a stand mixer or a large bowl; sprinkle with yeast and stir until dissolved.
- Add the milk mixture, sourdough starter, salt, and 3 cups of the flour. Mix with the dough hook until smooth. Cut the butter into pieces and incorporate. Add an additional 1 cup flour to make a smooth dough. (This dough will be STICKY!!)
- Turn dough out onto a lightly floured surface and knead until smooth and elastic, 2-3 minutes. Form into a ball and place into a greased bowl. Cover with plastic wrap or disposable plastic shower cap and let rise in a warm place until doubled, 1 – ¼ hours.
- Punch down dough and let rest for about 15 minutes. Grease two 9 x 5-inch loaf pans. Divide the dough in half and shape into loaves.
- Transfer the dough to the loaf pans. Spray some plastic wrap with cooking spray, so that it doesn't stick, and loosely cover the loaves. Let rise in a warm area until doubled, about 1 – 1 ¼ hours.
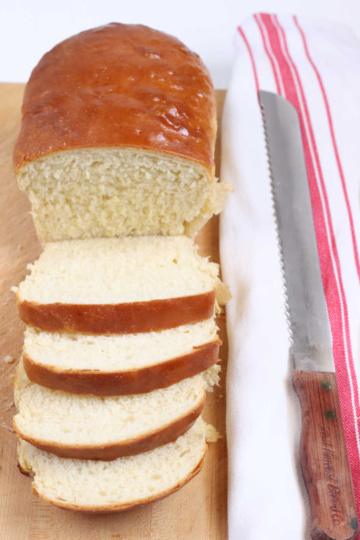
- Make a cut on the top, lengthwise of each loaf with a sharp serrated knife or a bread lame.
- Use a pastry brush to brush the tops gently with an egg wash.
- Preheat the oven to 400 degrees F. Bake for about 40 minutes, or until golden brown. Let cool for 10 minutes. Remove from the bread pans and let cool completely.
Recipe Notes
Baking bread in cast iron
Lodge brand cast iron bread pans are great for making bread! Place a pan of water on the rack below the bread in the oven. The steam created will make a crunchy crust. Generously coat the cast iron loaf pans with either cooking spray, canola oil or lard. Use a clean dry paper towel to spread canola oil or lard evenly in cast iron.Nutrition
Disclosure: As an Affiliate Marketer, I earn from qualifying purchases. If you click a product affiliate link on A Farmgirl’s Kitchen and make a purchase, I may receive a commission at no additional cost to you! I own every cooking product I recommend and love how they perform.
Summer says
Is there any way to make this without milk? I’m dairy free! Sourdough doesn’t seem like one of the things you can just sub a milk alternative for..
Jessica Robinson says
Hi Summer,
You could certainly use a milk substitute. Possibly oatmeal “milk” or something. We are not a milk alternative household, so you would just have to try it. The Almond product might add too much of an odd taste to it. But, you can certainly try it as well. Or just do more water with the recipe.
Shannon Miller says
Does the yeast need to be foamy before adding the additional ingredients?
Jessica Robinson says
Hi Shannon,
As long as you know your yeast is good- and active.. you will be fine. Just remember not to use overly hot water, or you will kill the yeast.
Loretta says
Wondering why u would use yeast with a starter ,, j thought it was about using healthy sourdough starter… That’s why it’s so easy in your recipe to make starter side you use yeast ,,, doesn’t it defeat the purpose …
Jessica Robinson says
Loretta,
This is in order to do a quicker rise. Traditional sourdough recipes take 12 plus hours to proof.
Nancy Bishop says
I started the starter. It was bubbly the first day and got somewhat thick for a few days. Then, it was more liquid. I decided to feed it on the 6th day. The smell was right. How often do I feed it if I am not making bread that week? Do I have to feed it weekly?
Jessica Robinson says
Hello Nancy,
It tends to get thick. You just need to whisk the ingredients several times a day for the first week (while it’s on your counter)
You shouldn’t need to feed it at that point. Only feed after you use it and need to add to it. (probably feed it once a week or every other week)
Angela Price says
Question…once I feed the starter and out it in the fridge, can I put a lid on it or not?
I plan on making bread weekly for my family and am so excited to give this recipe a try.
Jessica Robinson says
Great question Angela!!! Yes, definitely put a lid on it inside the fridge! Remove the lid to whisk ingredients. The starter will naturally separate.
I tend to put a lid (loosely) on the container- even on the counter. ESPECIALLY in the summer- when there’s a higher risk of gnats, etc.
Jessica Carr says
Mine turned out perfect! Thanks so much for sharing!
Jessica Robinson says
So happy to hear that Jessica!! Thanks for writing!
Melissa Peronteau says
I made this today but the loaves turned out flat instead of round topped. Any suggestions?
Jessica Robinson says
Melissa,
Thanks for writing! Question, was your bread flat topped when it went into the oven? Or did it fall in the oven?
My guess is that you over-proofed the bread. Bread isn’t an exact science, it’s an art. Let me know how I can further help!
Leanna Thomas says
I have a couple of questions! By the way I made some bread last night and it is yummy!! So I fed my leftover starter and placed it in the fridge, how long do I wait to make more bread? How often can I make bread? What if I don’t make bread for a while do I do anything to the starter? Also do I keep it covered in the fridge? And lastly how do I share the starter? Shewww! That’s a lot of questions! Thanks!!
Jessica Robinson says
Hi Leanna!
Glad the bread came out good!
Keep the starter in the fridge now. I stir it maybe once a day. You can make bread from it right away. Or keep it in the fridge for up to 2 weeks. Ask away! Glad to hear from you!
Dana says
I have my own sourdough starter how much do you need for the recipe if it is already made?
Jessica Robinson says
you would add 1 cup sourdough starter, just like it reads in the instructions.
Thanks!
Melissa K. says
This bread has a nice flavor, but just a hint of sourdough. Not strong at all. It has a dry texture. I followed the recipe to a tea and baked it exactly 40 minutes but it really is too dry for me. Maybe if I use less flour?
Jessica Robinson says
Hi Melissa,
Bread making is an art, not a science. So it’s possible you added too much flour and/or over kneaded the dough. And each oven is different, so it’s possible it was over baked just a tad.
For the sour part, it all depends on how long you let the sourdough starter ferment for. The longer it ferments, the more sour it will taste. Let me know if you have anymore questions!
Cathy says
The bread tastes great, however no sure why my loaves deflated in the oven. The had nice domes tops but then flattened out. Any idea?
Th
Jessica Robinson says
Thanks Cathy!
Usually when bread deflates in the oven, it means you may have over-proofed the dough. Hope you try it again!
Amanda says
Wondering if you could substitute honey for sugar in the starter?
Jessica Robinson says
Of course you can substitute Honey if you would like to! Sounds delish!
Natalie McKnight says
I made the starter from your recipe 3 days ago. I’m wondering what the consistency of the starter should be after 4-6 days?
Jessica Robinson says
Hi Natalie,
The consistency is going to be maybe a bit foamy before you stir it. But it’s going to be liquid.
Natalie McKnight says
Thanks, that helpful! I’ve never made one before so I wasn’t sure. Looking forward to making the bread in a few days!
Jessica Robinson says
No problem!! I usually just use a small whisk and stir the starter every time I walk by it (several times a day)
Linda says
Has anyone tried making gluten free sourdough bread?
Bri says
I am using this and trying right now!!!
Jessica Robinson says
Glad to hear you are baking this bread Bri!
Bearspirit says
I make my sourdough bread without the use of additional yeast and I urge everyone to try that! In fact, I made my starter using no yeast either ~ the organisms in flour, especially since I use organic unbleached and other whole flours (kamut, spelt, etc.) have their own innate ability to ‘rise’ once fermented/soured to make the starter! Great page here for more ideas and recipes to try, awesome!
Rachel S says
Looks delicious..Thank you for sharing your recipe.. how do you feed the starter so you don’t run out!
Jessica Robinson says
To keep the starter add half cup water half cup all purpose flour and one tsp sugar 2 left over starter. Whisk together. Store in the refrigerator. As you use the starter, keep refreshing it.