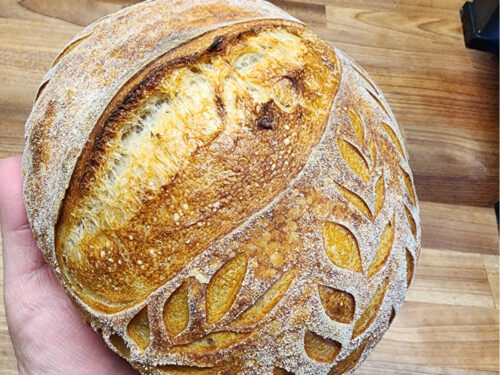
Beginners sourdough bread recipe uses simple ingredients, has crusty exterior, incredible airy crumb and wonderful tangy flavor. Artisan Sourdough bread made at home. This will be your go-to guide for the process and step-by-step easy to follow instructions.
My sourdough bread recipe is perfect for beginners. It’s low hydration, easy to handle and simple to follow instructions. There’s also a video tutorial for added guidance and sourdough tips for beginners.
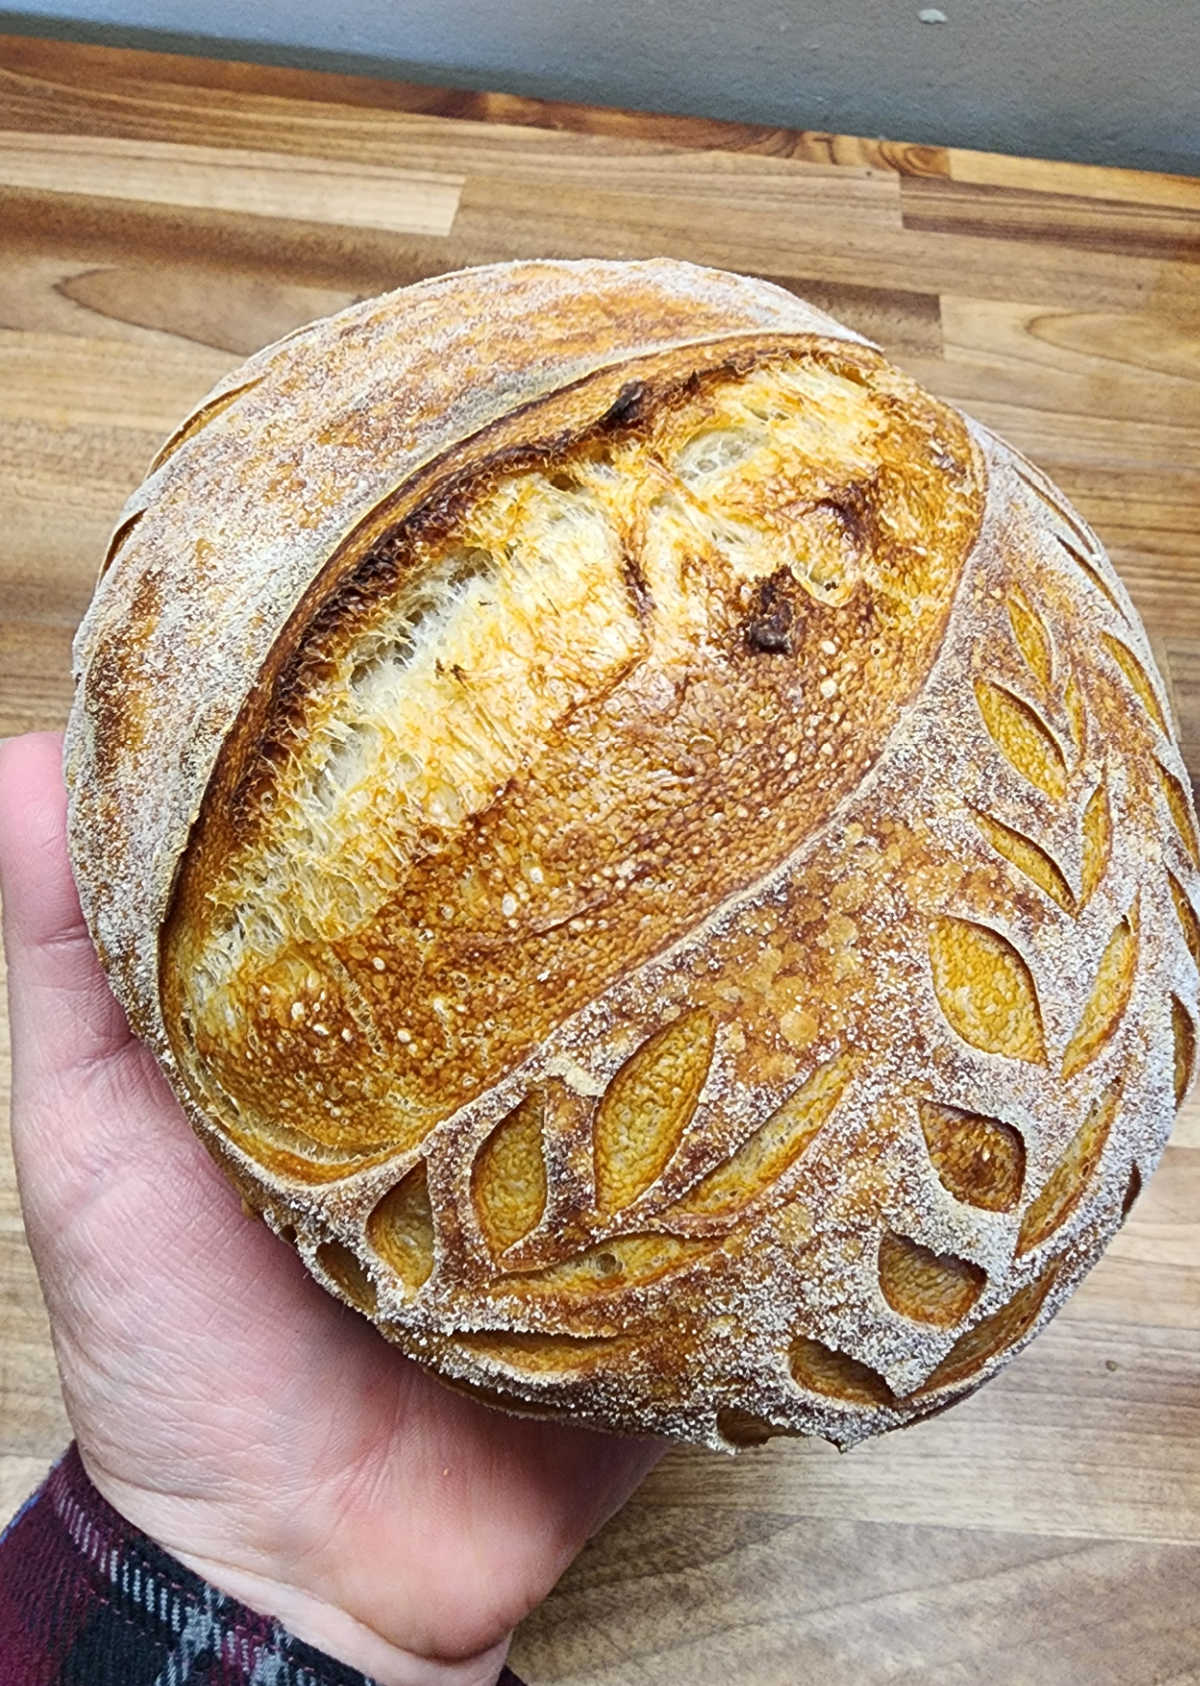
For those of you intimidated by sourdough bread baking, I’ll walk you through the process, in simplest way possible. My method is easy for anyone to follow, without overly complicated terms. I’m here to answer any questions about the basics of sourdough bread baking or help troubleshoot any issues you might have.
I’ve spent two-months researching, testing different recipes & methods and baked countless loaves with mixed results, until I got it perfect. My journey began with attempting to create a simple sourdough recipe, one that anyone could recreate. And simplifying the sometimes overwhelming and somewhat unnecessarily complicated process.
I’ve watched countless hours of YouTube and Instagram videos of many great bakers, micro bakers, being inspired from their expertise and giving me a clear direction making great sourdough. While baking bread is a science, it’s also an art. It may take you more than one loaf to get it right. And that’s okay! I wrote down every little detail and insights on my notebook in order for you to recreate a perfect sourdough loaf.
The process is about method, timing, weighing ingredients and having patience. Once you get a few successful loaves, the process will become second nature. In fact, sourdough bread making becomes an addiction. Once you gain confidence, you’ll be baking bread weekly, making different sourdough recipes and making multiple loaves.
Why this recipe works
- Ease – No kneading involved. A bread machine or a stand mixer is not required.
- Simple ingredients – Basic ingredients including water, bread or all-purpose flour readily available at most grocery stores.
- Low hydration – Which makes this sourdough bread recipe obtainable for those who are just starting out.
- Smaller loaf – I formulated this beginners sourdough to make a smaller loaf. Making it easier to handle and more obtainable for the newbie.
- Clear instructions – Easy to follow, detailed instructions and step-by-step guidance so even those who have never baked bread will have success.
- Incredible flavor – Has that signature tangy flavor. After mastering this recipe, you can add different inclusions, roll in seeds, add a touch of spelt flour and such.
What you’ll need
- Active sourdough starter – Mine took nearly 2 ½-3 weeks to become fully active. Made with water, flour and the wild-yeast in the air in our surroundings. Used in place of store-bought active dry yeast.
- Unbleached bread flour – Use a high-quality brand, which will have a higher protein content in order to build proper gluten structure. We suggest King Arthur Flour, Bob’s Red Mill or something locally produced. I’ve started using Farmer Direct Foods and love it!
- Salt – Kosher or sea salt work best. There are no commercial preservatives in homemade sourdough bread, therefore salt helps preserve it. It tightens the gluten structure in flour, giving you more elasticity in the dough which will helps trap the gases (CO2) formed in fermentation and hold its shape better.
- Water – We have well water. If you have city water, we suggest filtered water, as chlorine or chemical additives are often found in city water which may kill the fermentation.
Additional equipment
- A kitchen scale – This is the one I use in my kitchen. The top is removable to wash and it gives me area to see what I’m doing with larger batches of dough.
- Danish dough hook – Very helpful tool for mixing dough by hand.
- Bench scrapers – Easily helps you shape loaves of sourdough and clean the work bench. Also dishwasher friendly.
- Bannetons – The dough does a cold ferment in the fridge. These help the dough keep their shape.
- Rice flour – This is essential for not having sticky dough cling to the bannetons. Rice flour won’t absorb into the dough to create more gluten. Therefore it just comes out easily. (Use a small metal strainer to dust the bannetons lightly.)
Basic steps and timeline for making sourdough
- Active starter – The night before, feed your starter and leave in a warm area to double in size. Once peaked, refrigerate.
- Autolyse – Mixing the water and flour, then allowed to rest for 1-2 hours, prior to adding sourdough starter. This allows the flour to absorb the water and makes the dough easier to work with.
- Low hydration – This makes it easier for a beginner to make sourdough successfully.
- Sufficient dough strength – Completing stretches and folds (S&Fs) with 30-minute intervals in between. This helps build gluten and ultimately strengthen the dough.
- Warm and complete bulk fermentation – The dough will rise about 40-70%, depending on the temperature. You’ll see fermentation bubbles in the dough.
- Long, cold proof – A long, cold proof will make for a much lighter, open, airy crumb. Ideally, overnight or up to 36-hours.
- Scoring and baking – Score at a 45 degree angle and deep enough cut that will allow your bread to expand fully. Baked in a preheated Dutch oven with lid on, which helps the bread rise and expand.
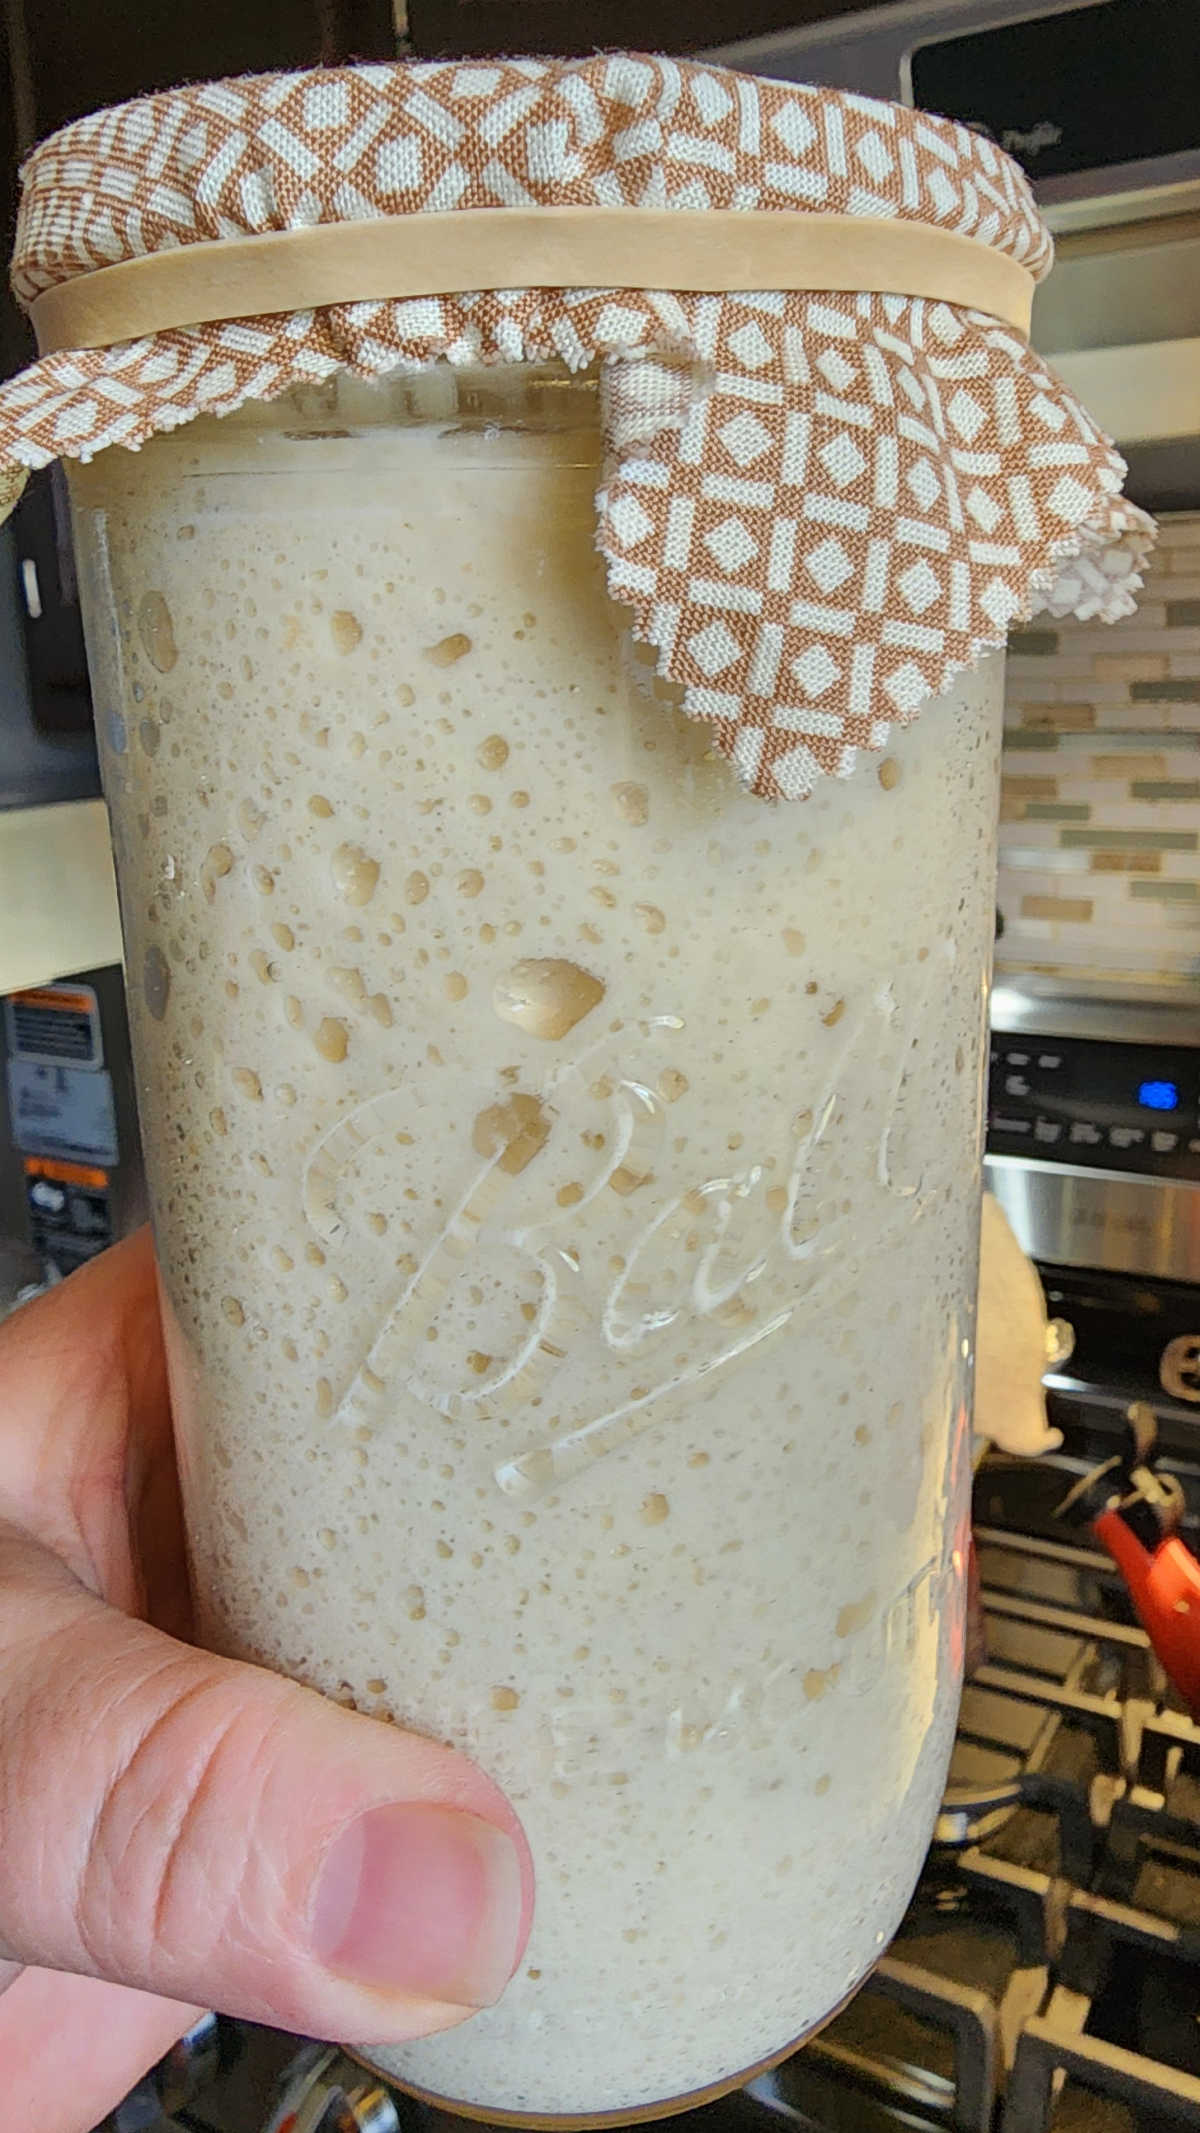
Making a sourdough starter
To make a sourdough starter from scratch, the process will take 7 days or more.
- A kitchen scale to properly measure ingredients. (It’s essential to making sourdough)
- Use a clean container to hold and cultivate the starter. I recommend a pint & half Mason jar, Weck jar or food-safe plastic container.
- Combine equal parts of room temperature water and unbleached all-purpose flour.
- Use a spoon, spurtle or small spatula to combine the ingredients.
- Cover the container with a fabric square or breathable cloth and rubber band. Leave on the counter to double in size.
- Feed the starter daily, remove and discard half of the mixture and add 50 grams room temperature water and 50 grams unbleached all-purpose flour. Stir to combine.
- A rubber band is very beneficial, marking the starting point of the starter at feedings.
- The texture should resemble thick pancake batter or muffin batter.
When will it be ready to use?
- Use the float test to see if your starter is active enough to make bread. Drop a small spoonful of starter into a small glass measuring cup of water. If it floats to the top, it’s ready to use.
- When it has doubled in size, has plenty of fermentation bubbles on the surface and throughout the culture.
It took nearly 3 weeks for my sourdough starter to be active enough in order to make bread. You can give it a jumpstart of fermentation by adding a tablespoon of potato flakes a few tablespoons of lukewarm water. (Potato flakes absorb a lot of water!)
Potato flakes are also a natural way to add moisture to the bread.
How to feed the starter
In order to keep your starter healthy and active, you must feed it. Feed the starter everyday if it’s stored at room temperature and you’re baking bread often. If it’s refrigerated, feed it at minimum once a week.
Remove and discard half of the mixture and add 50 grams room temperature water and 50 grams unbleached all-purpose flour. Use a spurtle or small spatula to combine the ingredients thoroughly. I use Butcher block oil & wax to keep my skinny spurtle in top shape.
If you don’t want to make your own, you can purchase a starter. This guarantees having a strong, vigorous starter from the start.
Sourdough discard
Use the sourdough discard for my Sourdough loaf bread or check out some of the more great sourdough discard recipes.
How to make sourdough bread – step overview
- Autolyse – Combine the flour and water in a bowl or food-safe plastic container. Let rest for 1 hour minimum. Up to 3 hours.
- Incorporate active starter & salt – Add the active starter and salt over the dough. Use wet fingers to incorporate.
- Bulk fermentation – Perform a series of stretch and folds, in 30-minute intervals. Using slightly wet hands, pinch the dough with your fingers, stretch up and over itself. This process will help strengthen and builds the gluten. Let the dough rest and rise about 40-70%, 3-7 hours.
- Shape and bench rest – Pre-shape the dough, let it rest 20-minutes.This is builds tension. Shape into rounds, place into rice floured bannetons.
- Cold proofing dough – Cover bannetons with plastic wrap or disposable shower caps, refrigerate overnight or up to 36-hours.
- Scoring and baking the dough – Preheat the oven and Dutch oven, score just prior to baking. Use a bread lame, score the deep scores last.
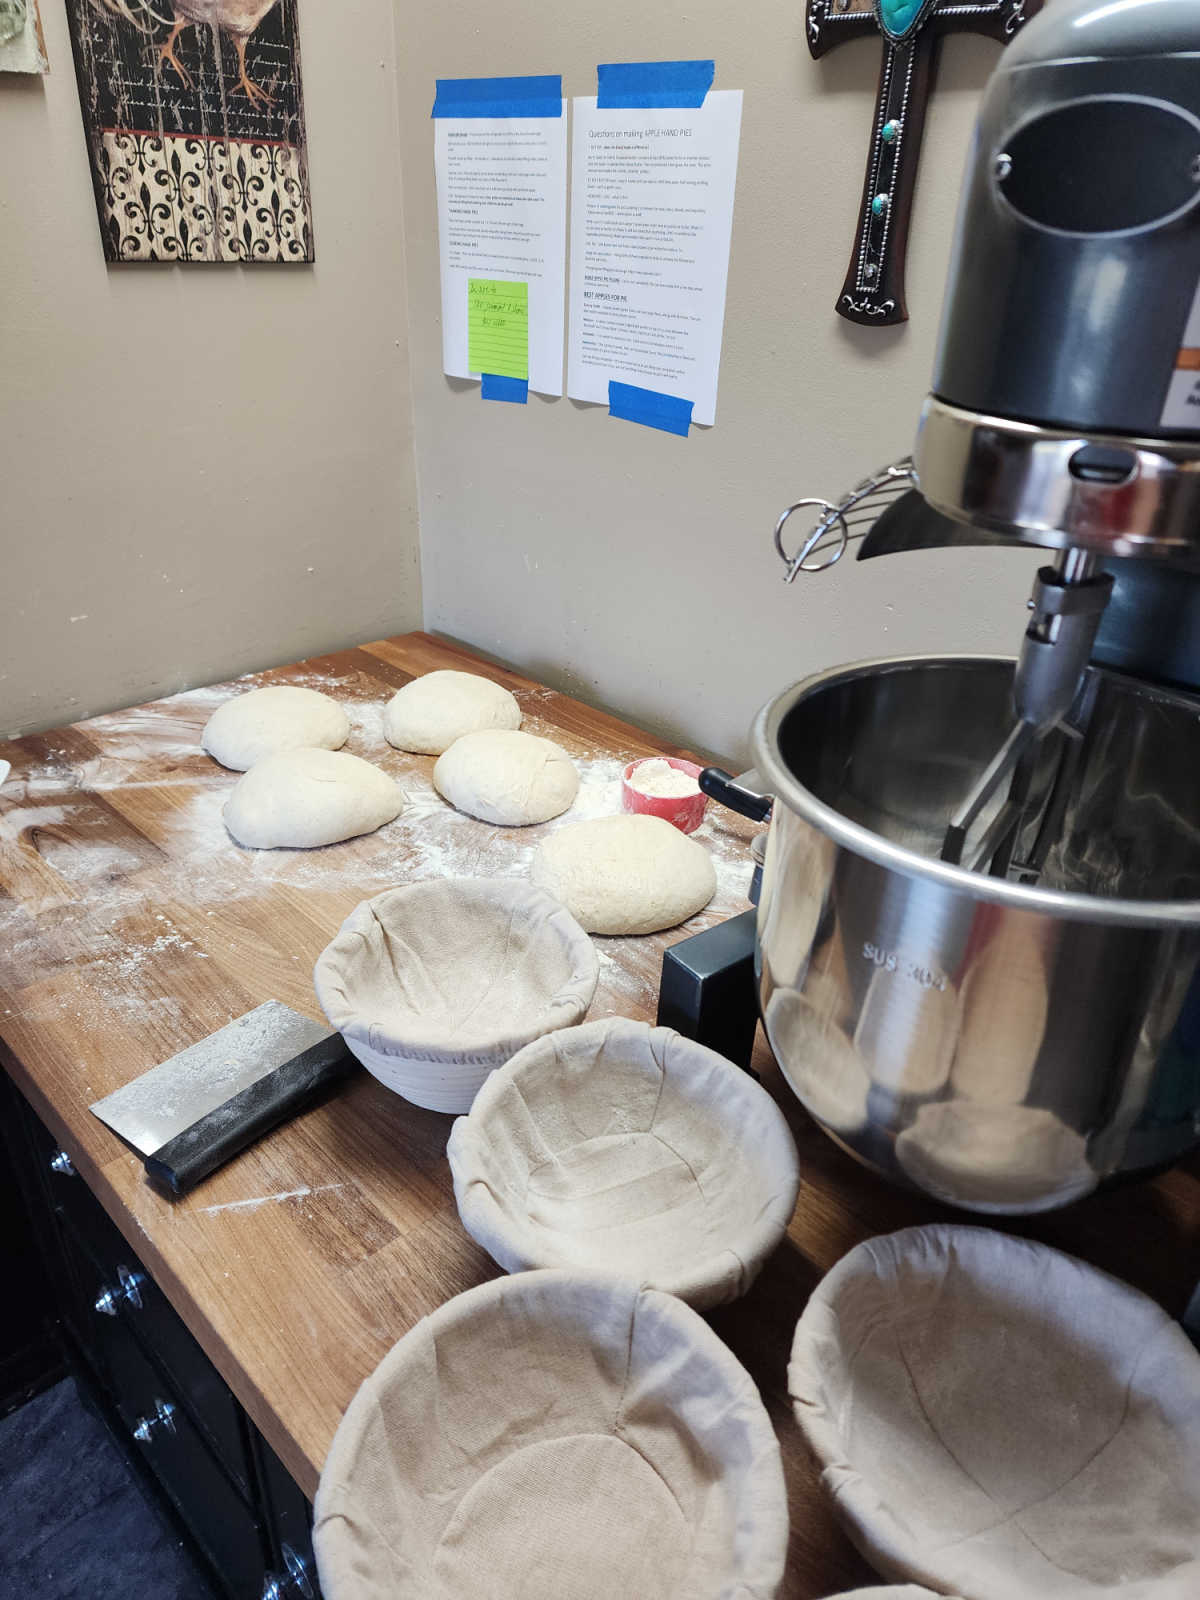
I created a sourdough storefront. These are all the items I use in our kitchen to make sourdough bread. Once you get the hang of this sourdough, you can multiply it and make multiple loaves at a time. And even add inclusions – Some of our favorites are; sun-dried tomatoes & fresh rosemary, olives, blueberries & lemon zest, dried cranberries & walnuts, cheddar & jalapenos.
If you have limited refrigeration space, oval bread proofing bowls take up less area.
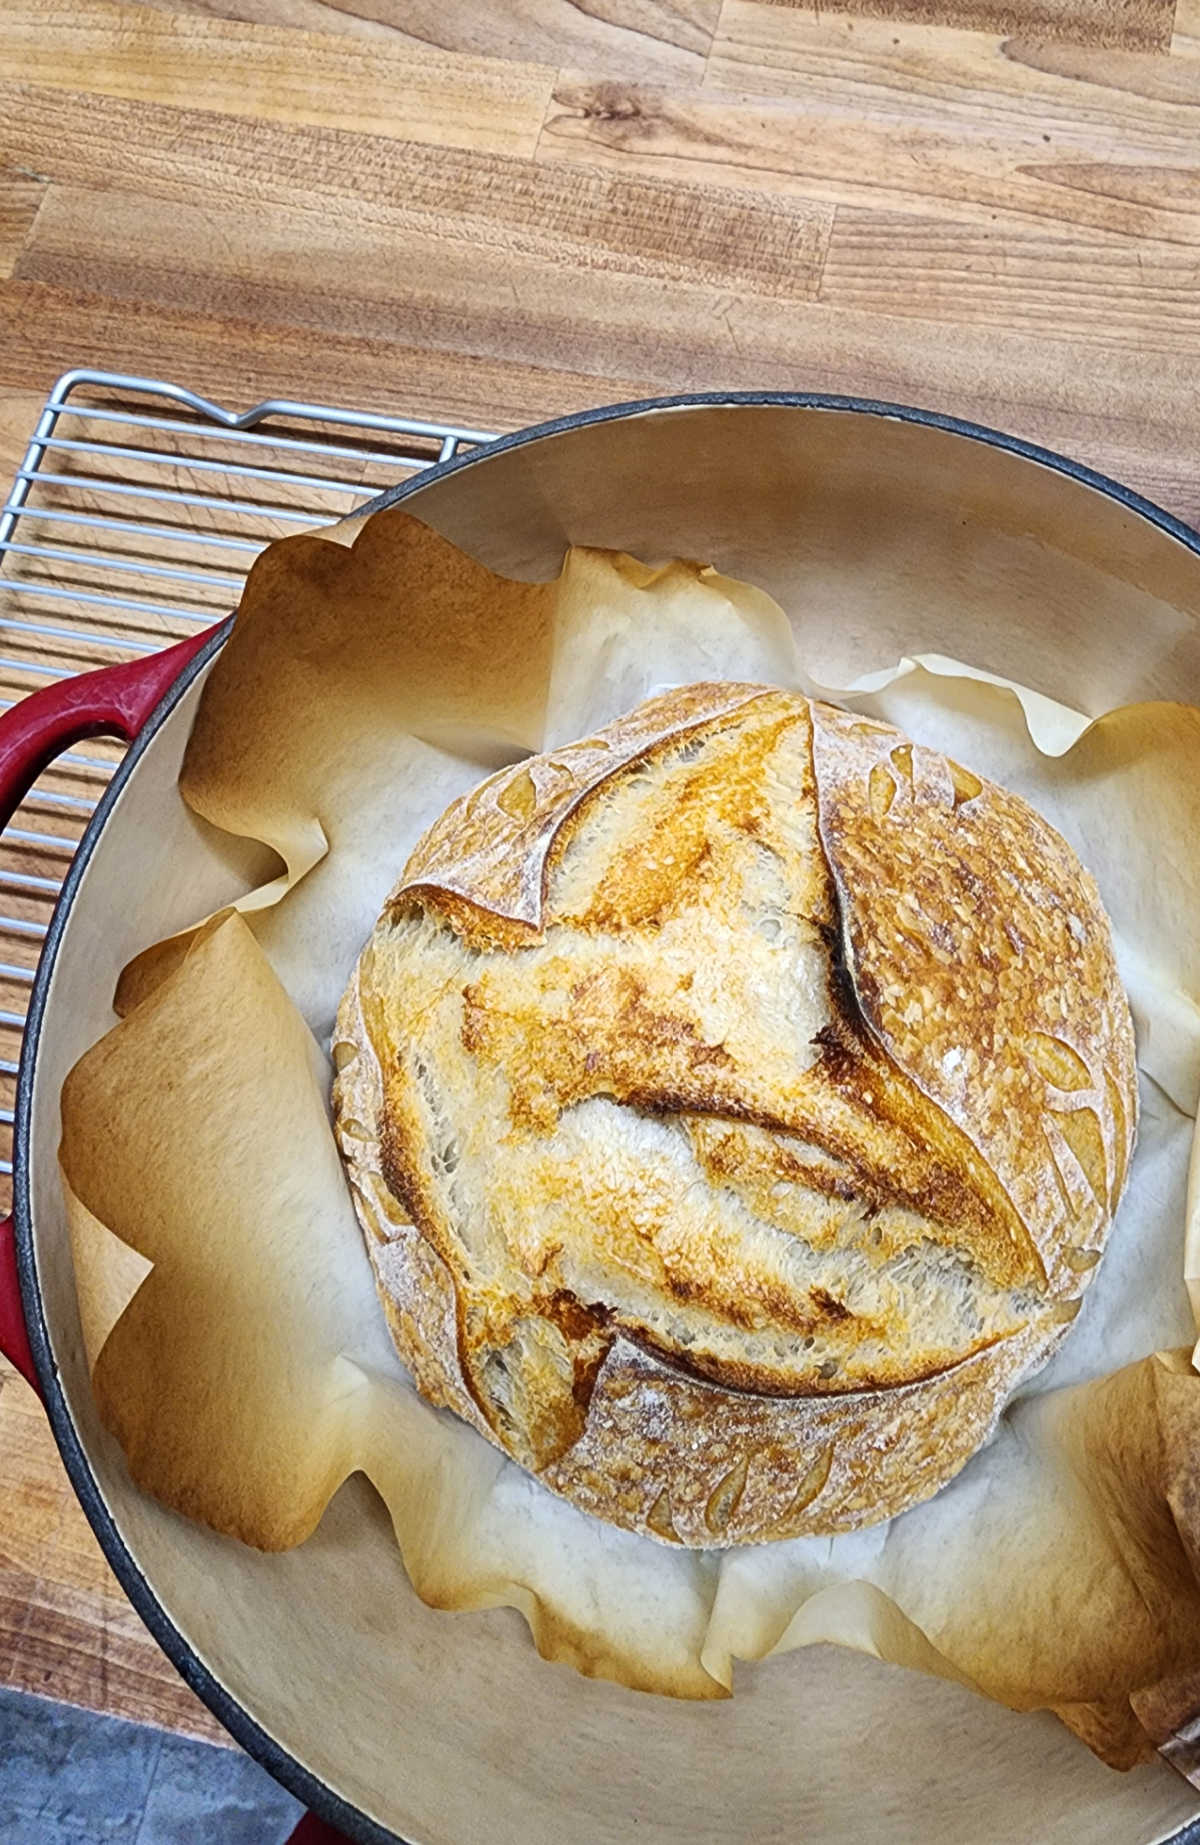
Recipe FAQs
Sourdough is slow-fermented bread that does not require commercial yeast in order to rise. It is leavened with a live fermented culture from an active sourdough starter.
Sourdough has a signature tangy taste, chewy texture, interior crumb and crisp, crackly crust.
Use more whole grain flours, add potato flakes, use a stiff starter, add starter after peak, and a long cold ferment. (up to 36 hours)
Unbleached bread flour is best because it has a high-protein and builds better gluten structure.
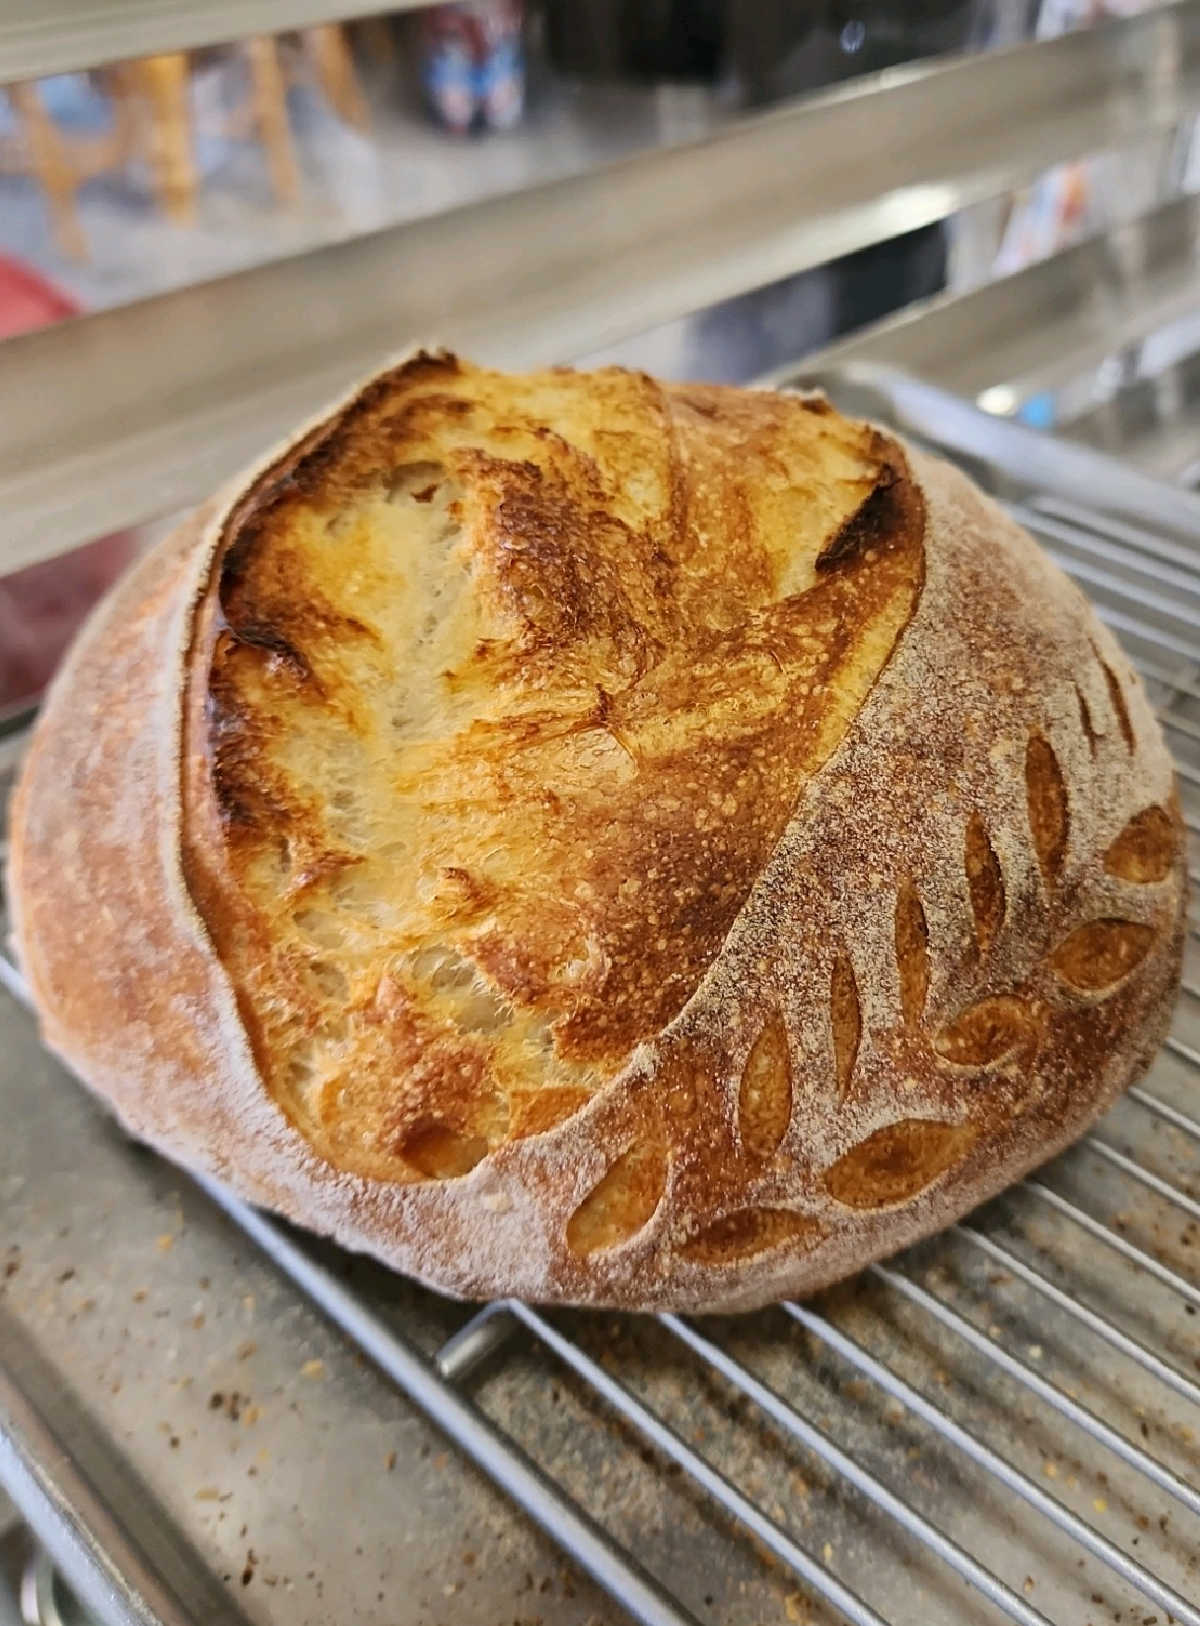
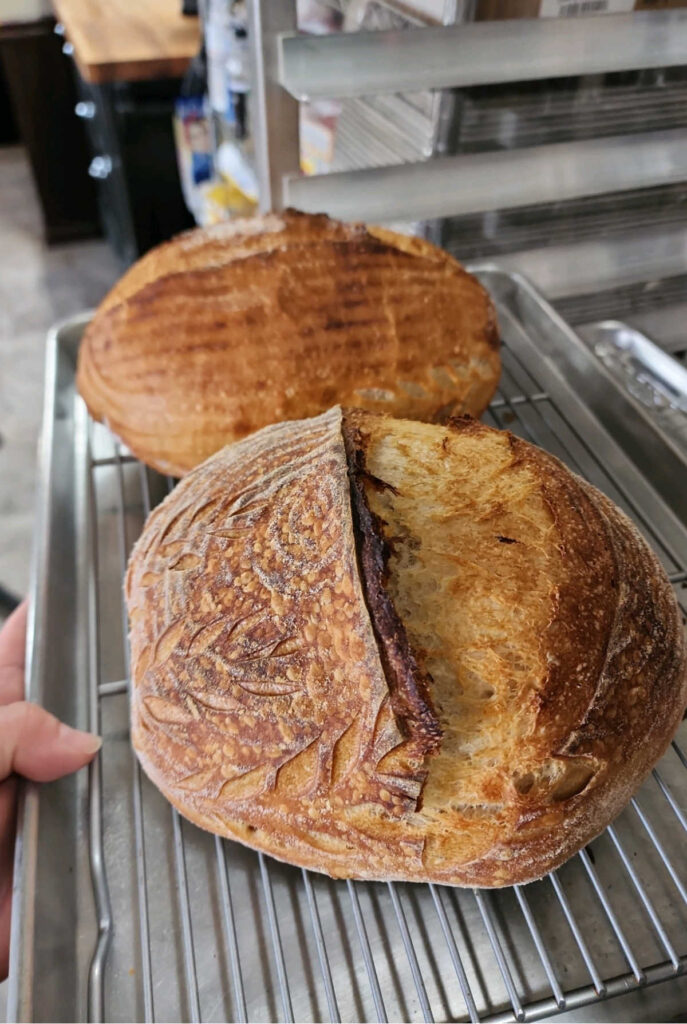
More great bread recipes
- Cinnamon Raisin Sourdough Bread
- White Bread Recipe
- Oatmeal Bread
- Sourdough Loaf Bread
- Cast Iron Cinnamon Rolls
Did you make one of my recipes? Please take a moment to leave a star rating. Also, if you are on Pinterest, please feel free to leave a comment there! Follow A Farmgirl’s Kitchen on FACEBOOK, PINTEREST and YouTube and subscribe my mailing list for ALL the latest recipes!
Beginners Sourdough Bread
Ingredients
Beginners Sourdough Bread
- 400 grams unbleached bread flour (mix of unbleached bread flour, all-purpose and whole red wheat flour)
- 115 grams active sourdough starter
- 280 grams lukewarm water
- 8 grams sea salt
Instructions
Levain
- The night before, feed the starter. (4-8 hours prior to making the bread) Place in a warm area (78-80 degrees F) to let it expand. It will build bubbles and double in size. Once it’s at peak or nearly at peak fermentation, place it into the fridge overnight.
- Day of making bread; take the ripe starter out of the refrigerator in order to come to room temperature.
Autolyse
- In a large bowl or plastic container, mix the flour and water. Use a dough whisk to mix as best as you can. This is a low hydration dough, so you can use your hands to incorporate the ingredients.
- Mix until the flour is incorporated. The dough will be very dry and shaggy. Cover and let rest in a warm area (78-80 degrees F) for a minimum of 1 hour. Up to 3 hours.
Mix in active starter & salt
- Add the ripe starter over the dough. Sprinkle the salt over top. Mix by hand, using wet fingers to press the starter and salt into the dough. Mix until ingredients are incorporated. Cover with a damp cloth, plastic wrap or cover and let rest for 1 hour.
Bulk fermentation
- Perform a series of stretch and folds. Using slightly wet hands, pinch the dough with your fingers and gently stretch it up, wiggle a little and fold it back down over the dough past the center and release. Turn the bowl or container slightly and repeat this process around the dough. (Do this about 6 times until the dough starts to take shape.)
- Perform 4 sets of stretch and folds at 30-minute intervals. This process will help strengthen the gluten.
- If it’s not taking shape, you can also use coil folds.
- Coil folds can also help strengthen your dough. Simply lift the dough from both sides and let it fold under itself. Rotate your bowl or container and repeat the process. Let the dough rest 30 minutes in between each coil fold.
- Use a kitchen timer to remember when to perform S&Fs
- Let the dough rest and increase in size. At the end of bulk fermentation, the dough will have risen 40-70%. It should have some bubbles on the dough. The edge of the dough should be slightly domed, around the edges where it meets the bowl or container. This process should take anywhere from 3-7 hours (depending on how cold or warm it in your house)
- You can use the oven (on the proof bread setting or just with the light on) to bulk proof your dough. I monitored the temperature with a digital thermometer with a probe cord.
Shape and bench rest
- Once the dough is bubbly and risen 40-70%, perform a pre-shape. Dump the dough onto a very lightly floured work surface. (This dough will be very sticky! And you want that!)
- Shape the dough into rounds. Using your left hand push it away from you, slightly rotating it and bring it back towards you with the bench scraper. Bringing the bottom under the dough. This is building tension.
- Let the dough rest for 20-minutes, uncovered.
- Shape into rounds. Flip the rounds over, (if making more than one loaf, work with one round at a time) and stretch into a rectangle shape, on a very lightly floured work surface. Be careful not to use too much flour. Don't add flour on the top of the dough.
- Fold the end over towards you and then each side corner over towards the center. Press those onto themselves. Repeat this process all the way down the dough, almost as though you were braiding the bread. Pressing down each time.
- Starting from the top, roll the dough into itself and tucking it. Keep rolling and tucking until the dough is fully shaped. Tuck the ends with your fingers or use a bench scraper to slightly rotate the dough.
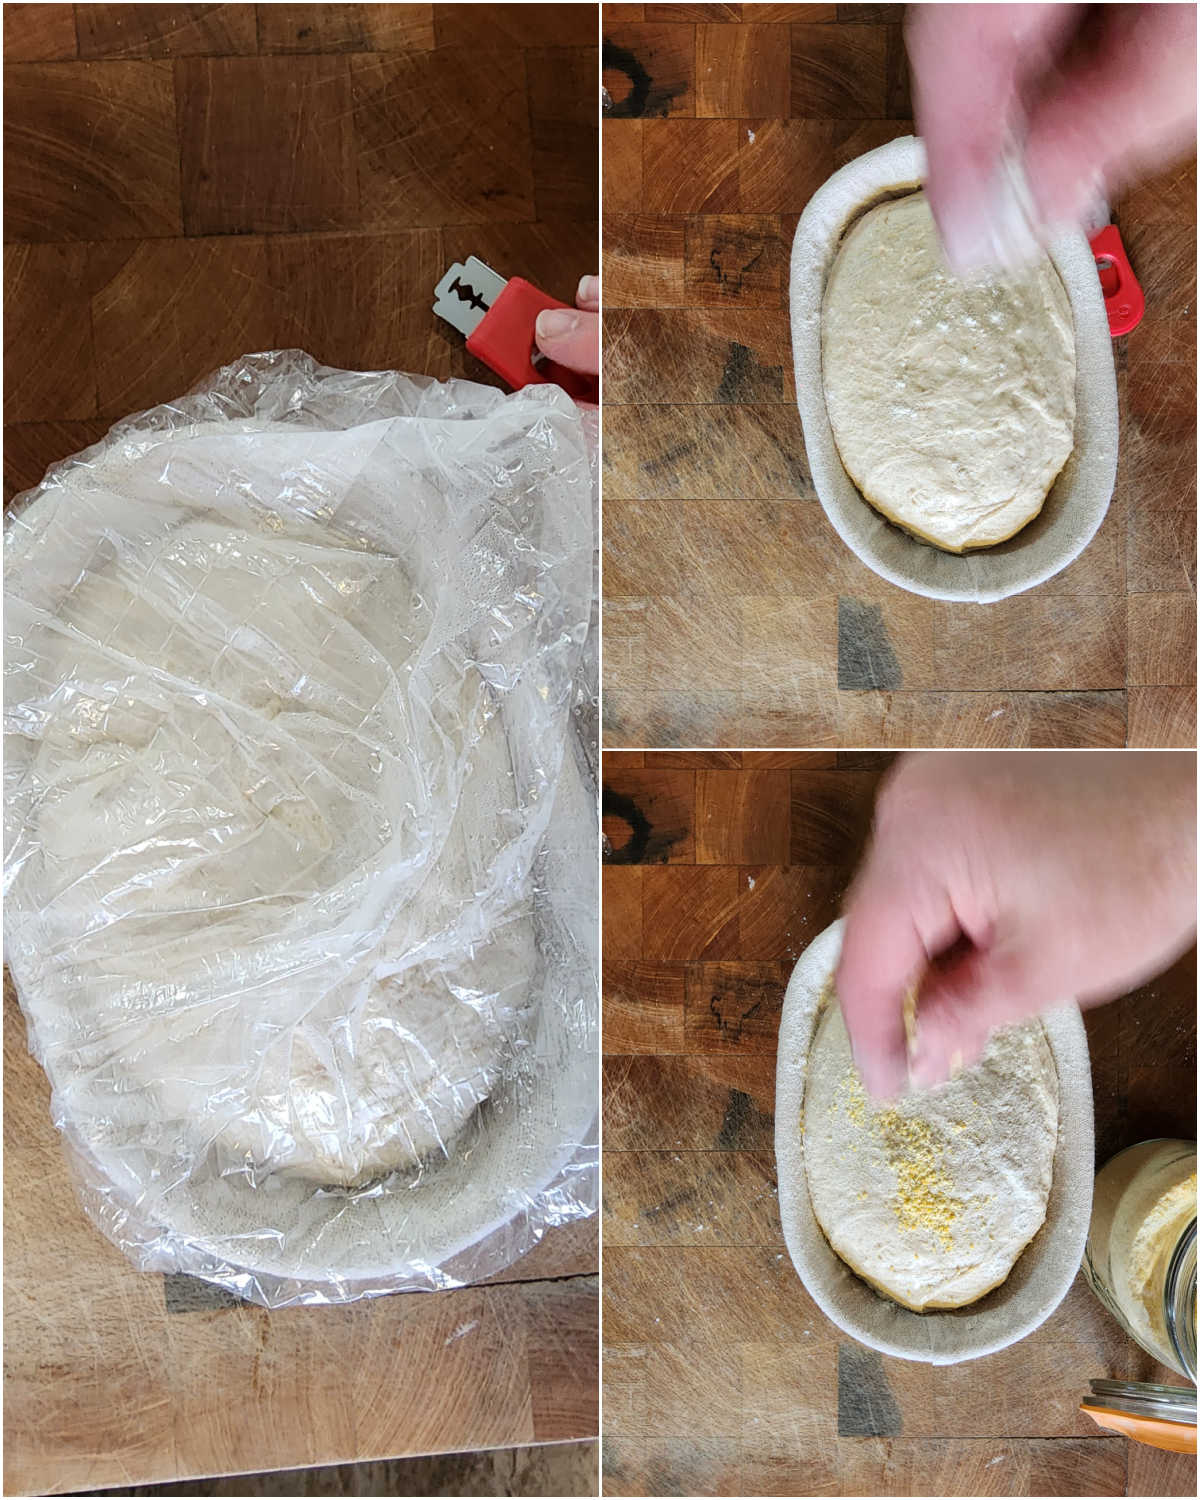
- Place in rice floured bannetons, cover with a plastic bag or inexpensive plastic shower caps which will help prevent the dough from drying out during the cold proofing process.
- *I use a 7 to 8-inch banneton for this recipe!
Cold proof
- Place the bannetons of dough into the refrigerator overnight. Or up to 36 hours.
Scoring and baking
- Pre-heat the oven with the Dutch oven for 1 hour. 550 degrees F.
- Remove the plastic wrap or plastic shower cap from the dough. Discard or turn it inside out to thoroughly dry and reuse later.
- Lightly flour and sprinkle the dough with cornmeal. Place a piece of parchment paper over it and hold secure with your hand. Flip it over to release from the proofing basket onto a work surface.
- Brush away any excess rice flour that may be hardened.
- Score the bread RIGHT before baking, while the dough is still very cold. Use a bread lame to score the dough. Hold the lame at a 45 degree angle and cut the deep score. (Make this cut last!)
- Use the parchment paper to carefully transfer the dough into the preheated Dutch oven.
- Bake at 550 degrees F in a Dutch oven with the lid on for 20 minutes. Carefully remove the lid and continue to bake, uncovered at 450 degrees F for 15 minutes. Place a half sheet pan under the Dutch oven at this point to help prevent the bottom of the bread from burning or becoming too dark. Look for the color and internal temperature should be 200-205 degrees F.
- Carefully remove the bread from the pot and let cool for at least 1-2 hours before slicing
Video
Recipe Notes
Tips for successful sourdough bread
For the best flavor, I prefer a mix of unbleached bread flour, all-purpose and whole red wheat flour. You can also add a touch of spelt flour or wheat germ. You can use only bread flour and it work great too! During the winter, I often use the oven on proof setting or the light on to proof the dough. Rice flour is essential for flouring bannetons or proofing baskets. Rice flour acts as a moisture barrier and will not stick the way traditional flour does. Dough will just fall out of the proofing baskets. Use disposable shower caps to cover bowls and bannetons Use a Dutch oven you don’t care about getting dark spots. Baking at such a high temperature will cause imperfections in the Dutch oven. Use high-heat kitchen mitts. This is a MUST! The Dutch oven is extremely hot and will burn through most pot holders. It will burn you severely if you are not careful.Nutrition
Disclosure: As an Affiliate Marketer, I earn from qualifying purchases. If you click a product affiliate link on A Farmgirl’s Kitchen and make a purchase, I may receive a commission at no additional cost to you! I own every cooking product I recommend and love how they perform.



Seanna Borrows says
This sourdough bread making guide is filled with helpful tips and foolproof instructions. Definitely bookmarking this! Thanks Jessica!
Jessica Robinson says
Thank you so very much!!! This was probably one of my most extensive recipe testing adventures yet!