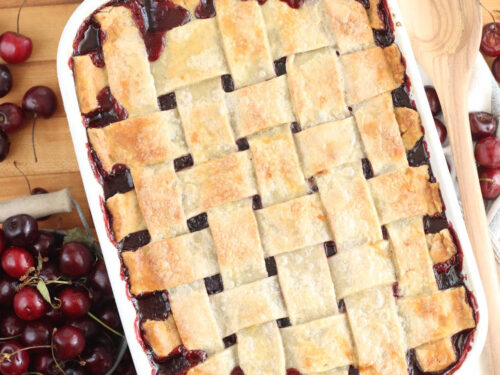
Cherry cobbler has a sweet and tart cherry pie filling and topped with a buttery, flaky homemade pie crust.
For this cherry cobbler recipe, use fresh or frozen cherries, homemade or store-bought pie crust. Cherry cobbler has an easy to make cherry pie filling that is easy to prepare and bakes up the perfect dessert in about one hour!
Homemade cherry cobbler is one of the easiest desserts to make when cherries are in season. And it’s the perfect holiday dessert or dessert for potlucks and barbecues. Grab a bag of frozen, already pitted cherries and get to baking this easy cherry cobbler recipe!
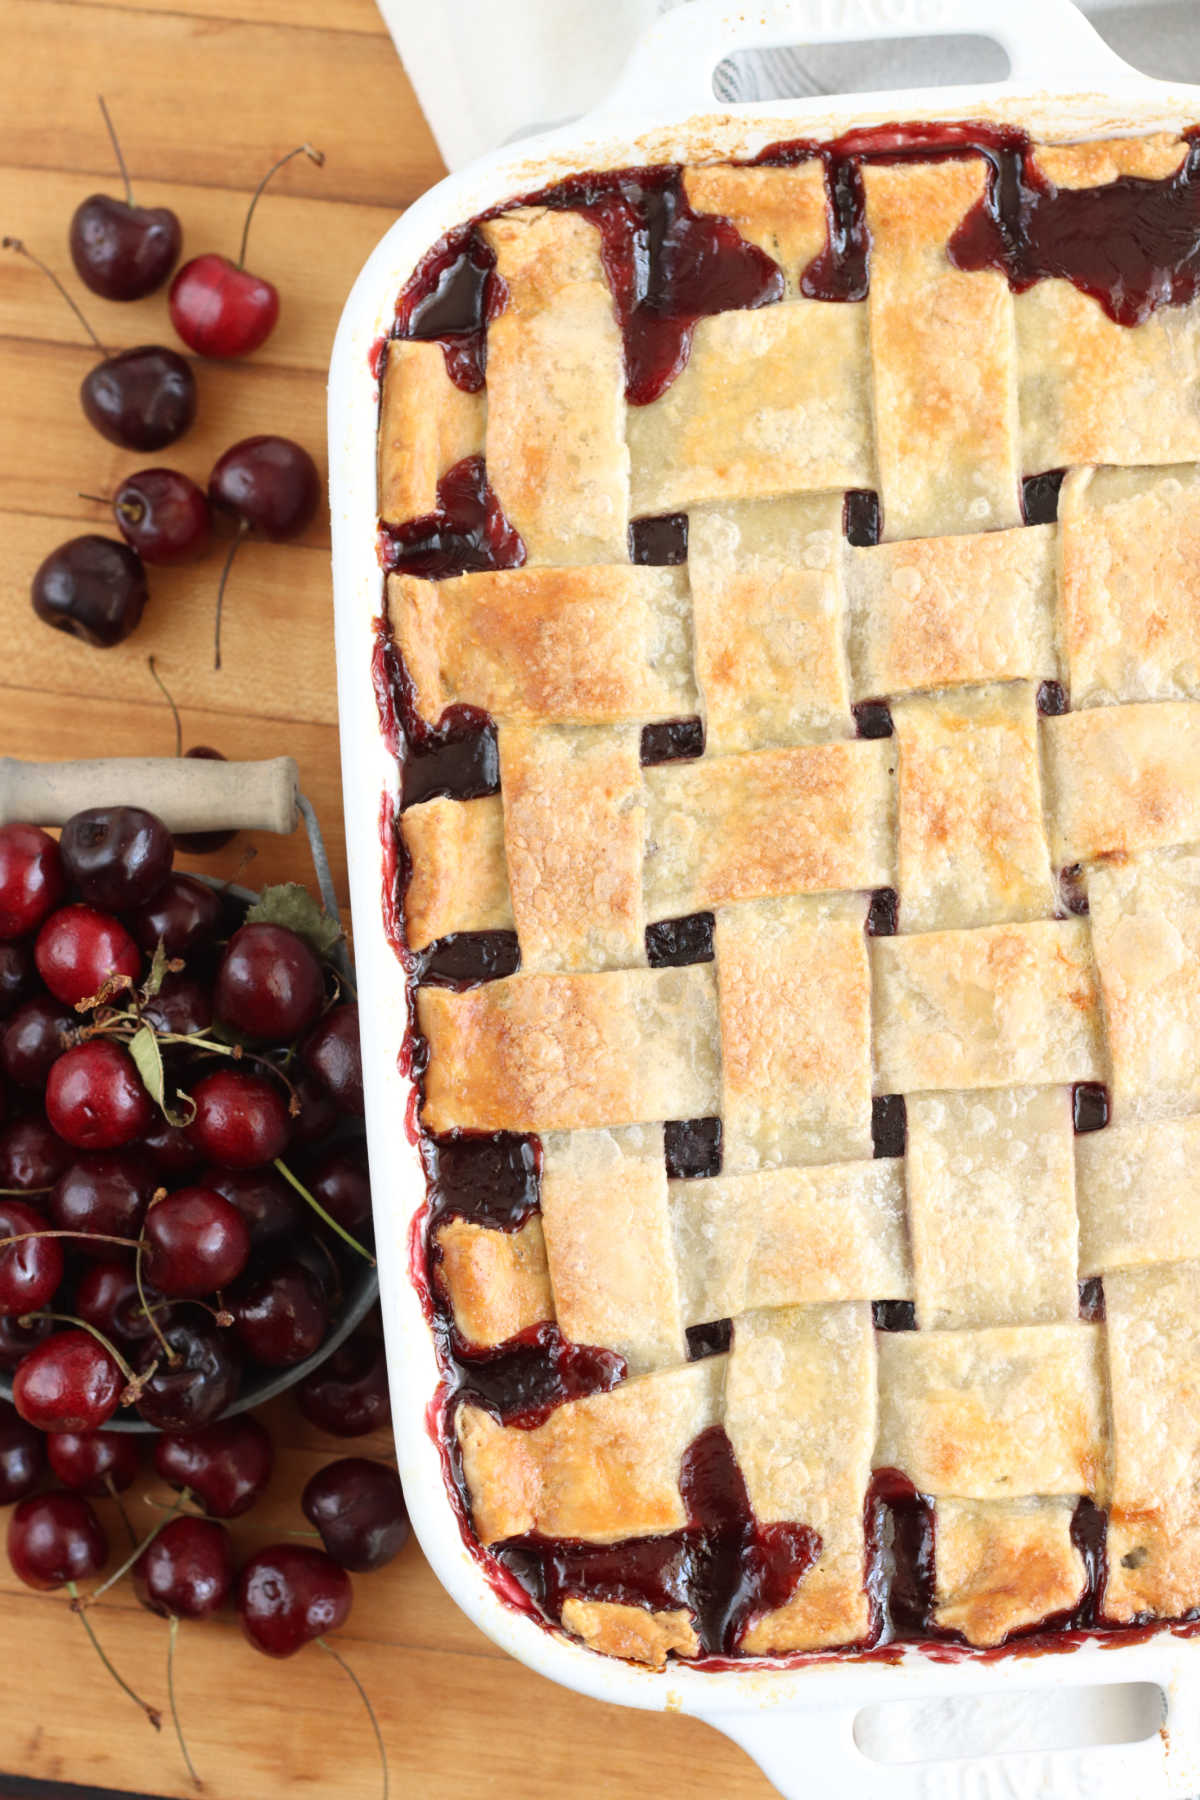
Even the most novice baker can have success with this cherry cobbler recipe. Homemade cherry pie filling topped with flaky pie crust or store-bought. If you’re a cherry pie lover, you’ve got to try this cobbler recipe!
While many cherry cobbler recipes use a drop biscuit topping over top the fruit, we’ve added a layer of homemade pie crust. This homemade pie crust is buttery, flaky and golden brown. Perfect on top of this cobbler with fresh cherries.
If you prefer the sweet biscuit topping for cobbler, the recipe is below. Cherry cobbler is a classic holiday dessert filled with ripe, juicy Bing cherries that’s whips together in minutes and a crowd pleaser!
Cobblers are a quick and easy dessert to enjoy fruit or berries without the work of making a pie. Also try cherry crumb pie and cherry hand pies.
Be sure and try one of our other cobbler recipes using fresh or frozen fruit including; blueberry cobbler, apple cobbler, blackberry cobbler and peach cobbler any time of year.
Why this recipe works
- Easy to make – Use store-bought or homemade pie crust and homemade cherry pie filling (uses simple ingredients!) Cherry cobbler is one of the easiest cobbler recipes to make.
- Use fresh or frozen cherries – You can use fresh or frozen cherries for this cherry cobbler recipe. Frozen cherries are in the freezer section and already pitted. Frozen at peak of flavor and already pitted. (Saves you time and money!)
- Make ahead of time – Bake your cobbler the night before to save time!
- Perfect homemade dessert – This cobbler recipe is the perfect holiday dessert or any occasion.
What you’ll need
- Cherries – Use fresh or frozen pitted cherries. Frozen pitted cherries are readily available at BJ’s Wholesale, Walmart and most grocery stores. They’re already pitted, frozen at peak of ripeness and available year round. (Saving time and money!)
- Sugar – Adjust as you like depending on how sweet or tart your cherries are. Sugar will naturally draw out the juices of the fruit and create a juicy pie filling.
- Lemon juice – Adds a bit of tartness to the filling and helps preserve and maintain freshness.
- Cornstarch – Thickens cherry pie filling. Make a slurry with cornstarch and cold water mixed together.
- Butter – Adds touch of flavor to this cherry pie filling.
Cobbler Biscuit Topping
You can also cover the cherry pie filling with a sweet biscuit topping and bake. Cobbler biscuit topping is simple to make with only a few easy to find ingredients.
- 2 cups all-purpose flour
- ½ cup granulated sugar
- 1 ½ teaspoons baking powder
- ½ teaspoon salt
- ½ cup (1 stick) unsalted butter, cold
- 1 cup buttermilk
- 1 teaspoon vanilla extract
- 1 large egg, lightly beaten
Instructions– Combine the flour, sugar, baking powder and salt in a mixing bowl. Cut in the butter using a pastry cutter or two forks until the mixture resembles coarse cornmeal. Gradually stir in buttermilk, vanilla and egg. Spoon the batter evenly over the cherry pie filling.
How to pit cherries for pie filling
If using fresh cherries for this cherry pie recipe you will need a cherry pitter to pit them. (Super simple to do!)
Work over a Pyrex liquid measuring cup, pitting cherries right over the cup. Place the pitted cherries into a large saucepan. Place your hand over the pits and gently pour any cherry juices into the pitted cherries.
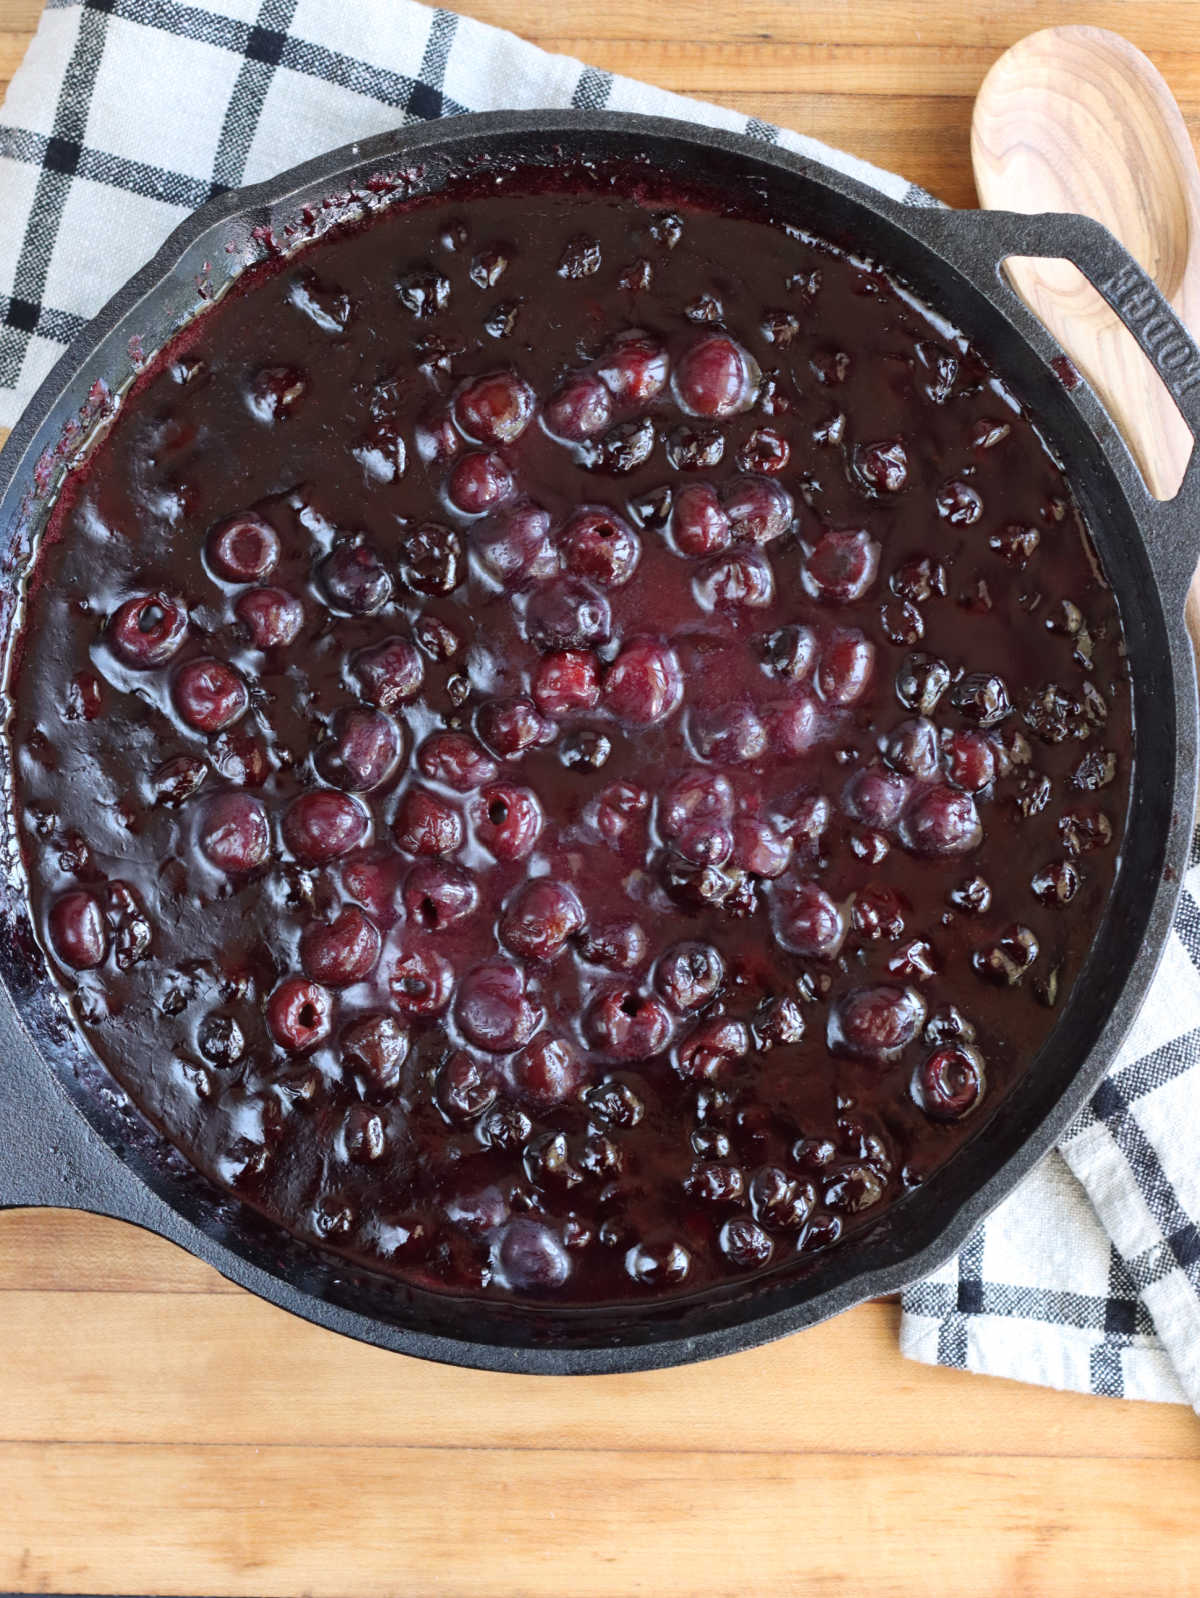
As you cook the cherry pie filling, it will start to foam a bit. Don’t worry about this. Once you stir in the cornstarch slurry and simmer to thicken, any foam will dissipate. You want the pie filling to be thick enough, but not too thick, as it will continue to thicken as it bakes in the oven.
Be sure and occasionally stir cherry pie filling with a wooden spoon so it doesn’t stick and burn.
Lattice Pie Crust
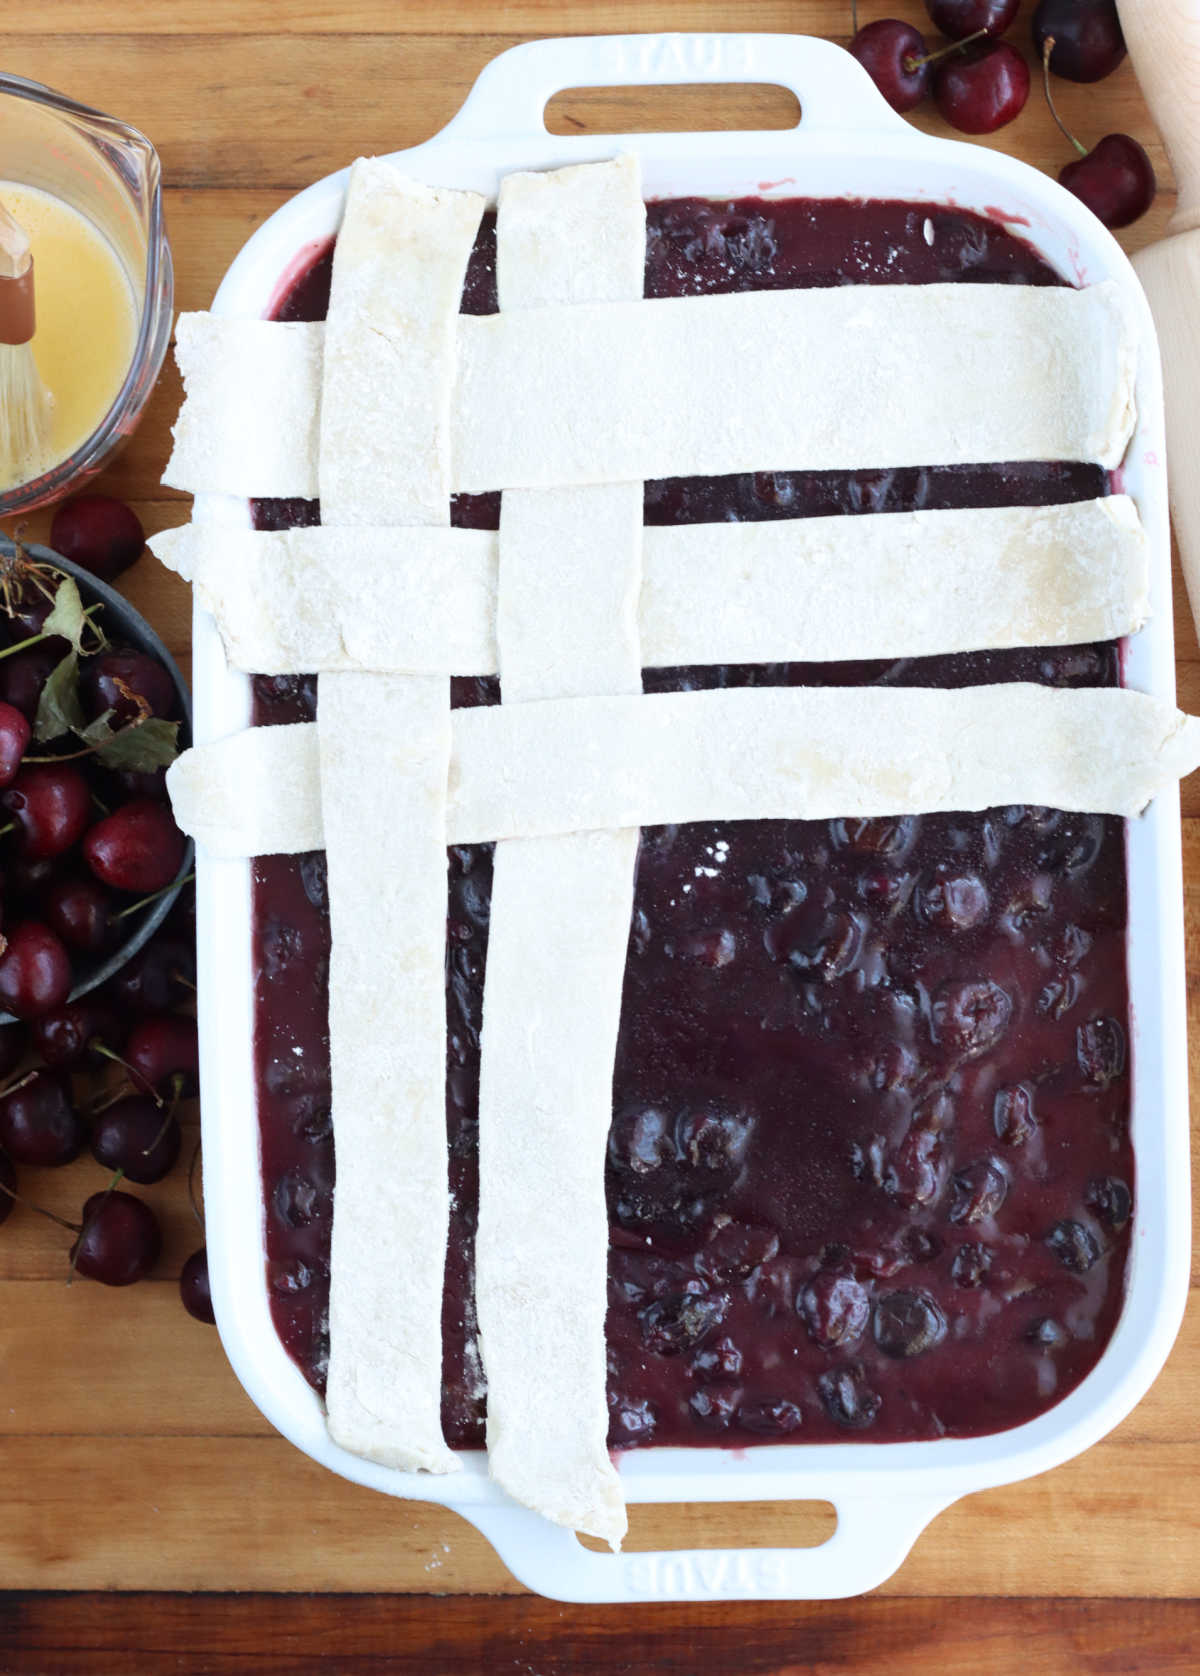
Lattice pie crust is weaved pie dough across the pie filling. It’s not only a beautiful way to decorate a pie or fruit cobbler, it also lets steam escape between the holes.
- Use a quality pie – Whether that’s making your own pie crust or using a store-bought one. Make sure it’s a quality pie dough that is sturdy and will hold up to weaving a lattice crust.
- Cut dough into strips – Use a pastry wheel or small pizza cutter. You can also use a ruler as a guide to make straight lines.
- Refrigerate pie strips – Place strips onto a half sheet pan lined with parchment paper and refrigerate for 30 minutes to 1 hour. (Making them super chilled.)
- Place pie strips vertically – Lay strips vertically, starting in the center of the cobbler so it is even.
- Place pie strips opposite direction – Pull back every other strip and lay a strip of pie dough the opposite direction.
- Repeat these steps – Weaving the strips over and under until your cobbler is completely covered.
This cherry cobbler recipe takes minutes to toss together. We love homemade pie crust and it’s super simple to make! Plus looks so pretty on top of this cobbler! You’ll be making this cobbler recipe again and again!
While cobbler with biscuit topping is traditional, cobbler with pie crust is my favorite.
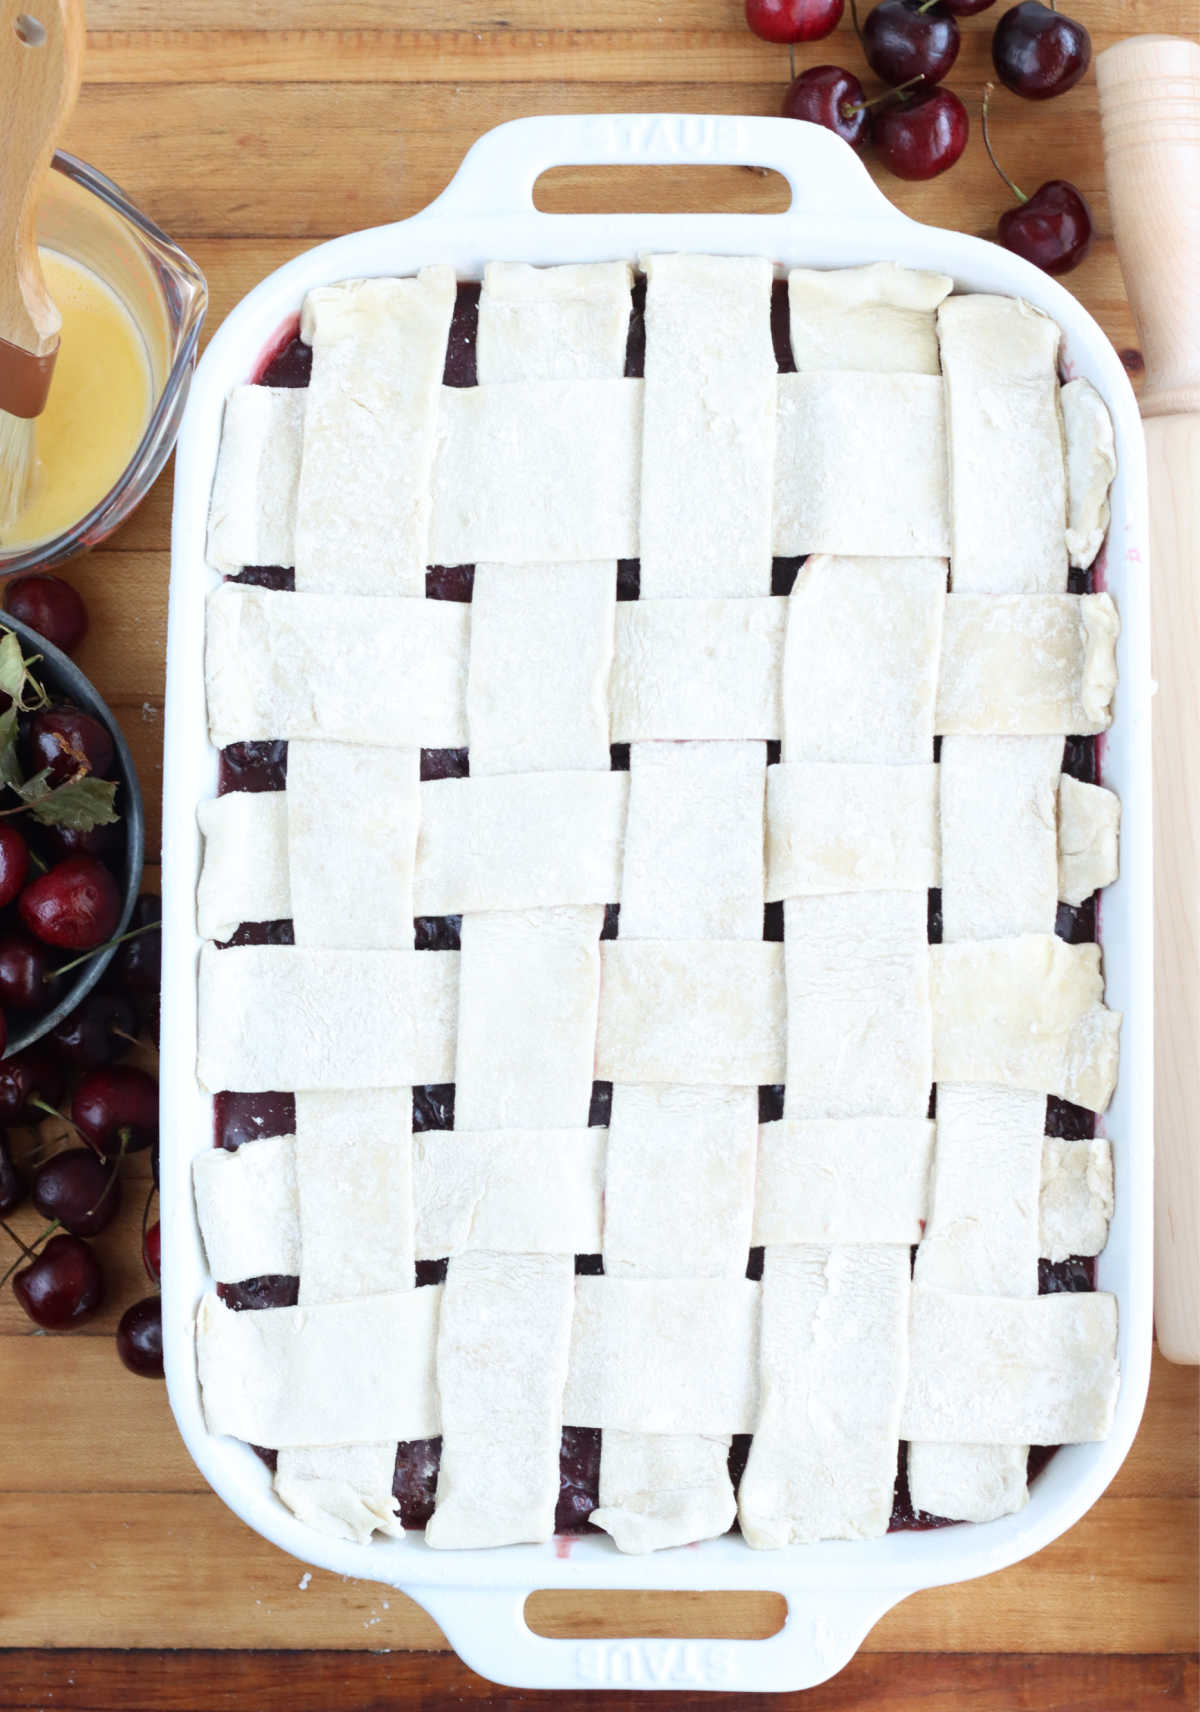
How to make cherry cobbler
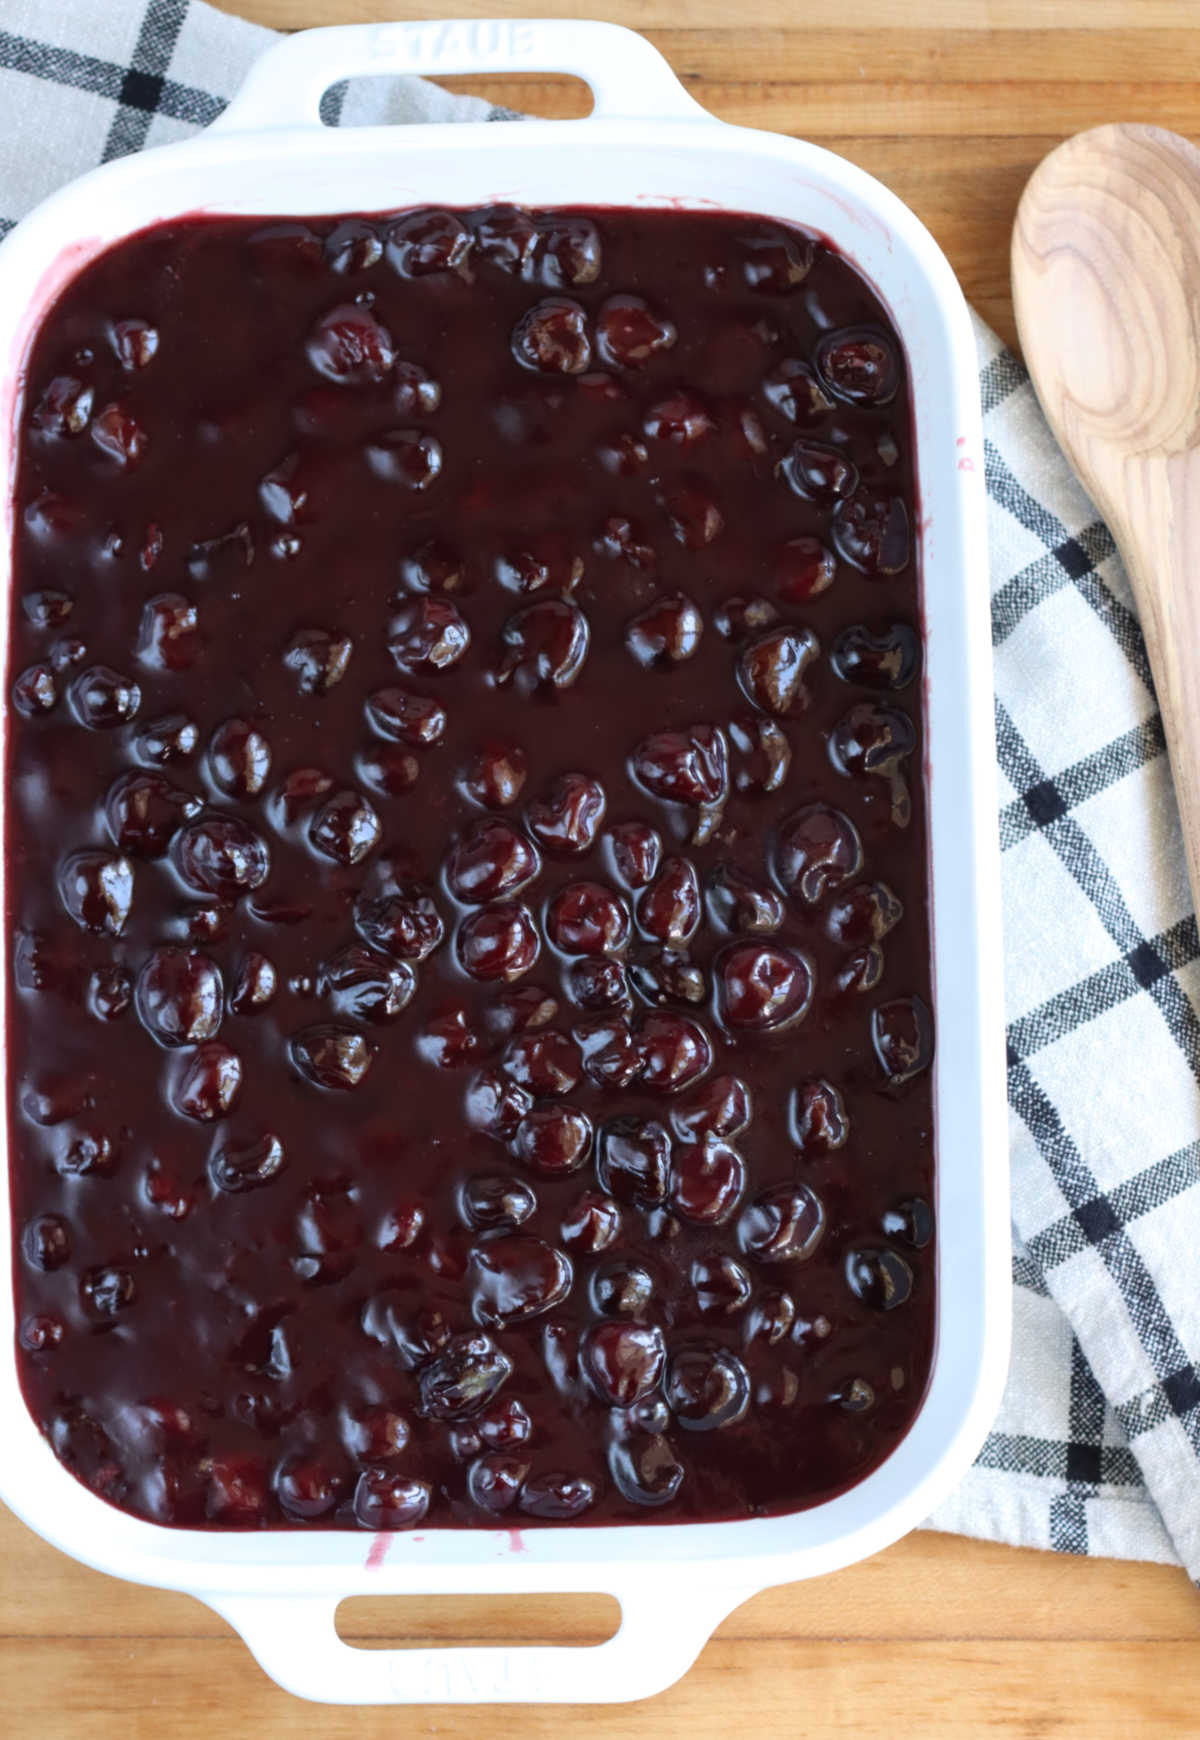
- Make cherry pie filling – Use fresh or frozen cherries to make pie filling. Let cool completely before placing in pie crust.
- Make pie crust – If making homemade pie crust, prep and place in a large zip-style bag and refrigerate overnight. (This makes it super cold!)
- Roll out pie crust – Roll out pie crust on a lightly floured surface and cut into strips. Place on half sheet pan lined with parchment paper, cover loosely with plastic wrap and refrigerate. (This makes it easy to work with the pie crust strips!)
- Fill with baking dish with pie filling – Spray baking dish with baking spray or brush with butter and ladle cooled pie filling into 9×13-inch baking dish.
- Top with pie crust – Place pie crust over pie filling, cut a few vents or weave a lattice crust.
- Brush with egg wash – Brush the top of the pie crust with egg wash and sprinkle with granulated sugar.
- Place on sheet pan – Place cherry cobbler on half sheet pan lined with parchment paper. This will help catch any juices that overflow, keeping the oven clean.
- Bake – Bake at 400 degrees F for 1 hour, or until pie filling is bubbling up around the edges of the crust.
- Cool – Let the cobbler cool completely before serving. This step is imperative! Otherwise, your pie filling will not set properly.
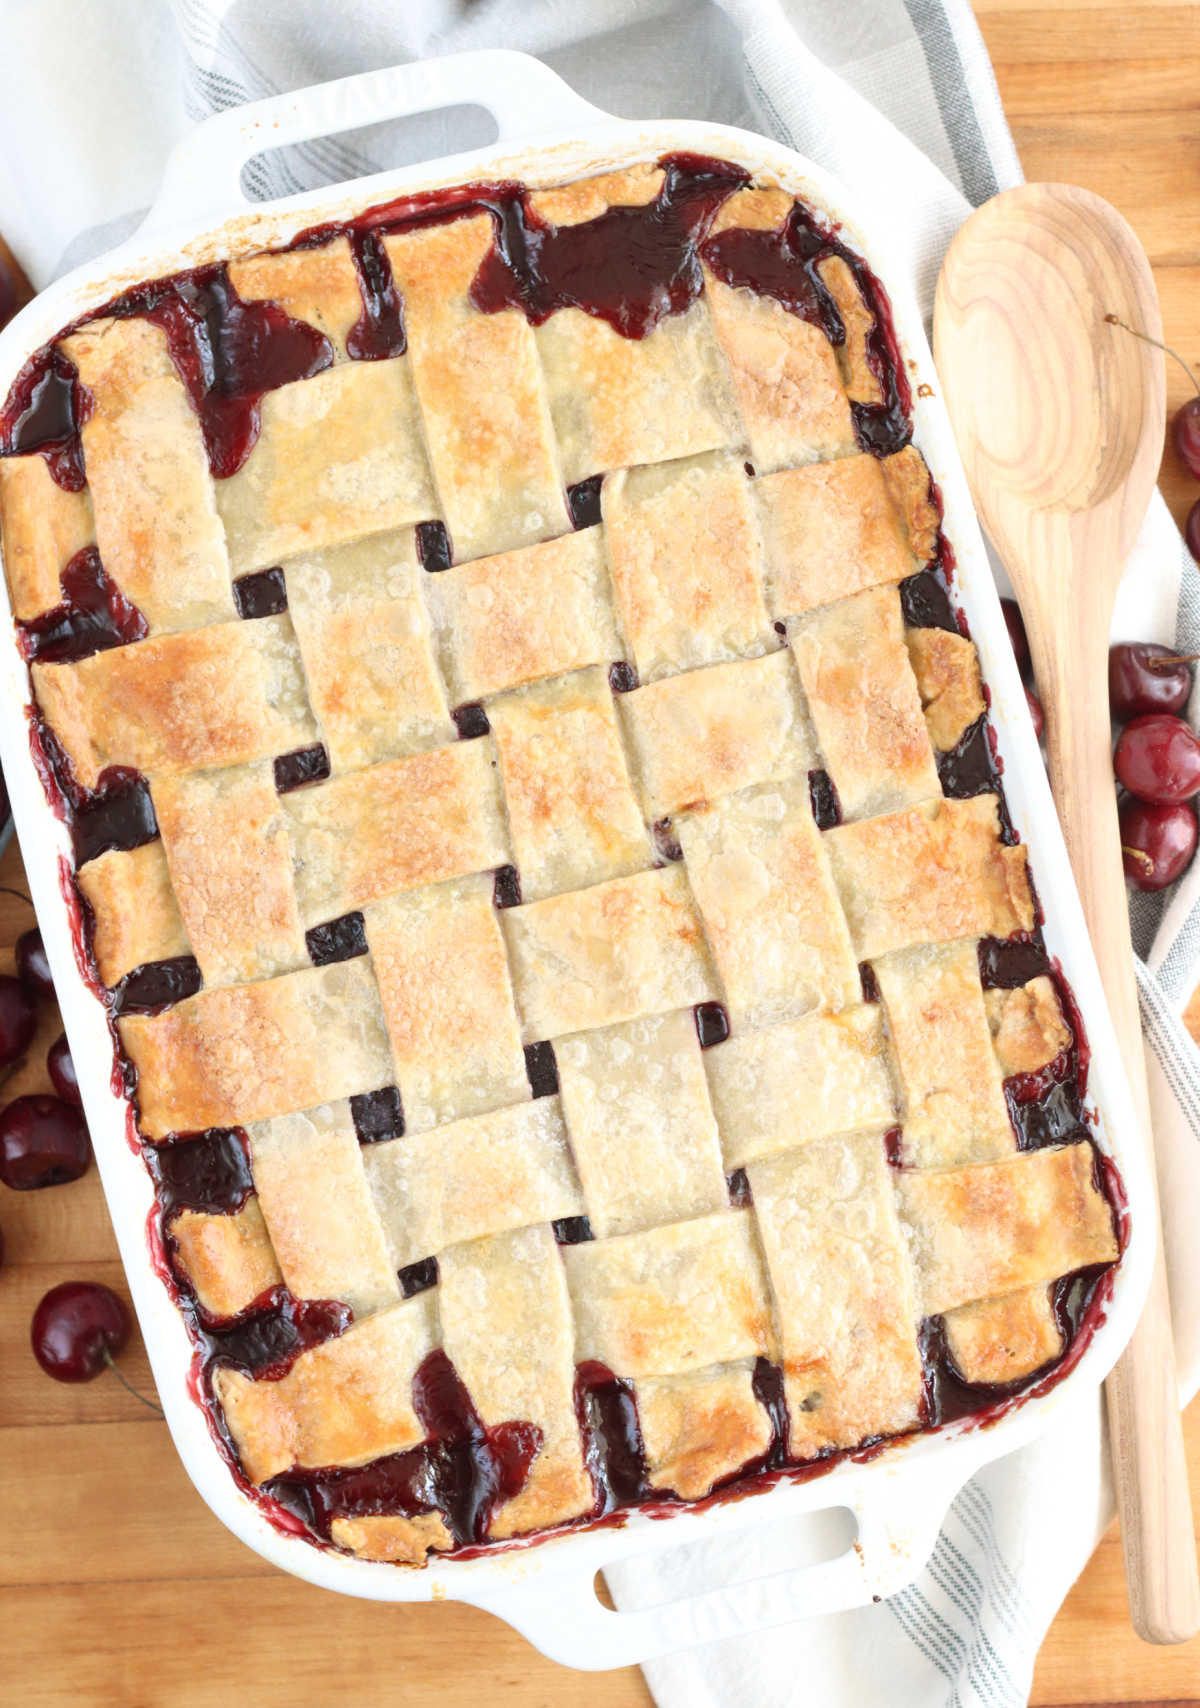
Tips on making flaky pie crust
- Keep the pie dough chilled– If it gets to warm, plop it back into the fridge or even the freezer for a bit.
- Doesn’t have to be perfect – Working with pie dough and weaving a lattice crust takes practice. Don’t stress and remember it doesn’t have to be perfect. It will still taste amazing!
- Use very cold butter or fat – Keep the butter, shortening or fat well-chilled and cut into small pieces to begin with.
- Don’t overwork the dough – While some recommend using a food processor to make pie crust, we do not. We recommend using a pastry blender and making pie crust by hand. The more you work with the fat pieces and flour, the higher chance for gluten formation, making pie crust tough.
- Roll out and turn the dough – Roll out the dough away from yourself and turn the dough often. Keep even pressure with the rolling pin across the entire circle of pie crust so the edges and center remain the same thickness.
- Chill lined pie pans – Cover the prepared pie pan with plastic wrap and chill for 20 minutes to 1 hour before filling with pie filling. This will help the pie crust retain it’s shape when baked.
Recipe FAQs
Yes! Prep the cherry pie filling the day before, refrigerate overnight. Then assemble the cobbler and bake. This will make sure your cobbler is not soggy and the pie crust flaky.
If the cobbler filling doesn’t thicken properly, simply throw it back into the oven for 20-30 additional minutes. Cover with a piece of aluminum foil to prevent the crust from getting too dark.
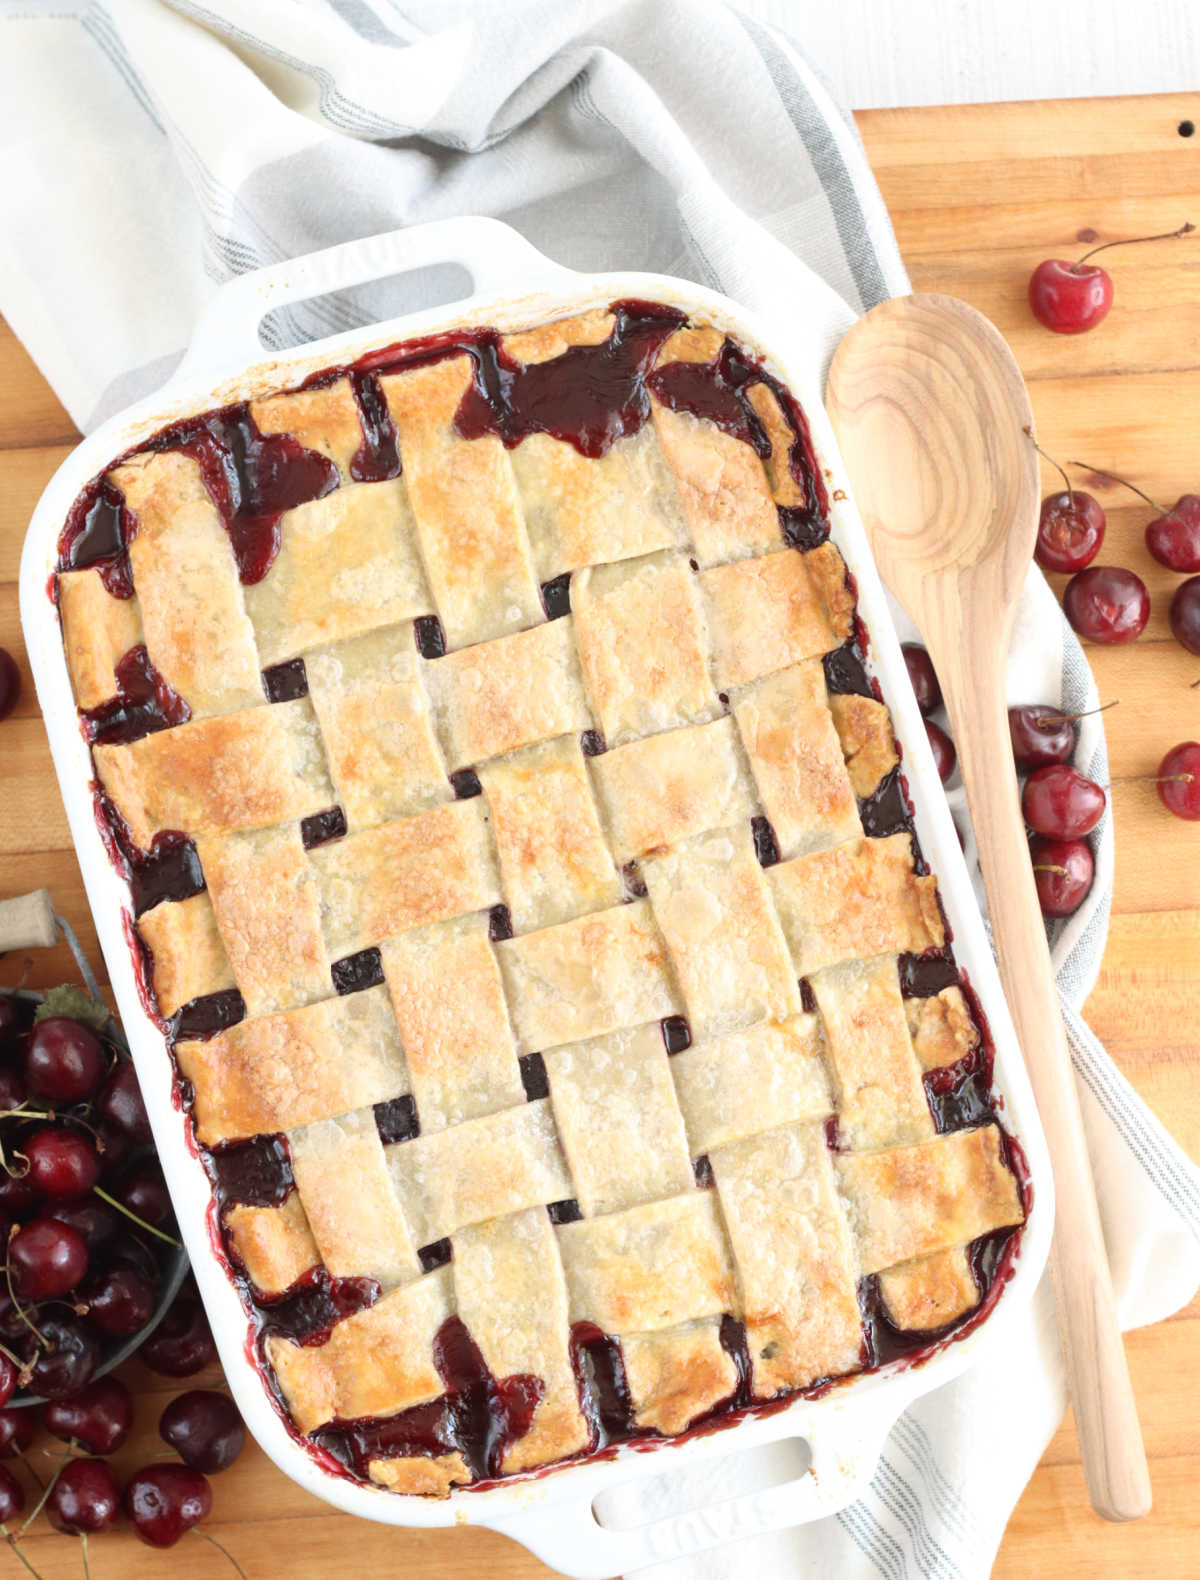
This cherry cobbler is absolutely delicious served with a scoop of vanilla ice cream or topped with whipped cream.
More Pie and Cobbler recipes
- Apple Crumb Pie
- Apple Hand Pies
- Caramel Apple Pie
- Cherry Crumb Pie
- Peach Crumb Pie
- Blueberry Crumb Pie
- Cherry Hand Pies
- Peach Cobbler
- Blackberry Cobbler
Did you make one of my recipes? Please take a moment to leave a star rating. Also, if you are on Pinterest, please feel free to leave a comment there! Follow A Farmgirl’s Kitchen on FACEBOOK, PINTEREST and YouTube and subscribe my mailing list for ALL the latest recipes!
Cherry Cobbler
Ingredients
Cherry Cobbler
- 4 pounds Bing cherries pitted fresh or frozen
- ¼ cup (½ stick) unsalted butter
- 1 to 1 ½ cups granulated sugar
- 2-3 tablespoons lemon juice
- 2 tablespoons cornstarch
- ¼ cup cold water
- Store-bought or Homemade pie crust
Instructions
Cherry Pie Filling
- If using fresh cherries; Pit the cherries over a glass liquid measuring cup. Place pitted cherries into a deep frying pan. Place your hand over the pits and pour any excess juices into the pan.
- If using frozen cherries; they will already be pitted and halved. Just add to the skillet and follow directions below. Add the cherries into a large cast iron skillet or pot and cook over medium heat. Add the butter, sugar and lemon juice. Cook until soft, stirring with a wooden spoon occasionally.
- Dissolve the cornstarch into cold water, stir with a tablespoon.
- Stir the cornstarch mixture into the cherry mixture. Cook over medium to high heat to thicken. Let the mixture simmer and stir constantly with a wooden spoon as it thickens.
- Let pie filling cool completely before adding pie crust to the top.
Cherry Cobbler
- Prepare the pie crust if you are making homemade pie crust. Refrigerate for several hours or overnight.
- On a lightly floured work surface, roll out the pie crust and cut into strips.
- Spray baking dish with baking spray or brush with butter and ladle cooled pie filling into 9×13-inch baking dish.
- Use a large spoon or ladle to scoop the cherry pie filling into prepared baking pan.
- Brush the pie crust with an egg wash.
- Place the cobbler on a half sheet pan lined with parchment paper. This will help catch any juices that run over the edges of the baking dish.
- Place in a preheated 400 degree F oven for 1 hour. The crust will be golden brown and the filling bubbling up around edges of the crust.
- Let cool for 2-3 hours before slicing. This will allow the pie filling to set.
Recipe Notes
Cherry Cobbler
You can use homemade or store-bought pie crust. Adjust the sugar based off how sweet or tart your cherries are. Use more sugar if you need. Set the baking dish on a half sheet pan lined with parchment paper to catch any fruit juices that might overflow. Turn the baking dish fully around half way through the baking process to evenly brown the crust and cook the filling. Use fresh or frozen cherries for this cobbler. (Frozen cherries are frozen at the peak of their ripeness and are absolutely delicious!) If using frozen cherries you do NOT need to thaw them! Cobbler will keep for a few days stored in the refrigerator.Nutrition
Disclosure: As an Affiliate Marketer, I earn from qualifying purchases. If you click a product affiliate link on A Farmgirl’s Kitchen and make a purchase, I may receive a commission at no additional cost to you! I own every cooking product I recommend and love how they perform.


Leave a Reply