
Salt dough ornaments are super easy to make and will last for many years to come. Salt dough is made with salt, flour, and water.
This easy kids craft project is especially popular for the holidays for salt dough ornaments and hand prints. It’s a wonderful family activity and Christmas craft around the holidays for beautiful, handmade ornaments that will last for decades!
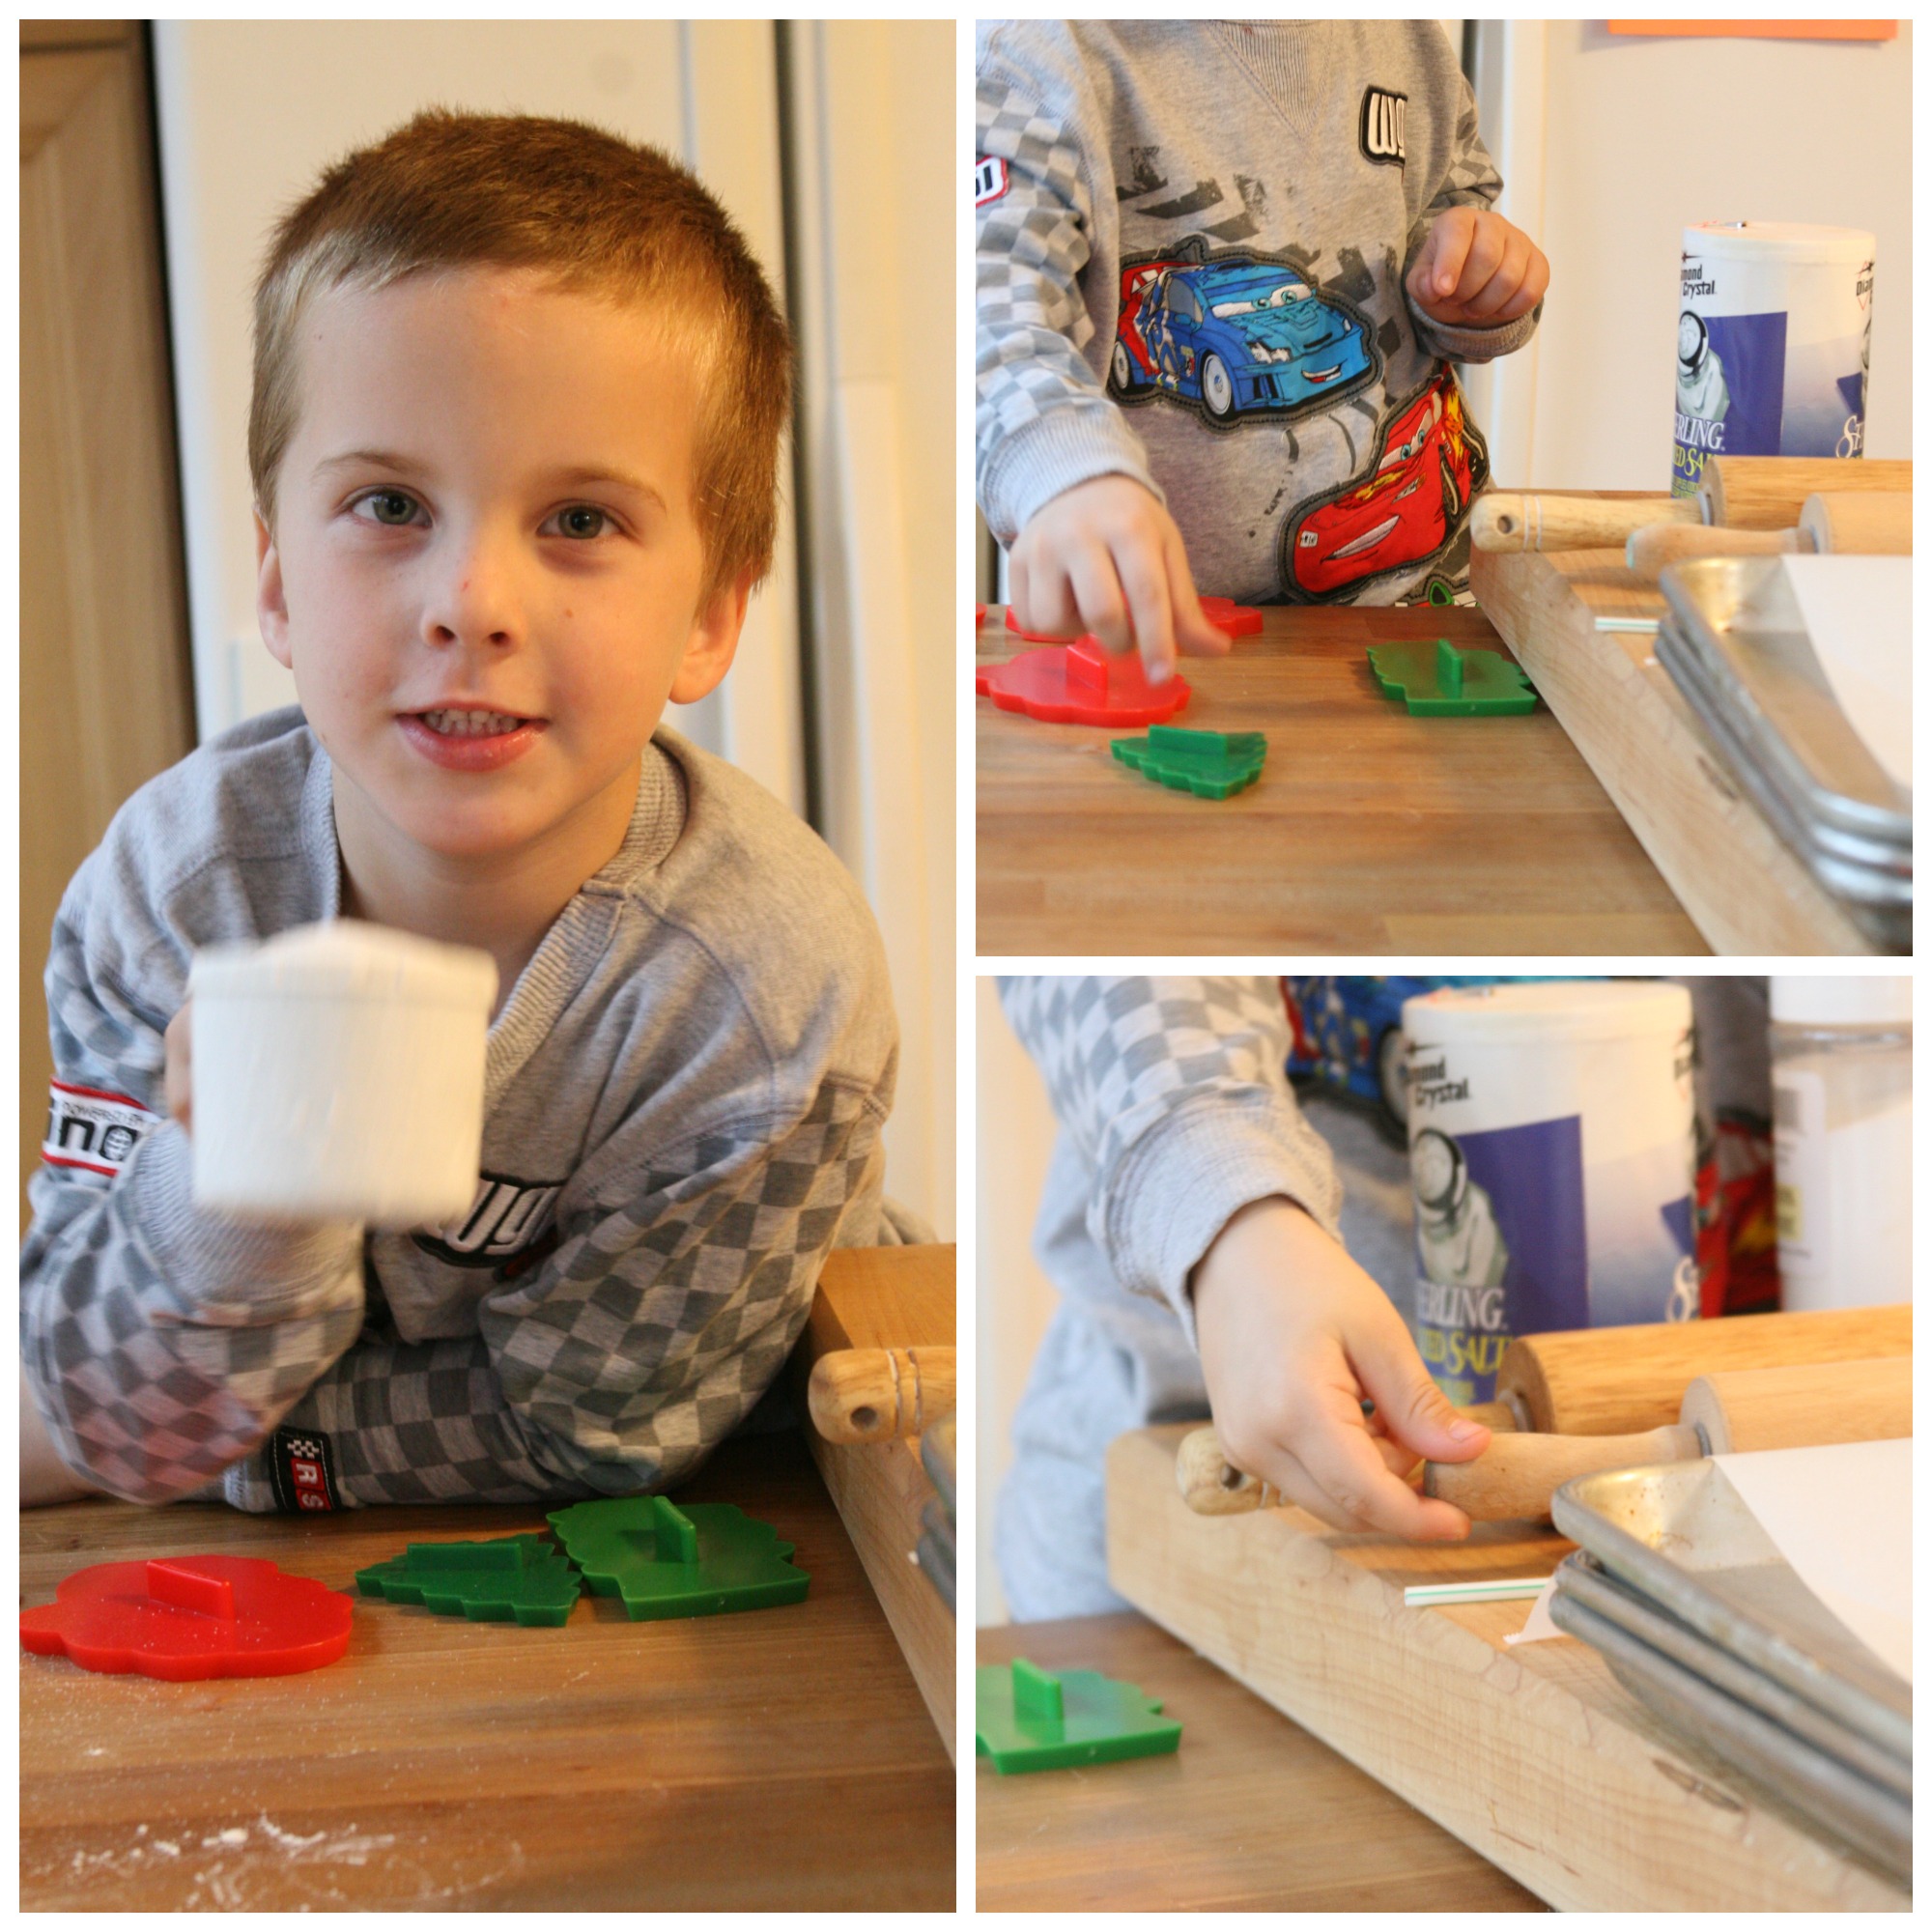
The holidays are over and our tree is put away. For some reason, I always think I can accomplish way more than I can during the busy holiday season. Now that things have calmed down a bit and I have some time, I’ve been painting salt dough ornaments with the kids.
I made the actual cookies a few weeks prior to Christmas with the grand hopes of getting them done for teacher’s gifts and such, but got too busy and never had the time. Winter is a great time for me and I can spend some of my afternoons and weekends relaxing and painting.
For some creative homemade DIY Christmas gifts, be sure and check out Caramel Apples, Barbecue Sauce, Mixed Berry Jam, and Raspberry Rhubarb Jam.
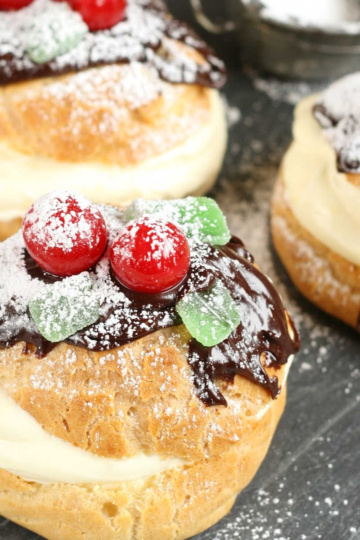
Or make a Christmas cookie tray filled with Chewy Fudge Brownies, Molasses Cookies, Raspberry Bars, and rolled sugar cookies. Or make these beautiful homemade Christmas cookies made from a rolled sugar cookie and decorated with royal icing. One of my absolute favorite holiday desserts is my grandma’s Cream Puffs.


Supplies needed to create Salt Dough Ornaments
- disposable straws
- sharp knife
- spatula
- baking sheets and parchment paper
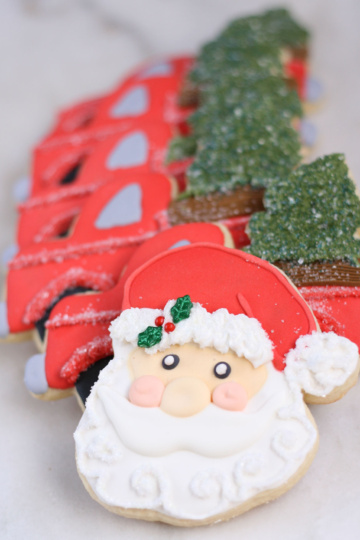
- shaped cookie cutters (This is the cute vintage truck cookie cutter with Christmas tree that I use!)
- acrylic paint
- an assortment of brushes
- small disposable plates
- disposable cup with water
- oil-based polyurethane
- small sponge brushes
- Kraft paper
- disposable rubber gloves
How to make Salt Dough Ornaments
Step 1: Mix the above ingredients in a bowl and roll out on a lightly floured surface to your desired thickness. You’ll want to lightly flour the surface of the dough once rolled out, so your cookie cutters don’t stick.
Cut out your desired shapes (I found really cool vintage cookie cutters on Ebay) and lift them up with the spatula. Place the cookie shape into your left hand and smooth out the edges with your right (opposite if you are left handed). Slide gently onto a parchment lined cookie sheet.
Step 2: Put a hole in the top of the cookie with a disposable straw. Twist the straw around in a circular motion to make the hole a little bigger. Iit will close up a bit during the baking process!)
How do you bake salt dough ornaments so they harden?
Bake at 170-200 degrees for about 12-15 hours. You’ll need to bake them at this low temperature for a long period of time so they don’t puff up or curl. Once they are done, let them cool fully. See painting instructions below.
Salt dough ornaments take a while to dry in the oven. The reason you want the oven as low as it will go and it takes so many hours is so they do not puff up and become distorted.
What’s the best way to paint and decorate salt dough ornaments?
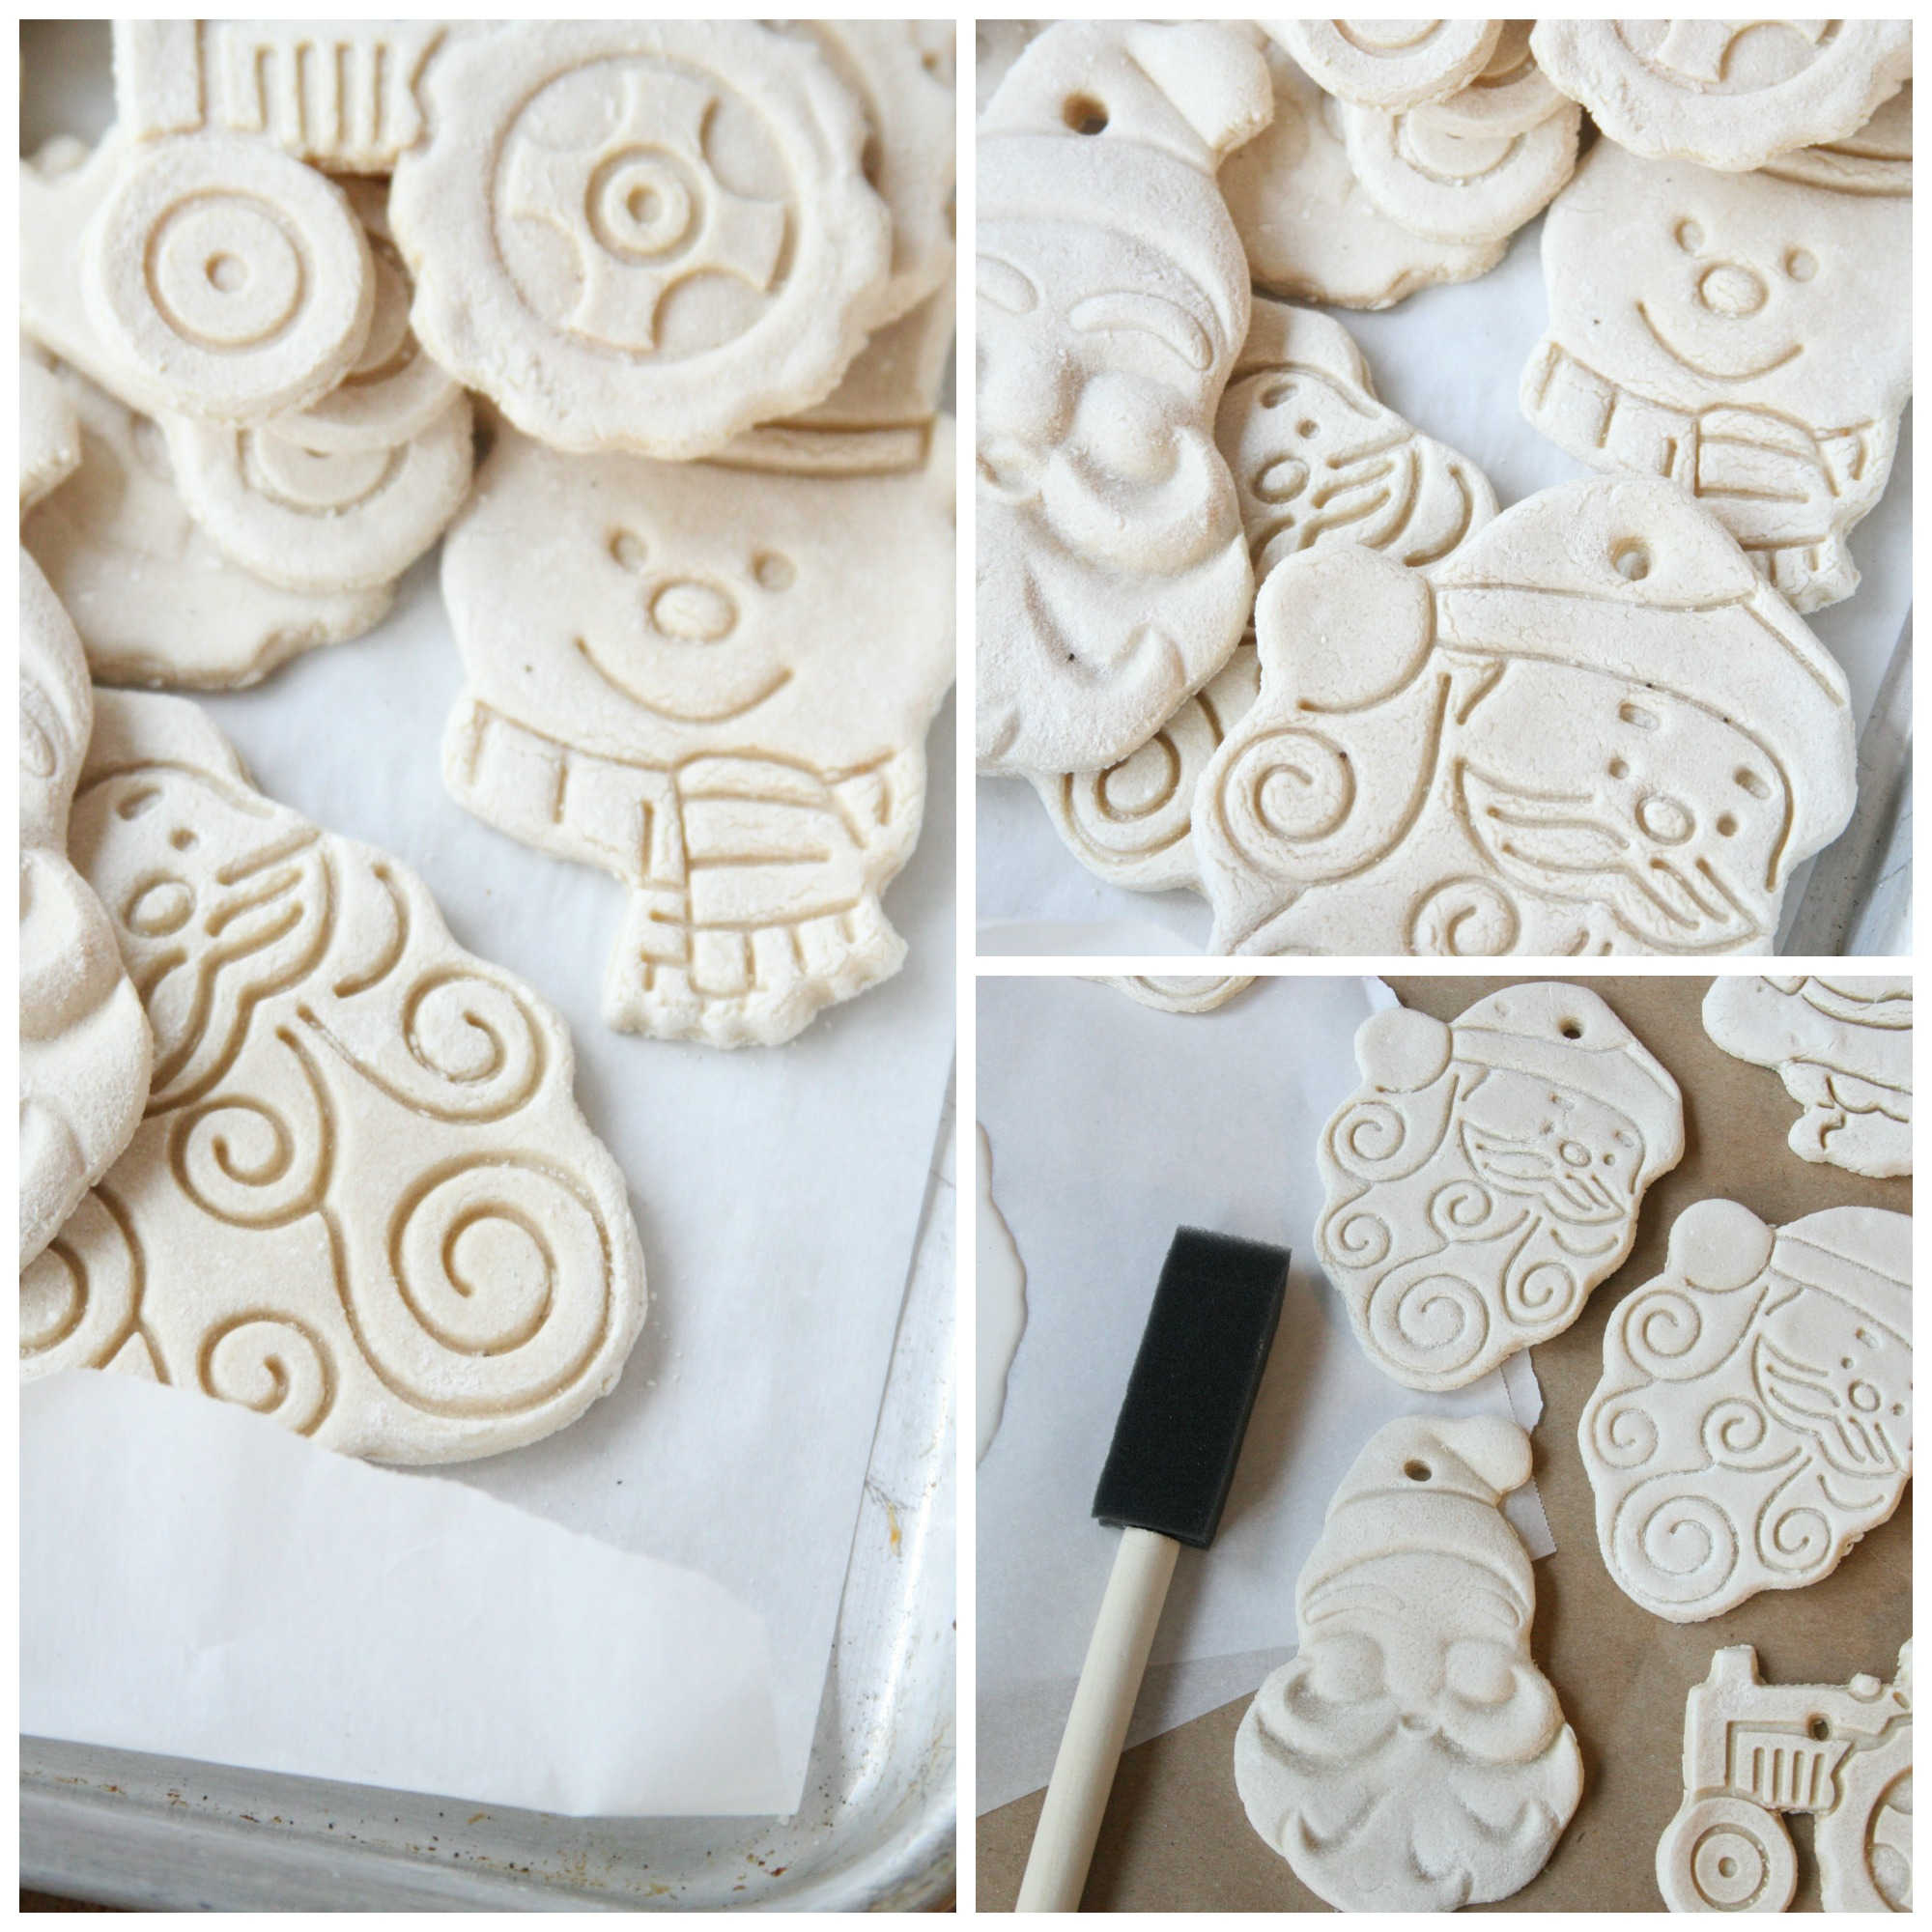
Step 1: To prep them for paint, I blow off any excess flour and paint the entire cookie with white acrylic paint as a base coat. Set aside and let them dry thoroughly. Apply a coat of white acrylic paint as a base coat to all of the cookies. Set on Kraft paper to dry thoroughly.
Step 2: Once they are fully painted, you can apply a few layers of polyurethane to seal the ornaments and help them last for years to come.
What kind of paint do you use on Salt Dough Ornaments?
Acrylic paint is the best for painting on salt dough. It’s water based and will wash off your hands easily for quick cleanup. It also rinses out of brushes easily.
Step 3: To seal the paint, apply a thin layer of oil-based polyurethane to each side, one side at a time. Apply about 3-4 coats per side and let dry thoroughly in between coats. Set them on Kraft paper as they dry. They should last for many years to come.
Salt Dough FAQs
Acrylic paint is the best for painting on salt dough. It’s water based and will wash off your hands easily for quick cleanup. It also rinses out of brushes easily.
PRO TIP: I use a rubber glove on my left hand and apply the poly with my right hand. Use oil-based polyurethane since it tends not to yellow as much as water-based poly. Make sure to get the poly into all the crevices of the ornaments.
Keep the sponge brush fresh in a small plastic bag for in between coats. Once you have one or two coats on the backside of the ornaments, you can write the date and/or your name with a black Sharpie.
More Christmas DIY Gifts
- Christmas Sugar Cookies
- Spritz Cookies
- Caramel Apples
- Barbecue Sauce
- Marinara Sauce
- Dill Pickles
- Bread & Butter Pickles
Did you make one of my recipes? Please take a moment to leave a star rating. Also, if you are on Pinterest, please feel free to leave a comment there! Follow A Farmgirl’s Kitchen on FACEBOOK, PINTEREST and YouTube and subscribe my mailing list for ALL the latest recipes!
Salt Dough Ornaments
Ingredients
Salt Dough
- 2 cups all-purpose flour
- 1 cup salt
- 1 cup water
Instructions
Salt Dough
- Mix the above ingredients in a bowl and roll out on a lightly floured surface to your desired thickness.
- You'll want to lightly flour the surface of the dough once rolled out, so your cookie cutters don't stick. Cut out your desired shapes (I found really cool vintage cookie cutters on Ebay) and carefully lift them up with the spatula. Place the cookie shape into your left hand and smooth out the edges with your right (opposite if you are left handed). Slide gently onto a parchment lined cookie sheet.
- Put a hole in the top of the cookie with a disposable straw. Twist the straw around in a circular motion to make the hole a little bigger. (it will close up a bit during the baking process)
- Bake at 170-200 degrees for about 12-15 hours. You’ll need to bake them at this low temperature for a long period of time so they don’t puff up or curl. Once they are done, let them cool fully.
Prep Salt Dough Ornaments for paint
- Brush off any excess flour and paint the entire cookie with white acrylic paint as a base coat. Set aside and let them dry thoroughly. Apply a coat of white acrylic paint as a base coat to all of the cookies. Set on Kraft paper to dry thoroughly.
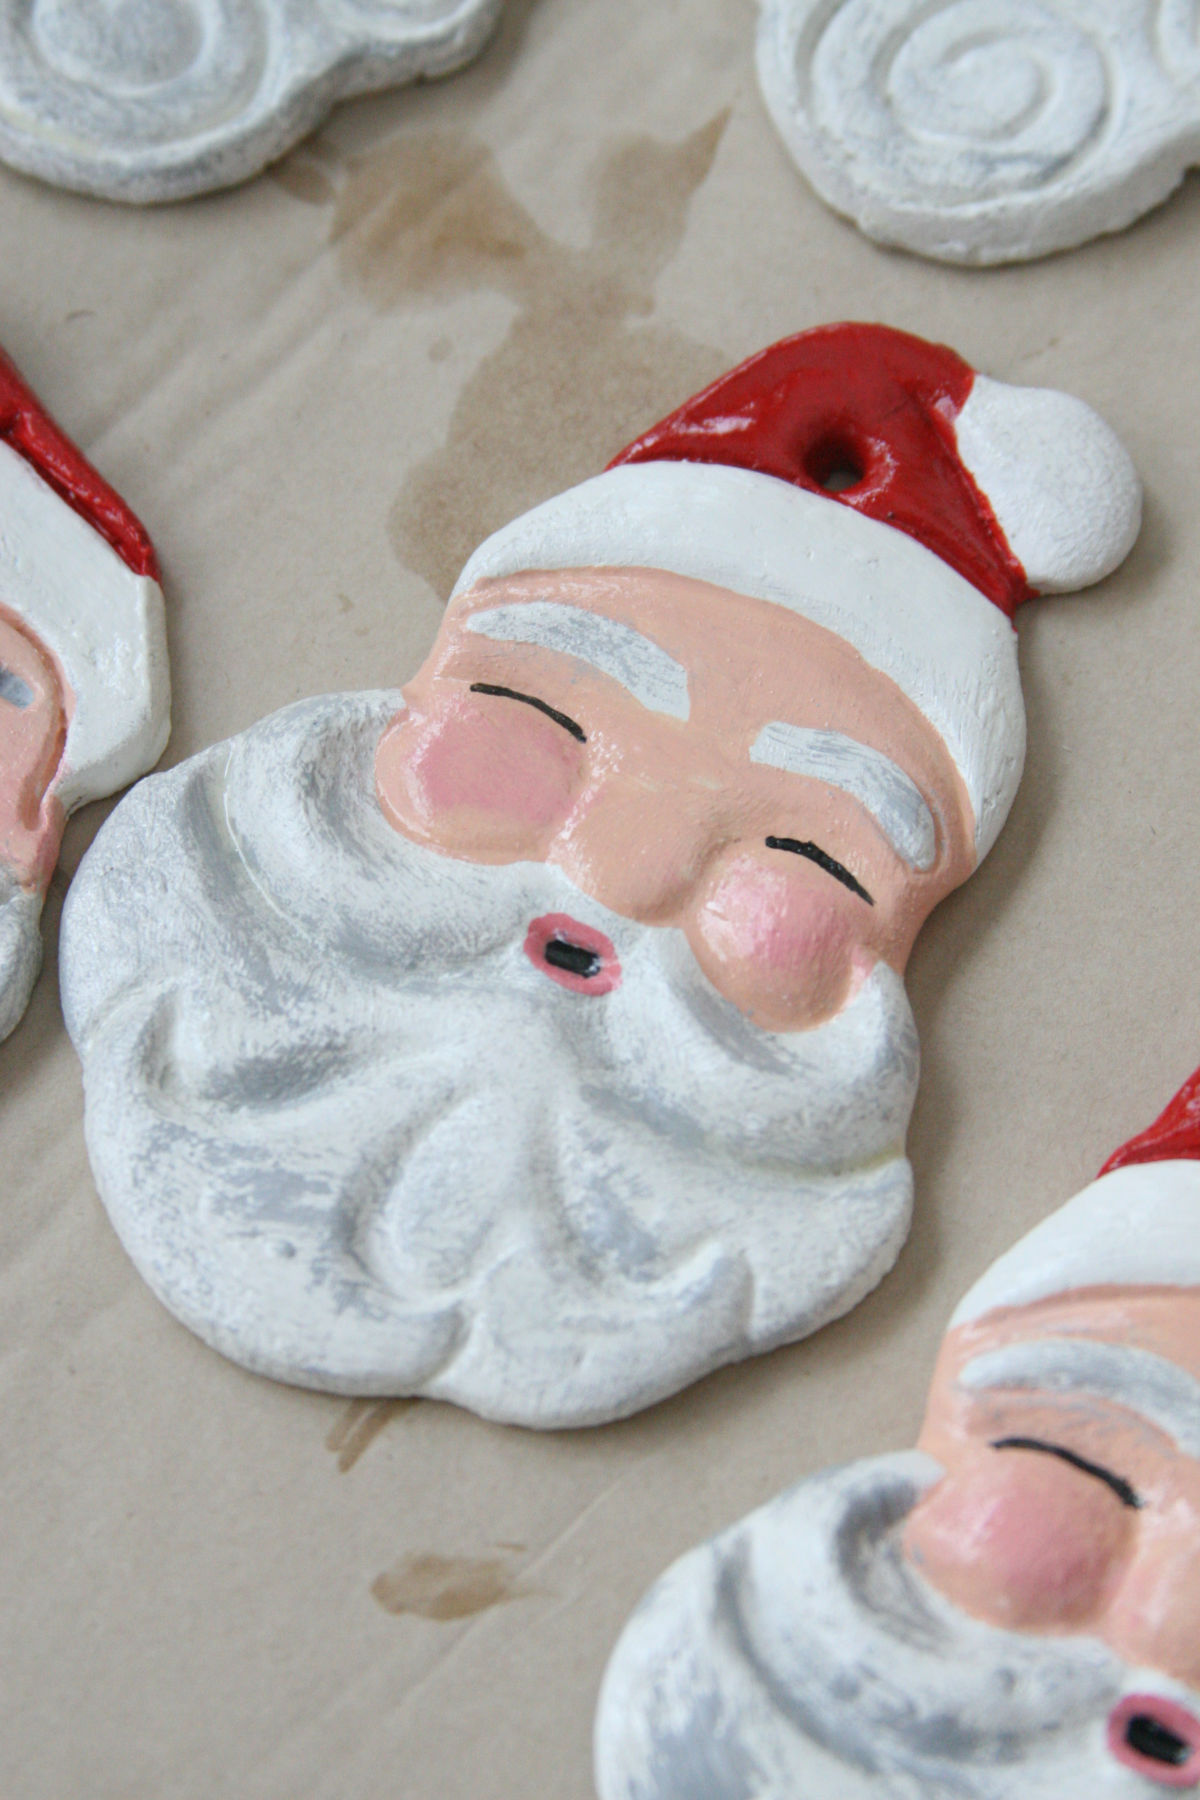
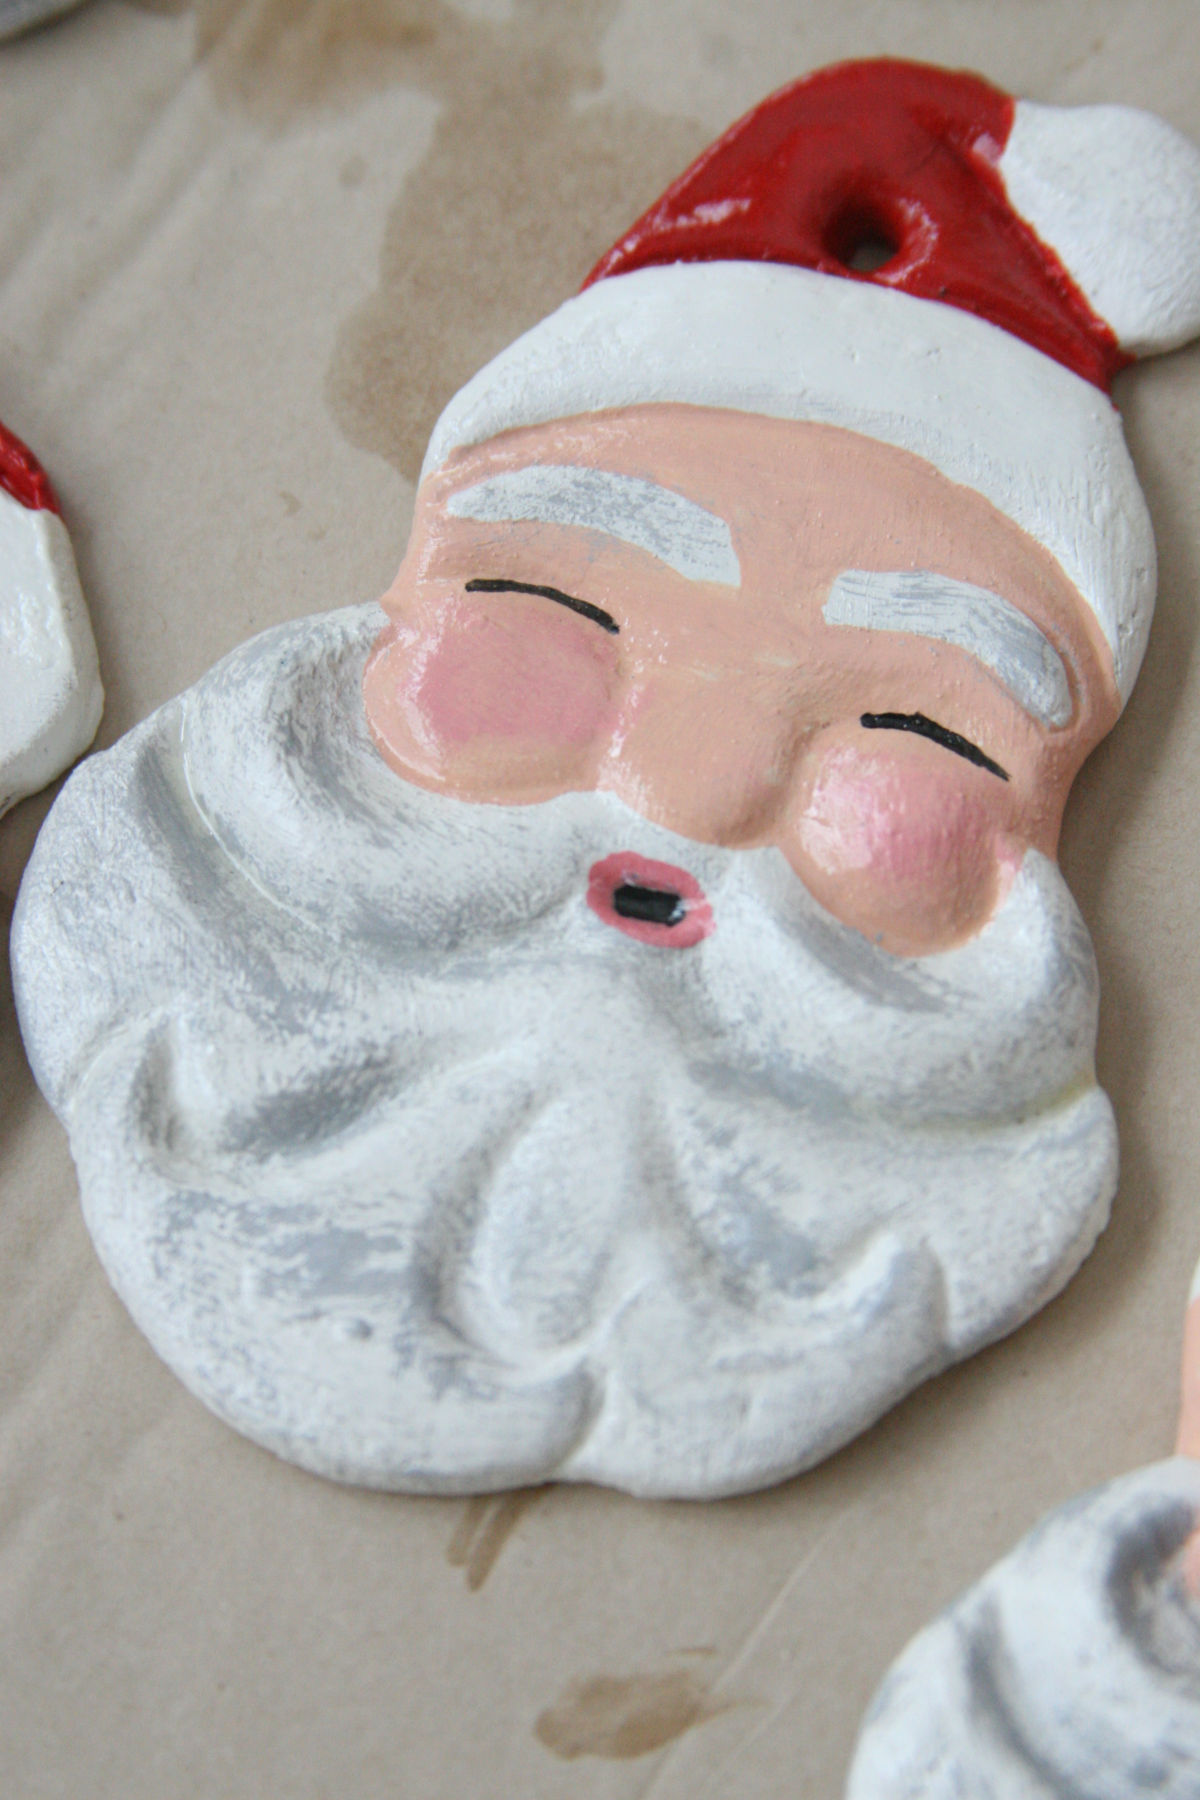
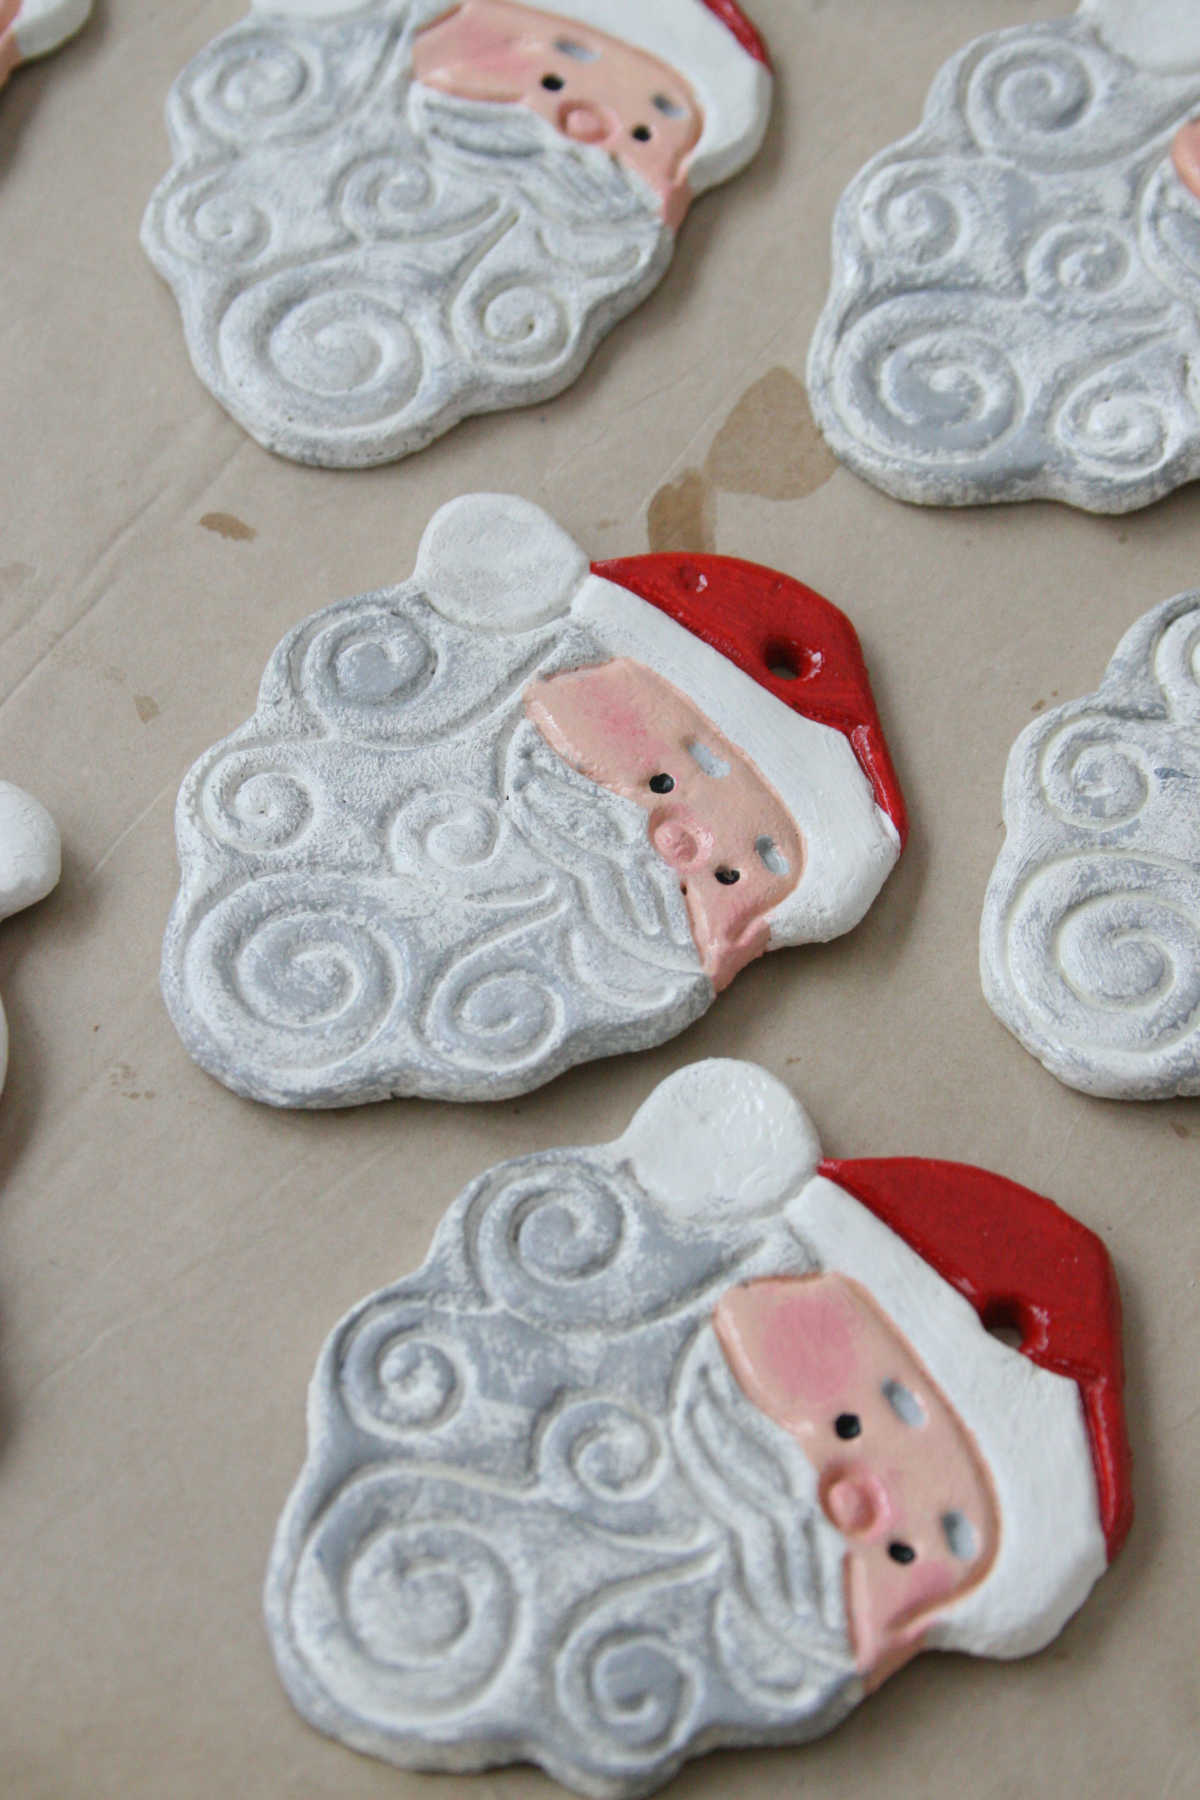
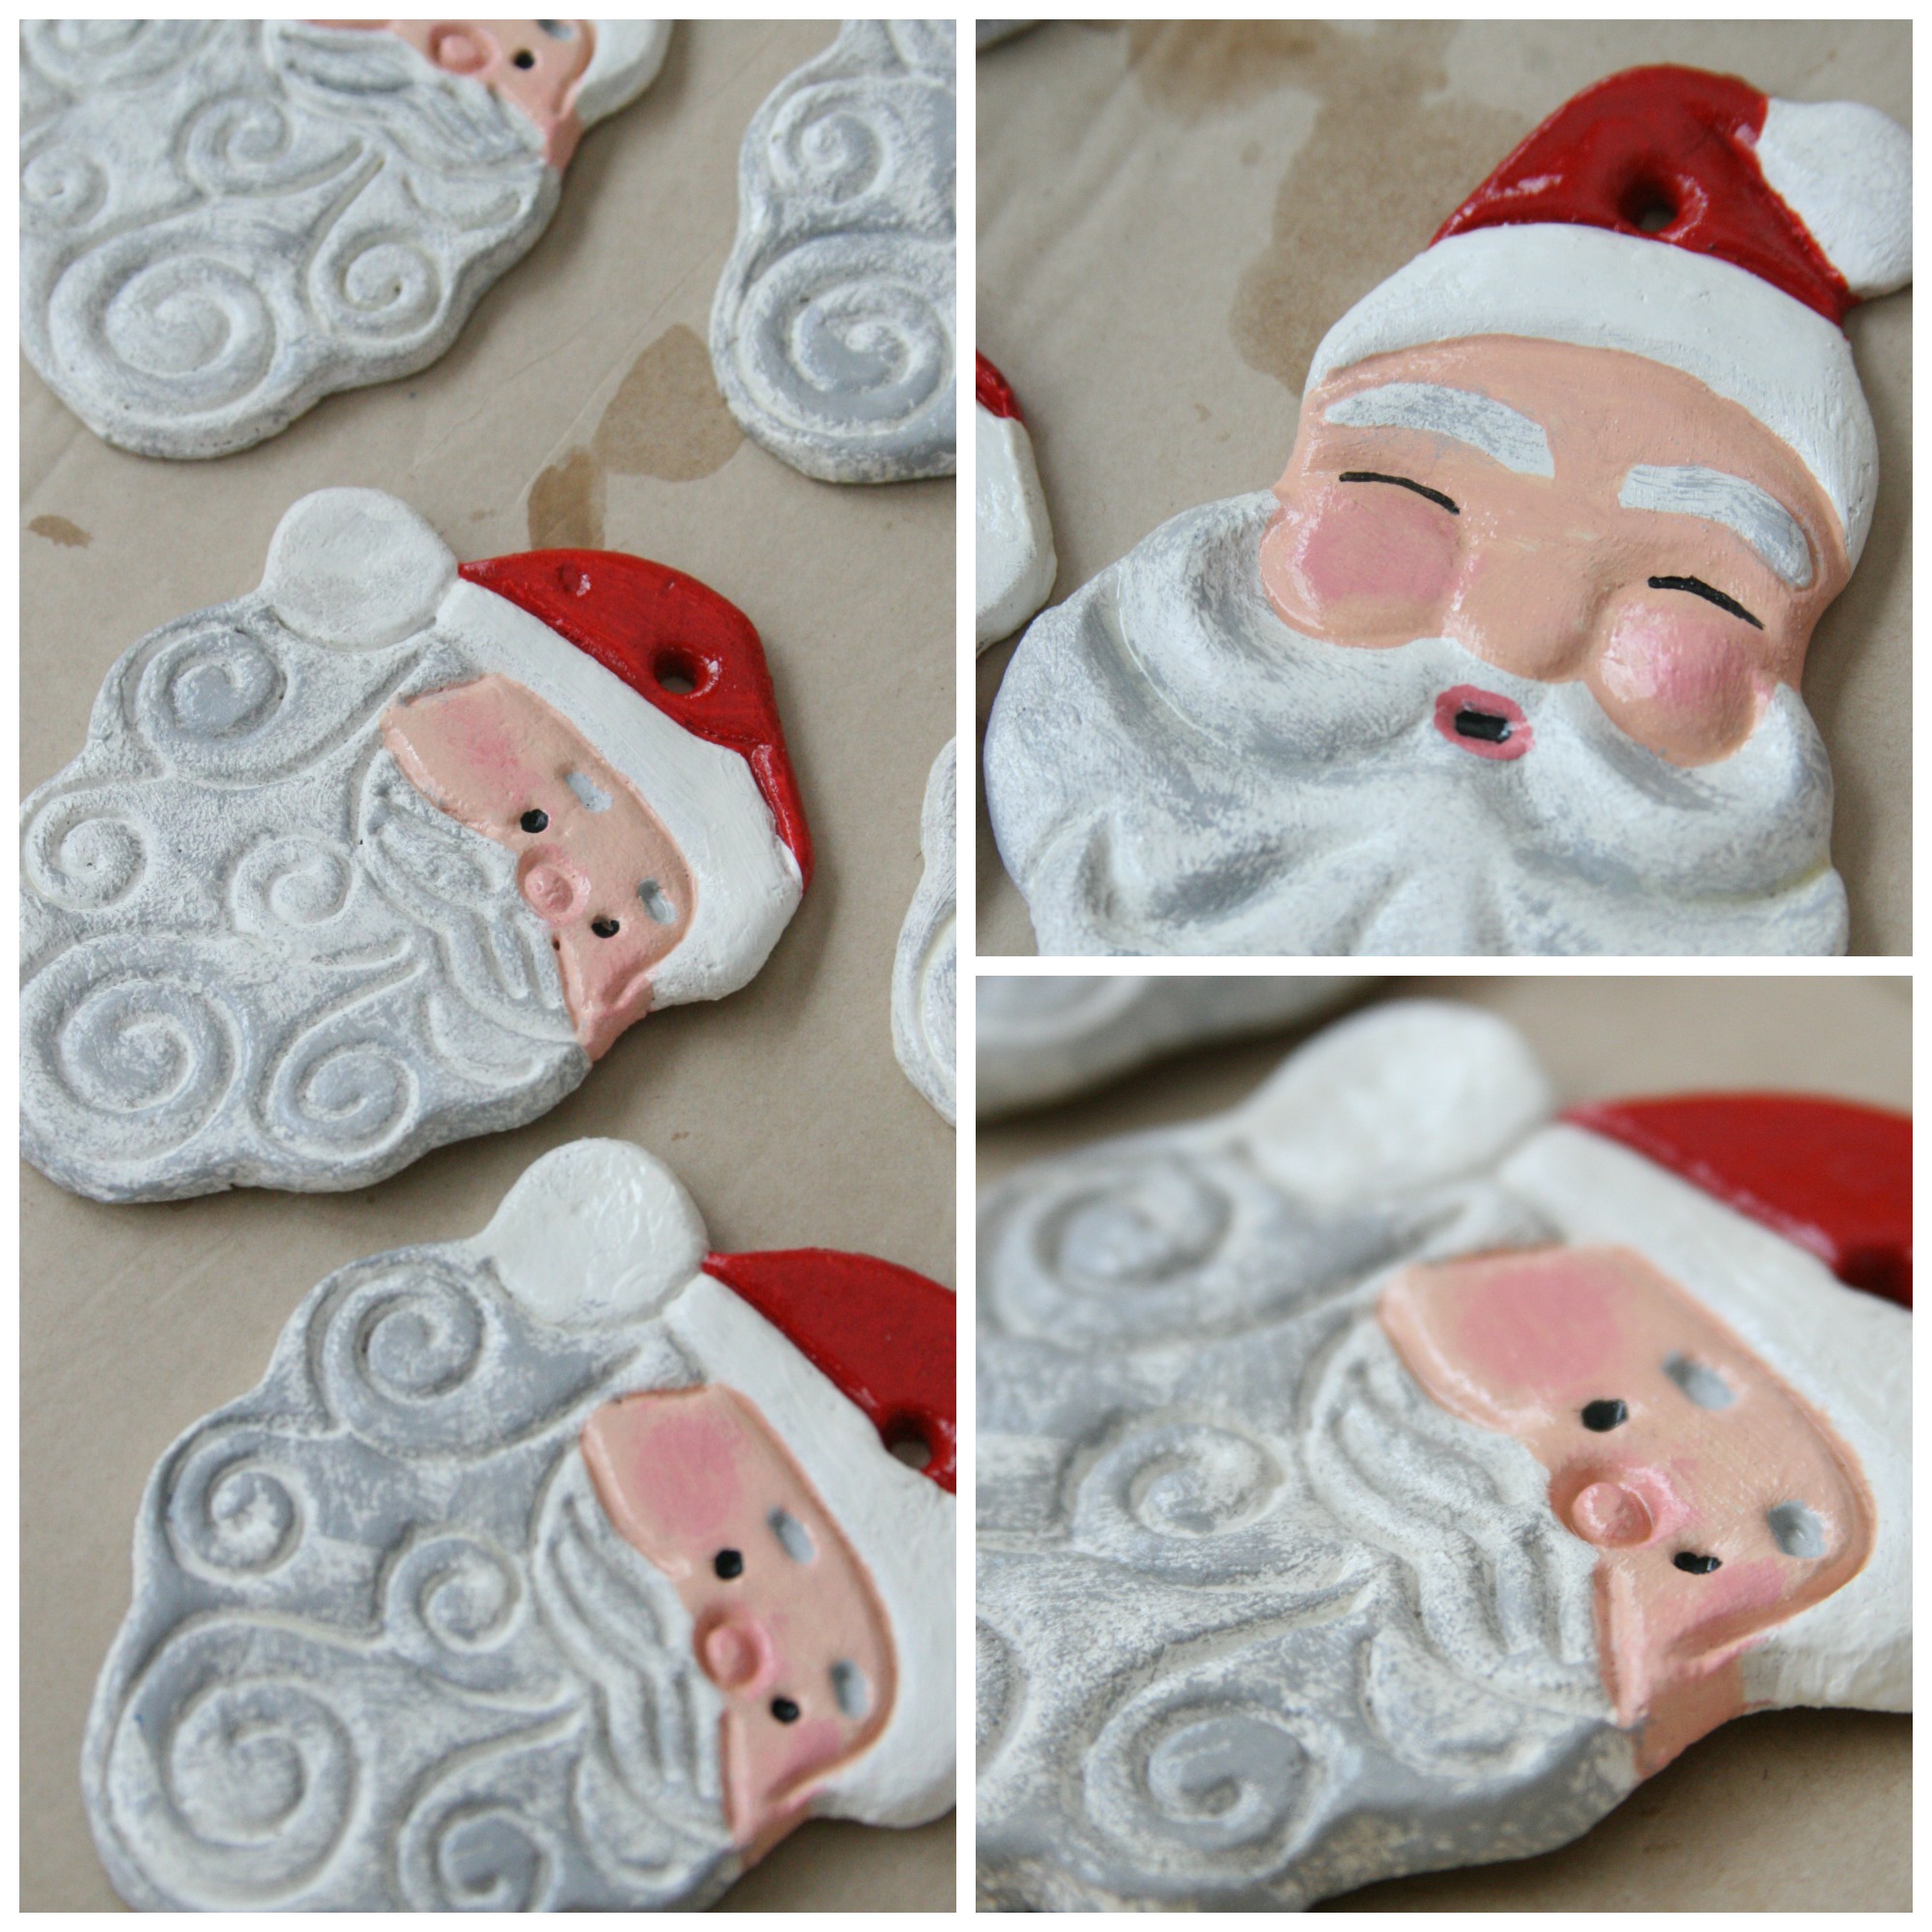
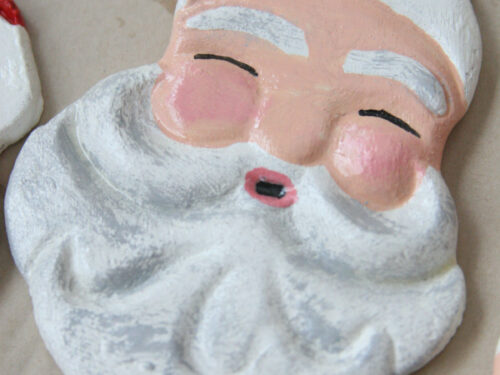
- I like to work in an assembly line of sorts. I start with red, for example and by the time I'm done painting that color they are dry and I can move on to the next color. Once they are all done you can go back and touch up any spots of paint you are not happy with. (For my Santa ornaments, I paint the beard white and then dry brush on gray for added texture. Same for his cheeks with a little bit of blush for added color.) Let them dry well.
- You'll want to apply a thin layer of oil-based polyurethane to each side, one side at a time. Apply about 3-4 coats per side and let dry thoroughly in between coats. Set them on Kraft paper as they dry. They should last for many years to come.
Disclosure: As an Affiliate Marketer, I earn from qualifying purchases. If you click a product affiliate link on A Farmgirl’s Kitchen and make a purchase, I may receive a commission at no additional cost to you! I own every cooking product I recommend and love how they perform.
Angele Daoust says
Thank you for a great recipe
Can these be dehydrated?
Jessica Robinson says
Hey! I’ve never dehydrated them. That certainly might be an option. I’ve always used the oven.
Ashlea says
This recipe was so easy to make, my kids can’t wait to paint them! Thank you! One question, my oven must have some sort of automatic shut off, it shut off overnight and idk how long it was off for so now I’m wondering, when they’re done should they be rock solid? Or are the centers slightly soft? Thank you!
Jessica Robinson says
Hello Ashlea,
Thank you for your comment and review! I think the newer ovens shut off as a safety feature. I’d definitely make sure you bake them longer so they are ROCK hard. Otherwise they will mold and get destroyed if you try to keep them for years to come.
Allison says
So cute! Love your Santas! Any suggestions on where to find small brushes for detailed work?
Jessica Robinson says
Allison,
You can find very small brushes at any art supply store like Hobby Lobby or Michael’s, depending on where you live.
Jan York says
Will this work for hand and footprints also? Any tips for the process?
Jessica Robinson says
Hello Jan,
Yes it most certainly can be used for hand or footprints. Make sure the dough is soft enough when rolled out. Press their foot or hand into the dough and use a sharp knife or a large cookie cutter to cut clean edges around their handprint or footprint. Follow the same directions for drying in my post. If you’re doing ornaments, use a straw to cut out the hole.
Jessica says
Super cute! Do you know where I could find those cookies cutters?
Jessica Robinson says
Hello Jessica,
Thanks so much!! Those cookie cutters are from Aunt Chick’s. They are available on Ebay (search for Aunt Chick’s cookie cutters.)
Nicole says
If you are gluing on googly eyes, do you put them on before or after sealing the paint with polyurethane?
Jessica Robinson says
Hi Nicole,
I hand painted those eyes on the Santas. But, if you used googly eyes (store-bought) I would seal with Poly, THEN super glue on the eyes. Let me know if I can help you with anything else!
Beth says
These are so fun. I have the Aunt chicks cutter and my Mom used to wrap edible cookies is plastic wrap to hang on the tree. I’m going to try these this year!
Jessica Robinson says
Thanks so much Beth! My mom had an original set of Aunt Chicks cutters and she researched them and found out someone bought the rights to the cutter and was reproducing new ones. These are probably my favorite set of cookie cutters! Thanks for stopping by!
Caitlin + Dani says
These look magical! Such a piece of art!
Jessica Robinson says
Thanks so much Caitlin! I hope you tried making a few!
Latebylattes says
These are so awesome! Inexpensive and decorative! Christmas ornaments CAN get pricey, but these are awesome because it is inexpensive and creative!
Jessica Robinson says
I’m all about something homemade for a holiday gift! Thanks for stopping by!
Swathi says
you are really talented, this salt dough ornaments looks really beautiful love those santa one.
Jessica Robinson says
Oh thank you!! I’m glad you’re loving these ornaments!
Princess Quinn says
I super love DIYs, specially like this. It is seasonal and quite artistic. Looks like a perfect gift as well.
Jessica Robinson says
Thanks so much!!
Viv for Today says
Love the rosy cheeks on Santa. My daughter used to love crafts like these. Turns 18 on Sunday but I think we might have to squeeze one more crafty session in before she officially becomes an adult!
Jessica Robinson says
So nice to see kids still involved in crafts. That’s how I grew up!
Natalia says
I love this kind of handmade Christmas ornaments. I haven’t done something like that for years. Hope I’ll find some time to prepare such beauties for Monday! 🙂
Jessica Robinson says
Glad you love these!! Thanks for visiting!
Mommaybefailing says
These look awesome! Adding to my list to do with the kids for their Christmas break. I’m sure this would be a great tradition to do every year! Thanks for the idea
Jessica Robinson says
Thanks so much!
Jessi Joachim says
This is absolutely adorable! I really love making salt dough with my kids and I will have to try to make some new ornaments when I am off work this weekend!
Jessica Robinson says
Thanks so much Jessi!
Cristina Petrini says
It’s amazing how with salt you can really make adorable decorations! I copy this and I hope the result it’s the same hihih