
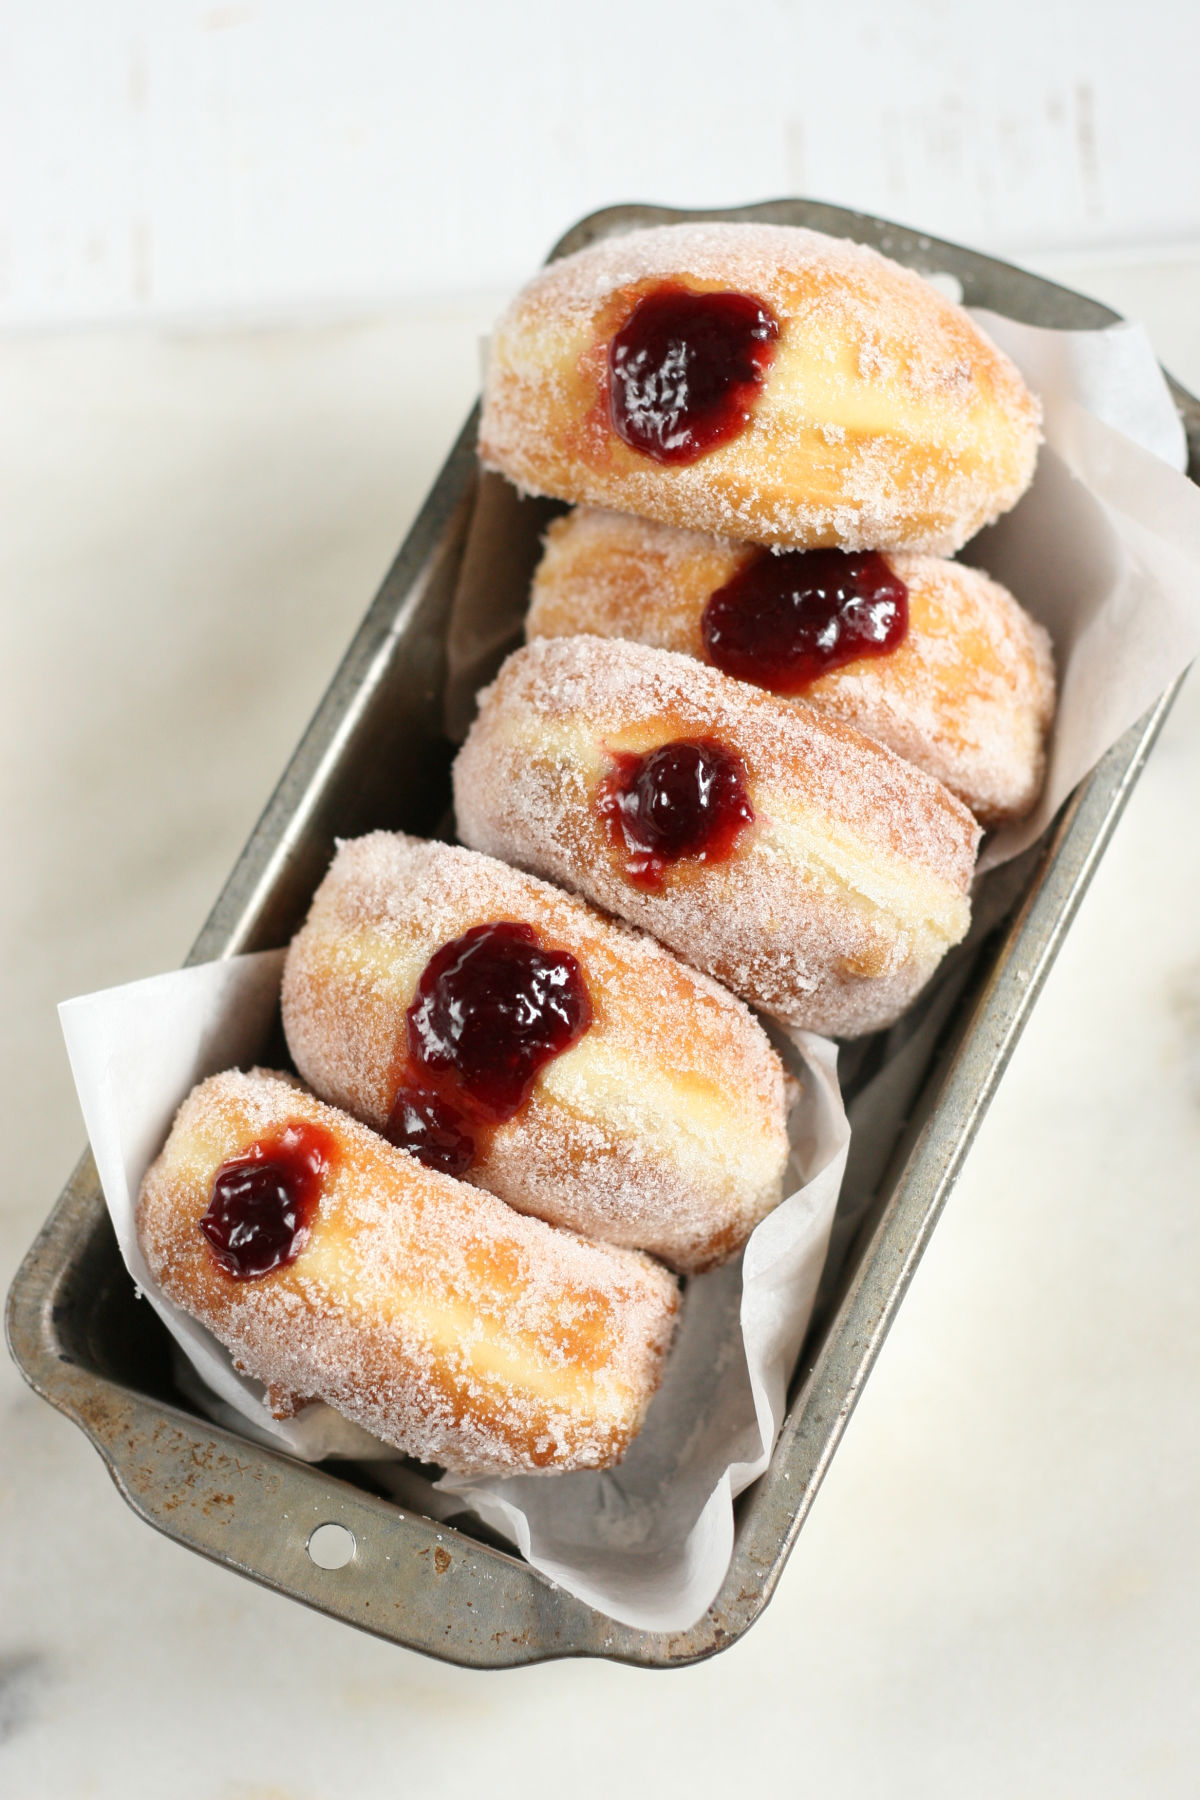
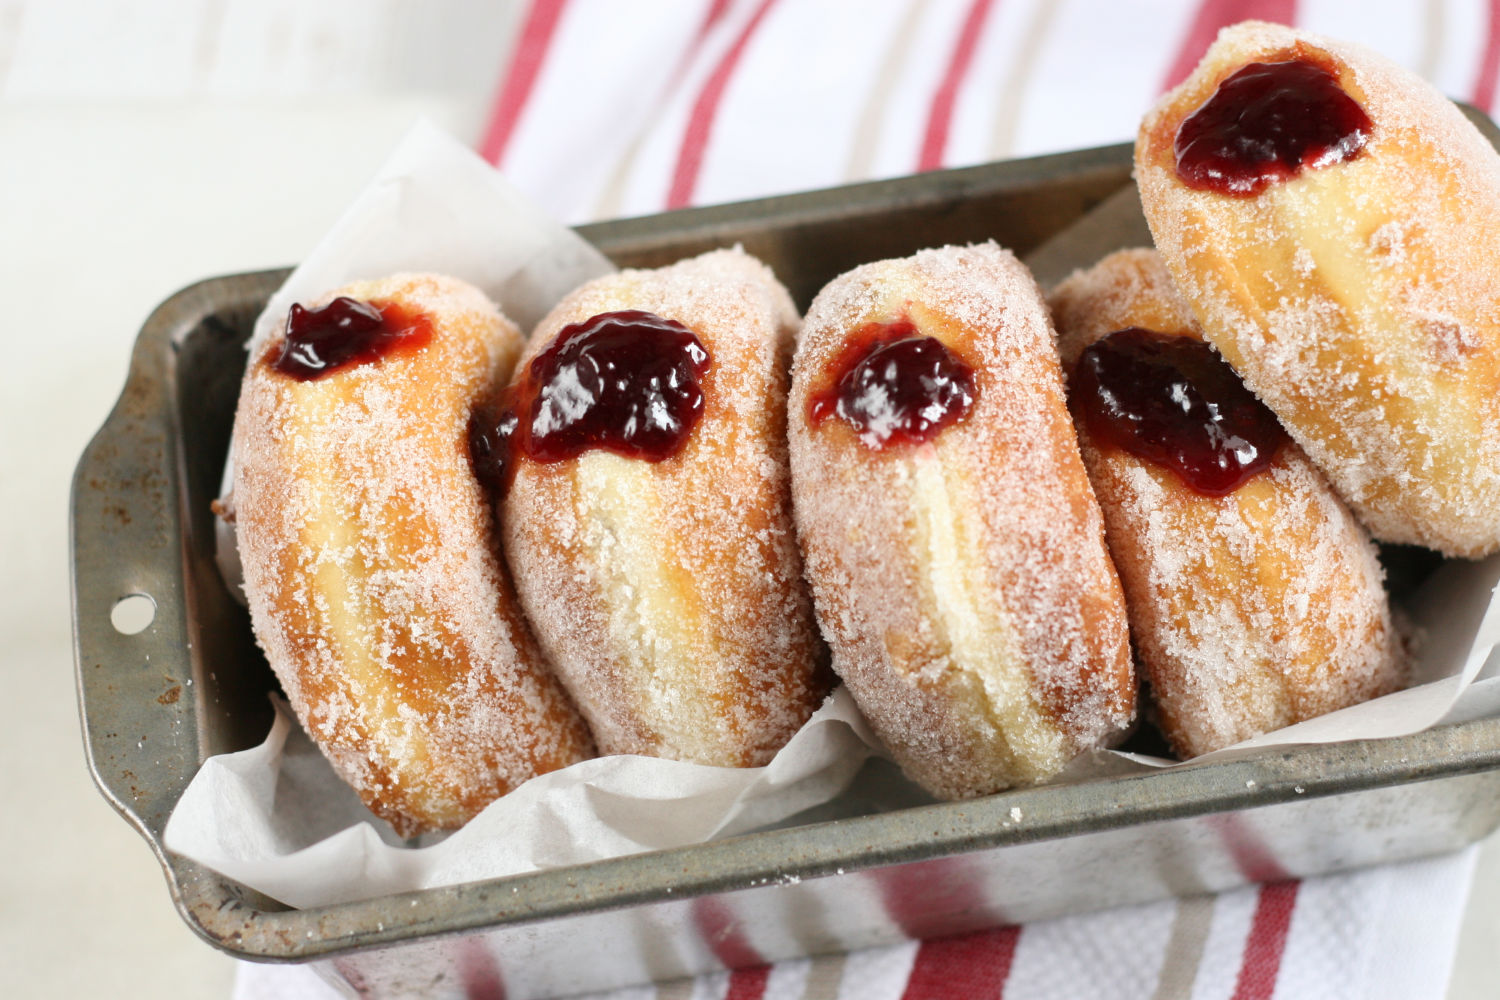
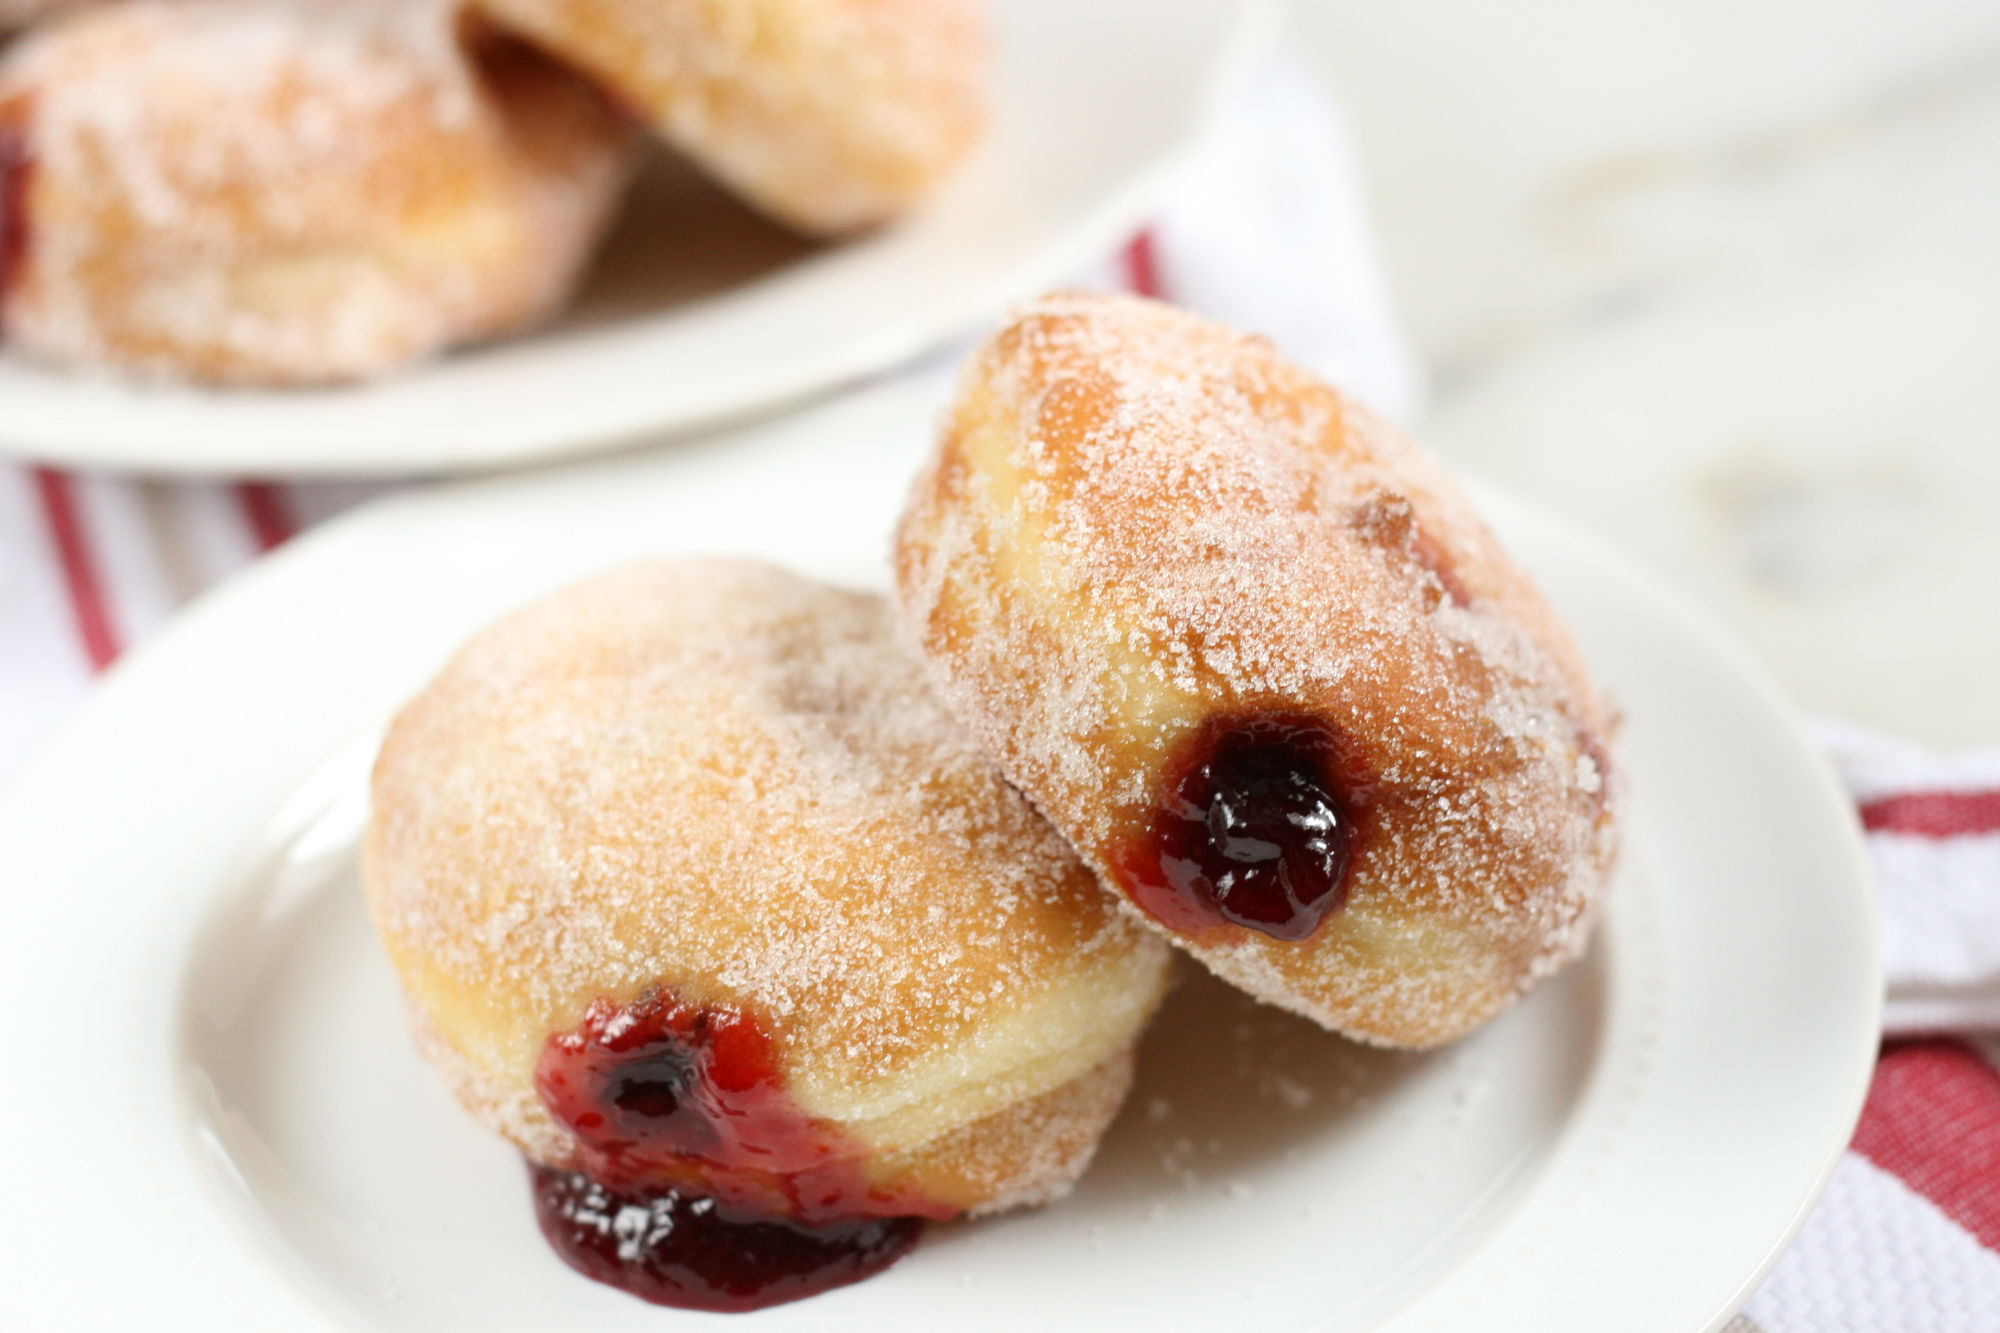
Homemade Jelly Donuts filled with raspberry jam is one of my favorite donuts recipe. Light and fluffy homemade donuts coated in granulated sugar and filled with raspberry jam.
Jelly donuts are easy to make with pantry ingredients. Pillow soft, fluffy donuts filled with homemade or store-bought raspberry jam. They can be made ahead of time and refrigerated overnight. So much better than donuts from the donut shop.
One of my fondest memories growing up on a small farm, was my mom making homemade doughnuts. She would stand in our small kitchen frying doughnuts, while an auburn color Golden Retriever impatiently waited at her feet for donut holes to drop.
She mostly made an old-fashioned cake-style donut. They barely had time to cool before we were popping them into our mouths! Inspired by my mom, I’m sharing my recipe for Homemade Jelly Donuts.
Making donuts from scratch isn’t hard, it just takes a some of time for the dough to rise.
To help save time, often times, I’ll make donuts in the afternoon/evening and let them have their final proof in the fridge overnight. Try my Glazed Donuts and Apple Fritters.
How to make jelly donuts
Step 1: In a large mixing bowl of a stand mixer dissolve the yeast in the warm water. Add the warm milk, sugar and eggs.
Use the dough hook attachment, and stir in the flour and salt. Scrape the bottom and sides of the bowl occasionally with a rubber spatula.
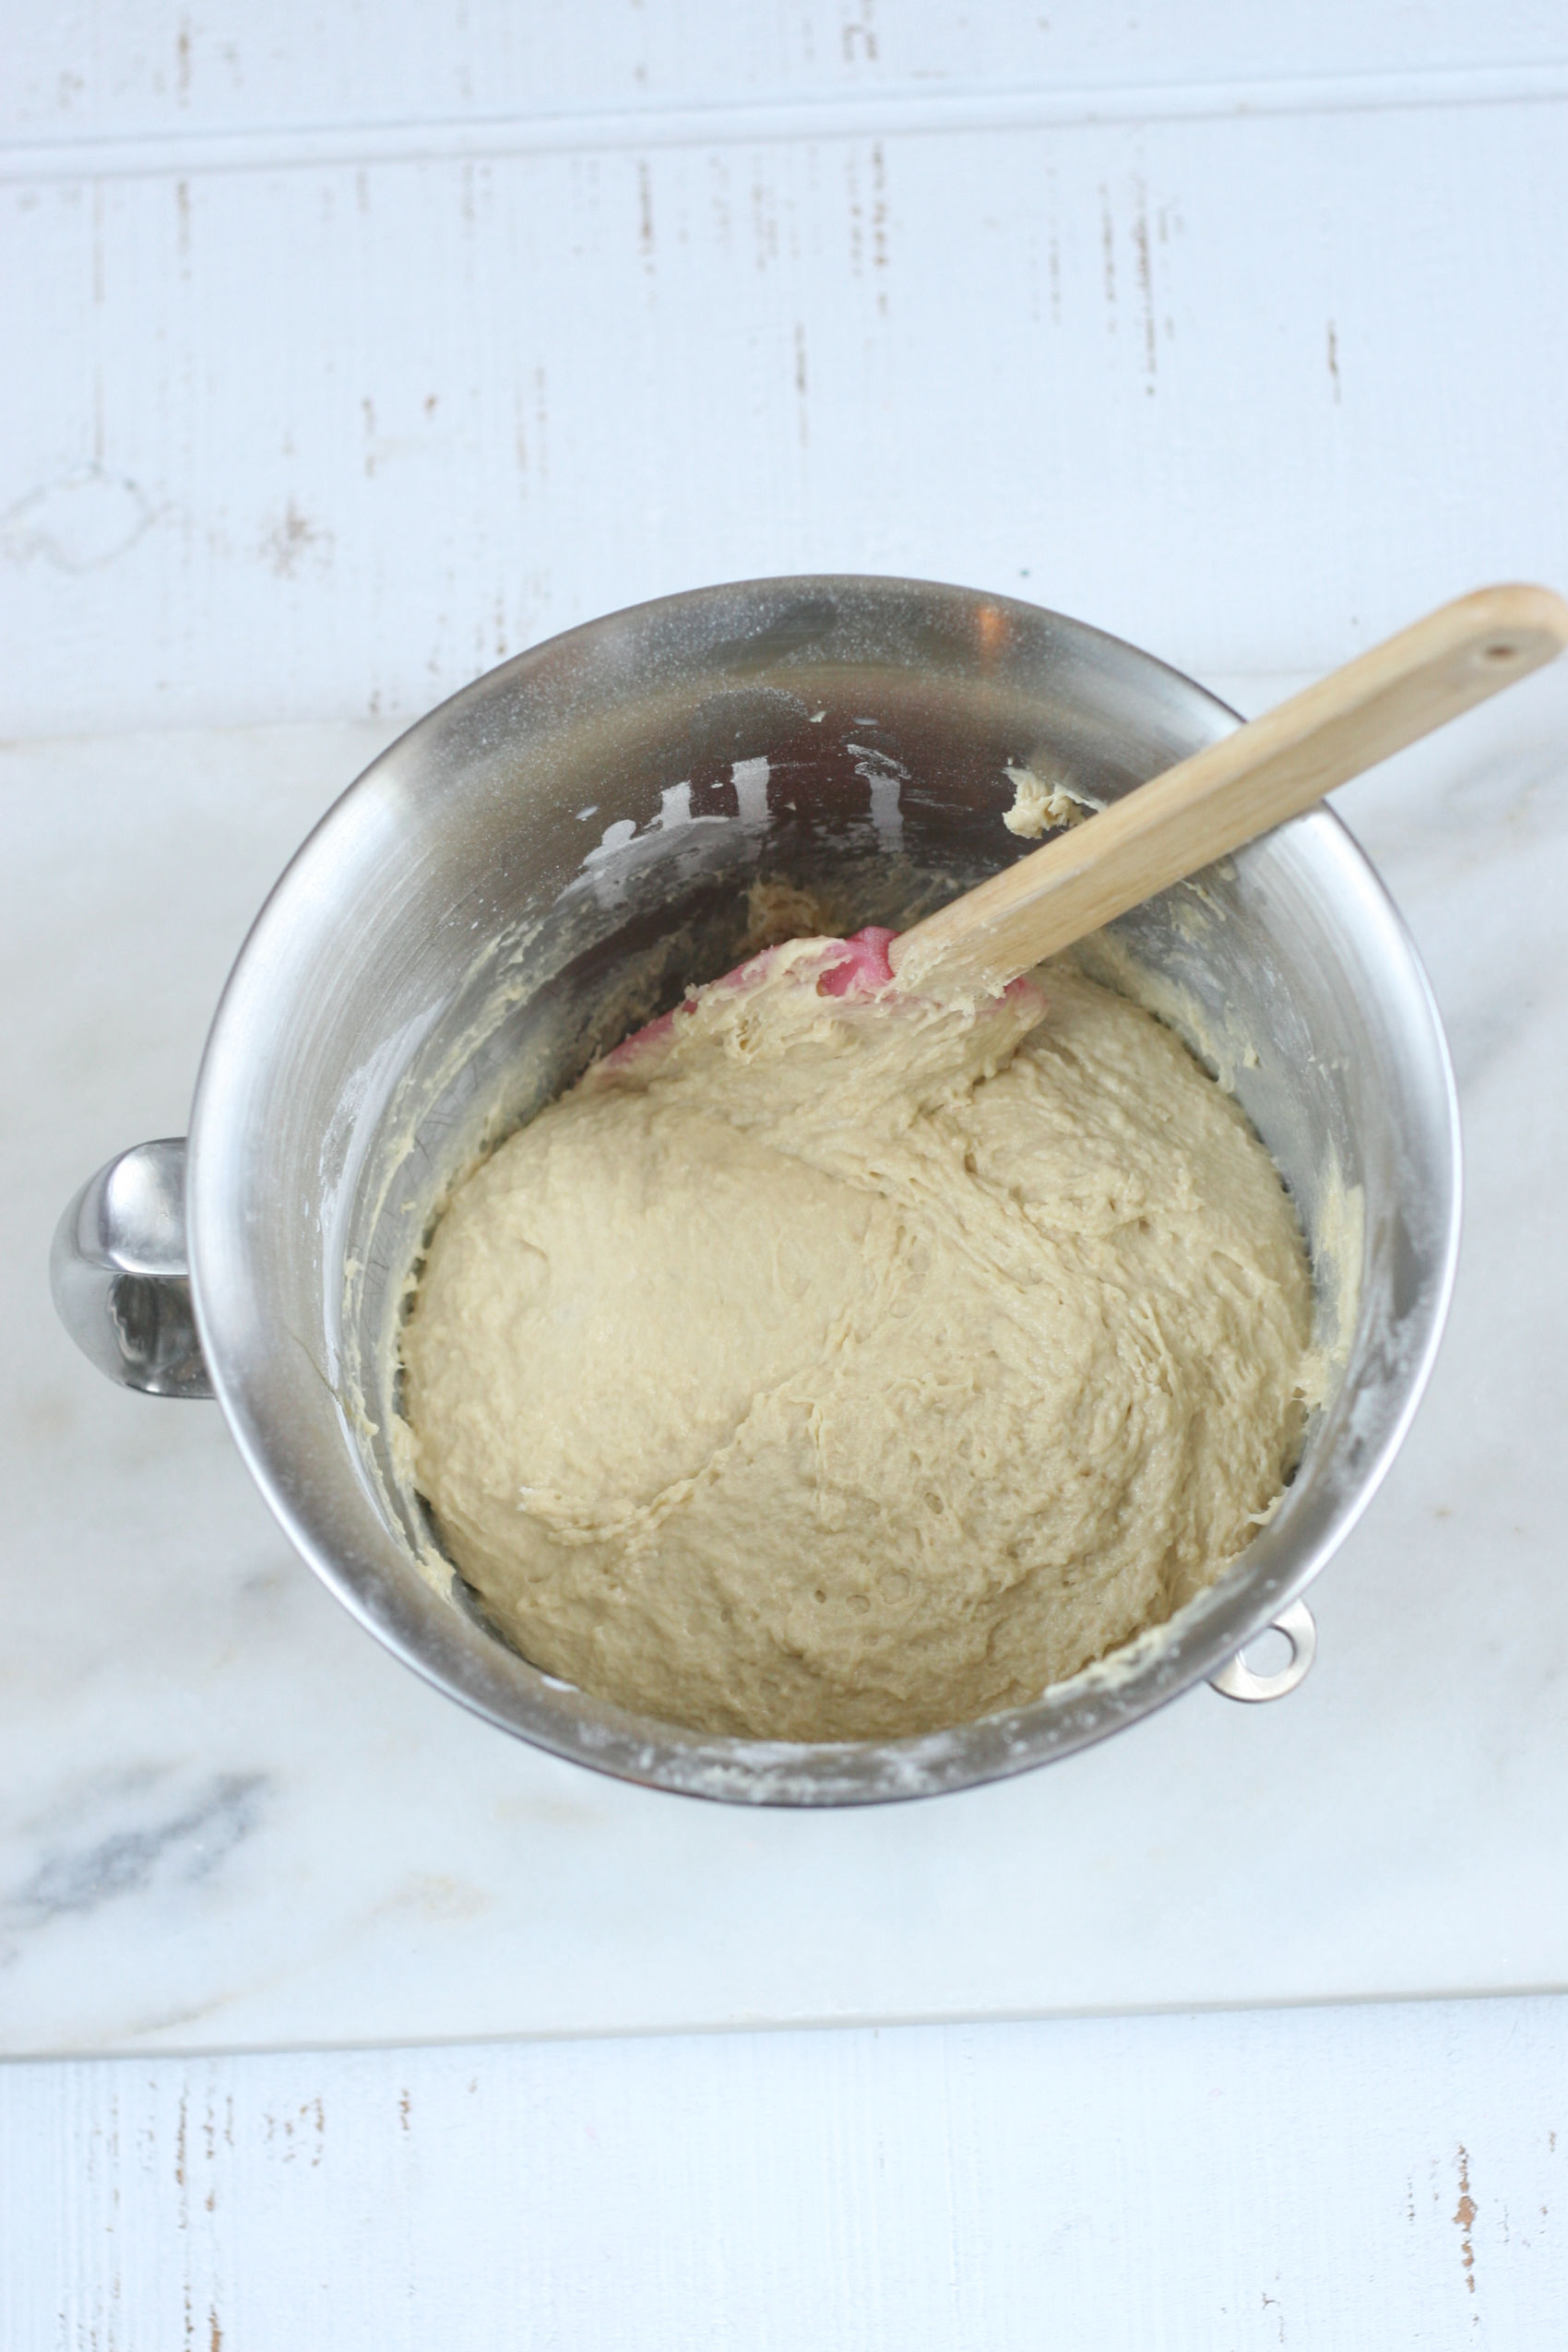
Step 2: Cut the butter into small pieces and incorporate into the dough. Scrape the bowl a few times. Beat the dough until it becomes smooth, about 5-7 minutes.
Step 3: Turn the dough out onto a floured work surface and knead for 5-6 minutes, making a smooth dough. This dough is going to be sticky when you turn it out.
After kneading, shape into a round ball and place back into the greased mixing bowl. Cover loosely with plastic wrap and drape with a clean kitchen towel. Place in a warm area and let rise until doubled in size, about 1-2 hours.
Step 4: Turn the dough out onto a lightly floured work surface and knead the dough for a few minutes. Turn back into the greased bowl (spray with cooking spray again if needed) and let rise until doubled, about 1 hour.
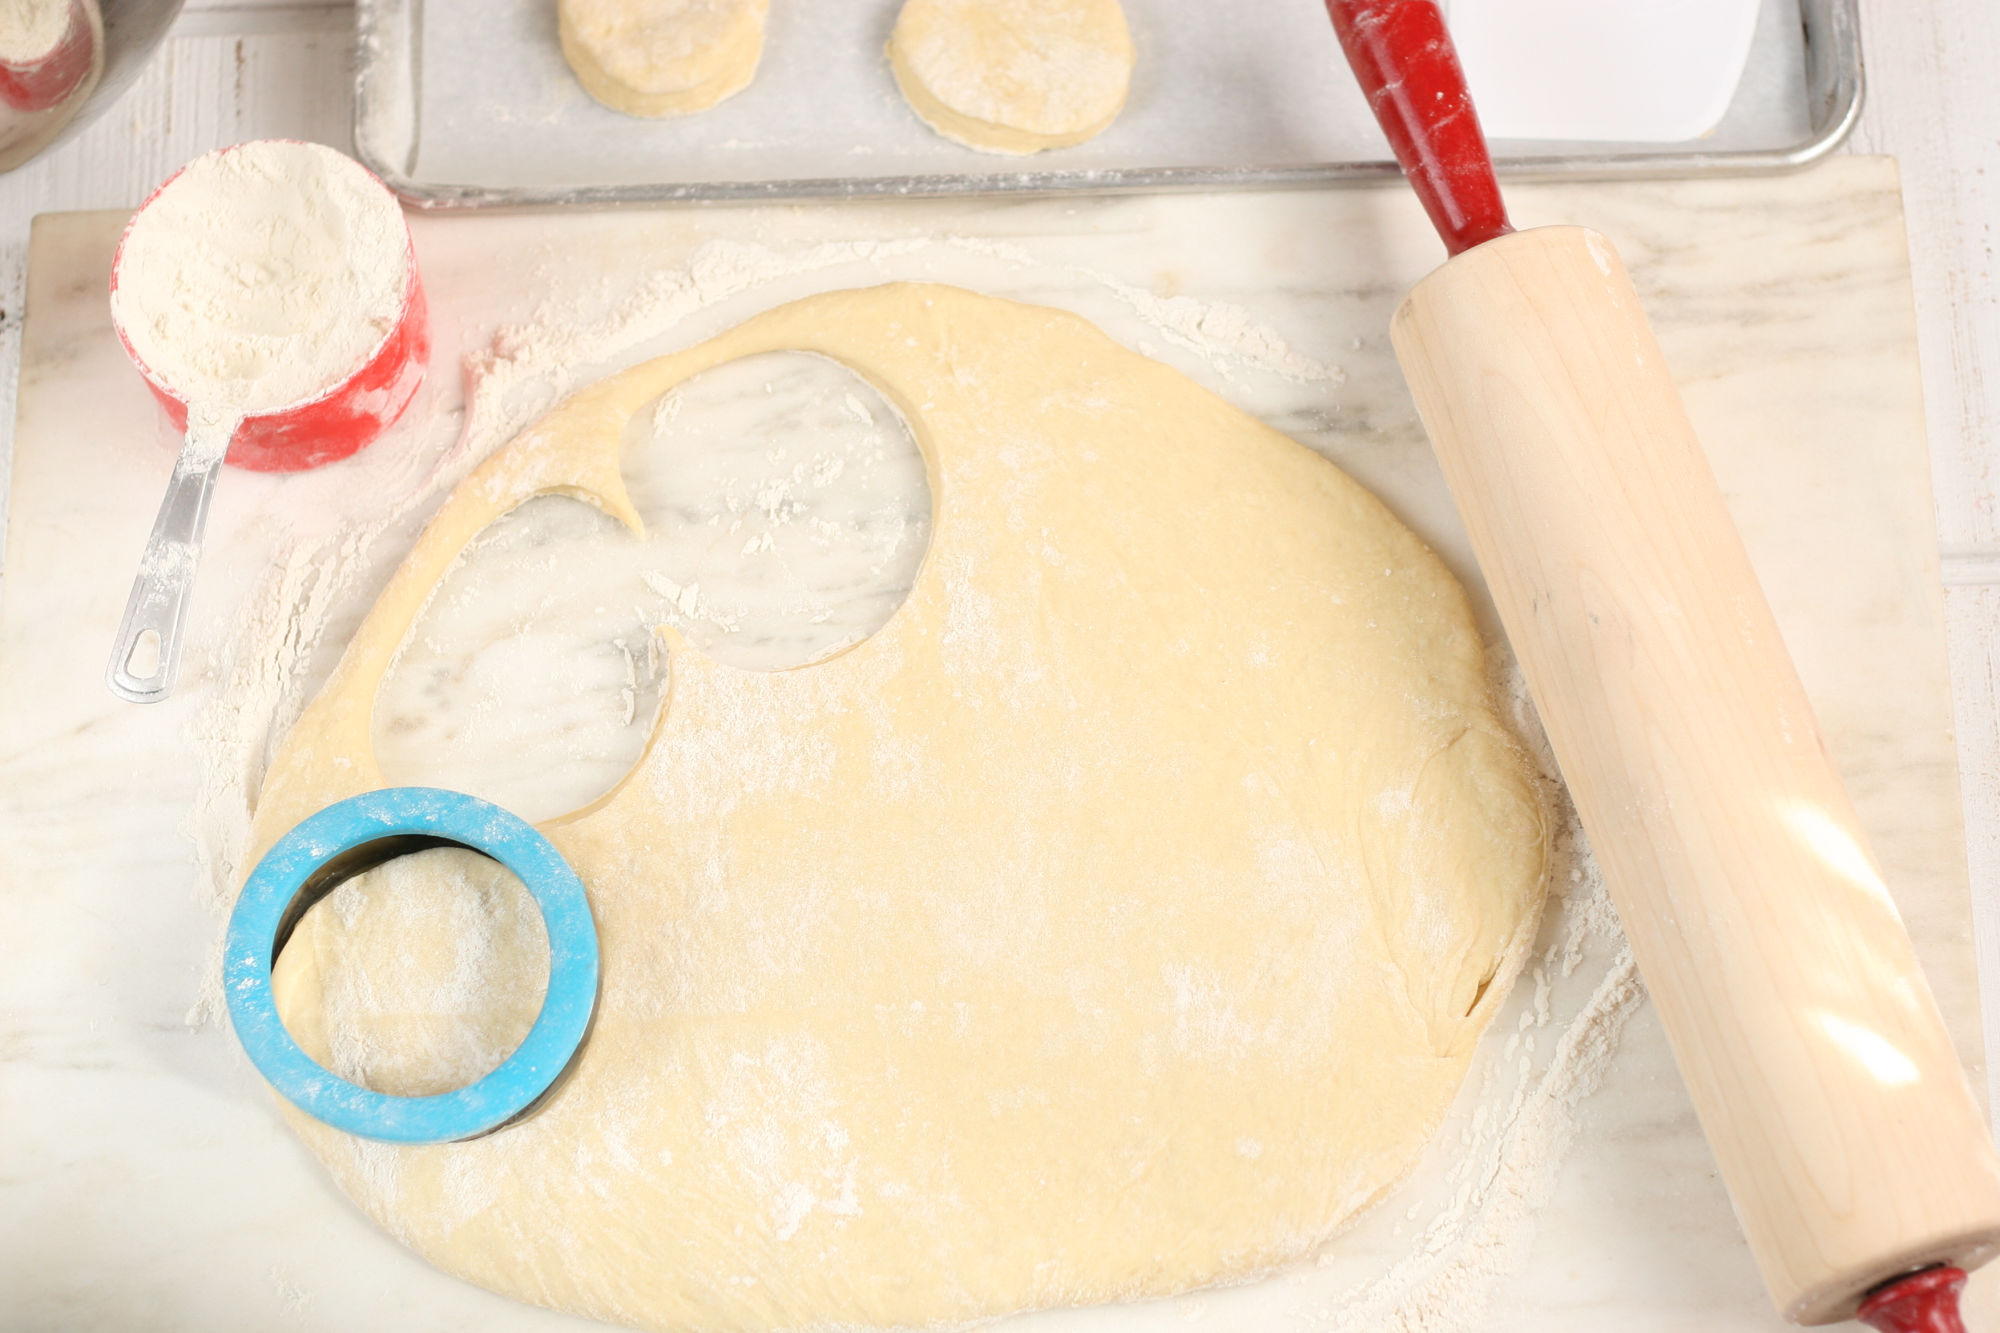
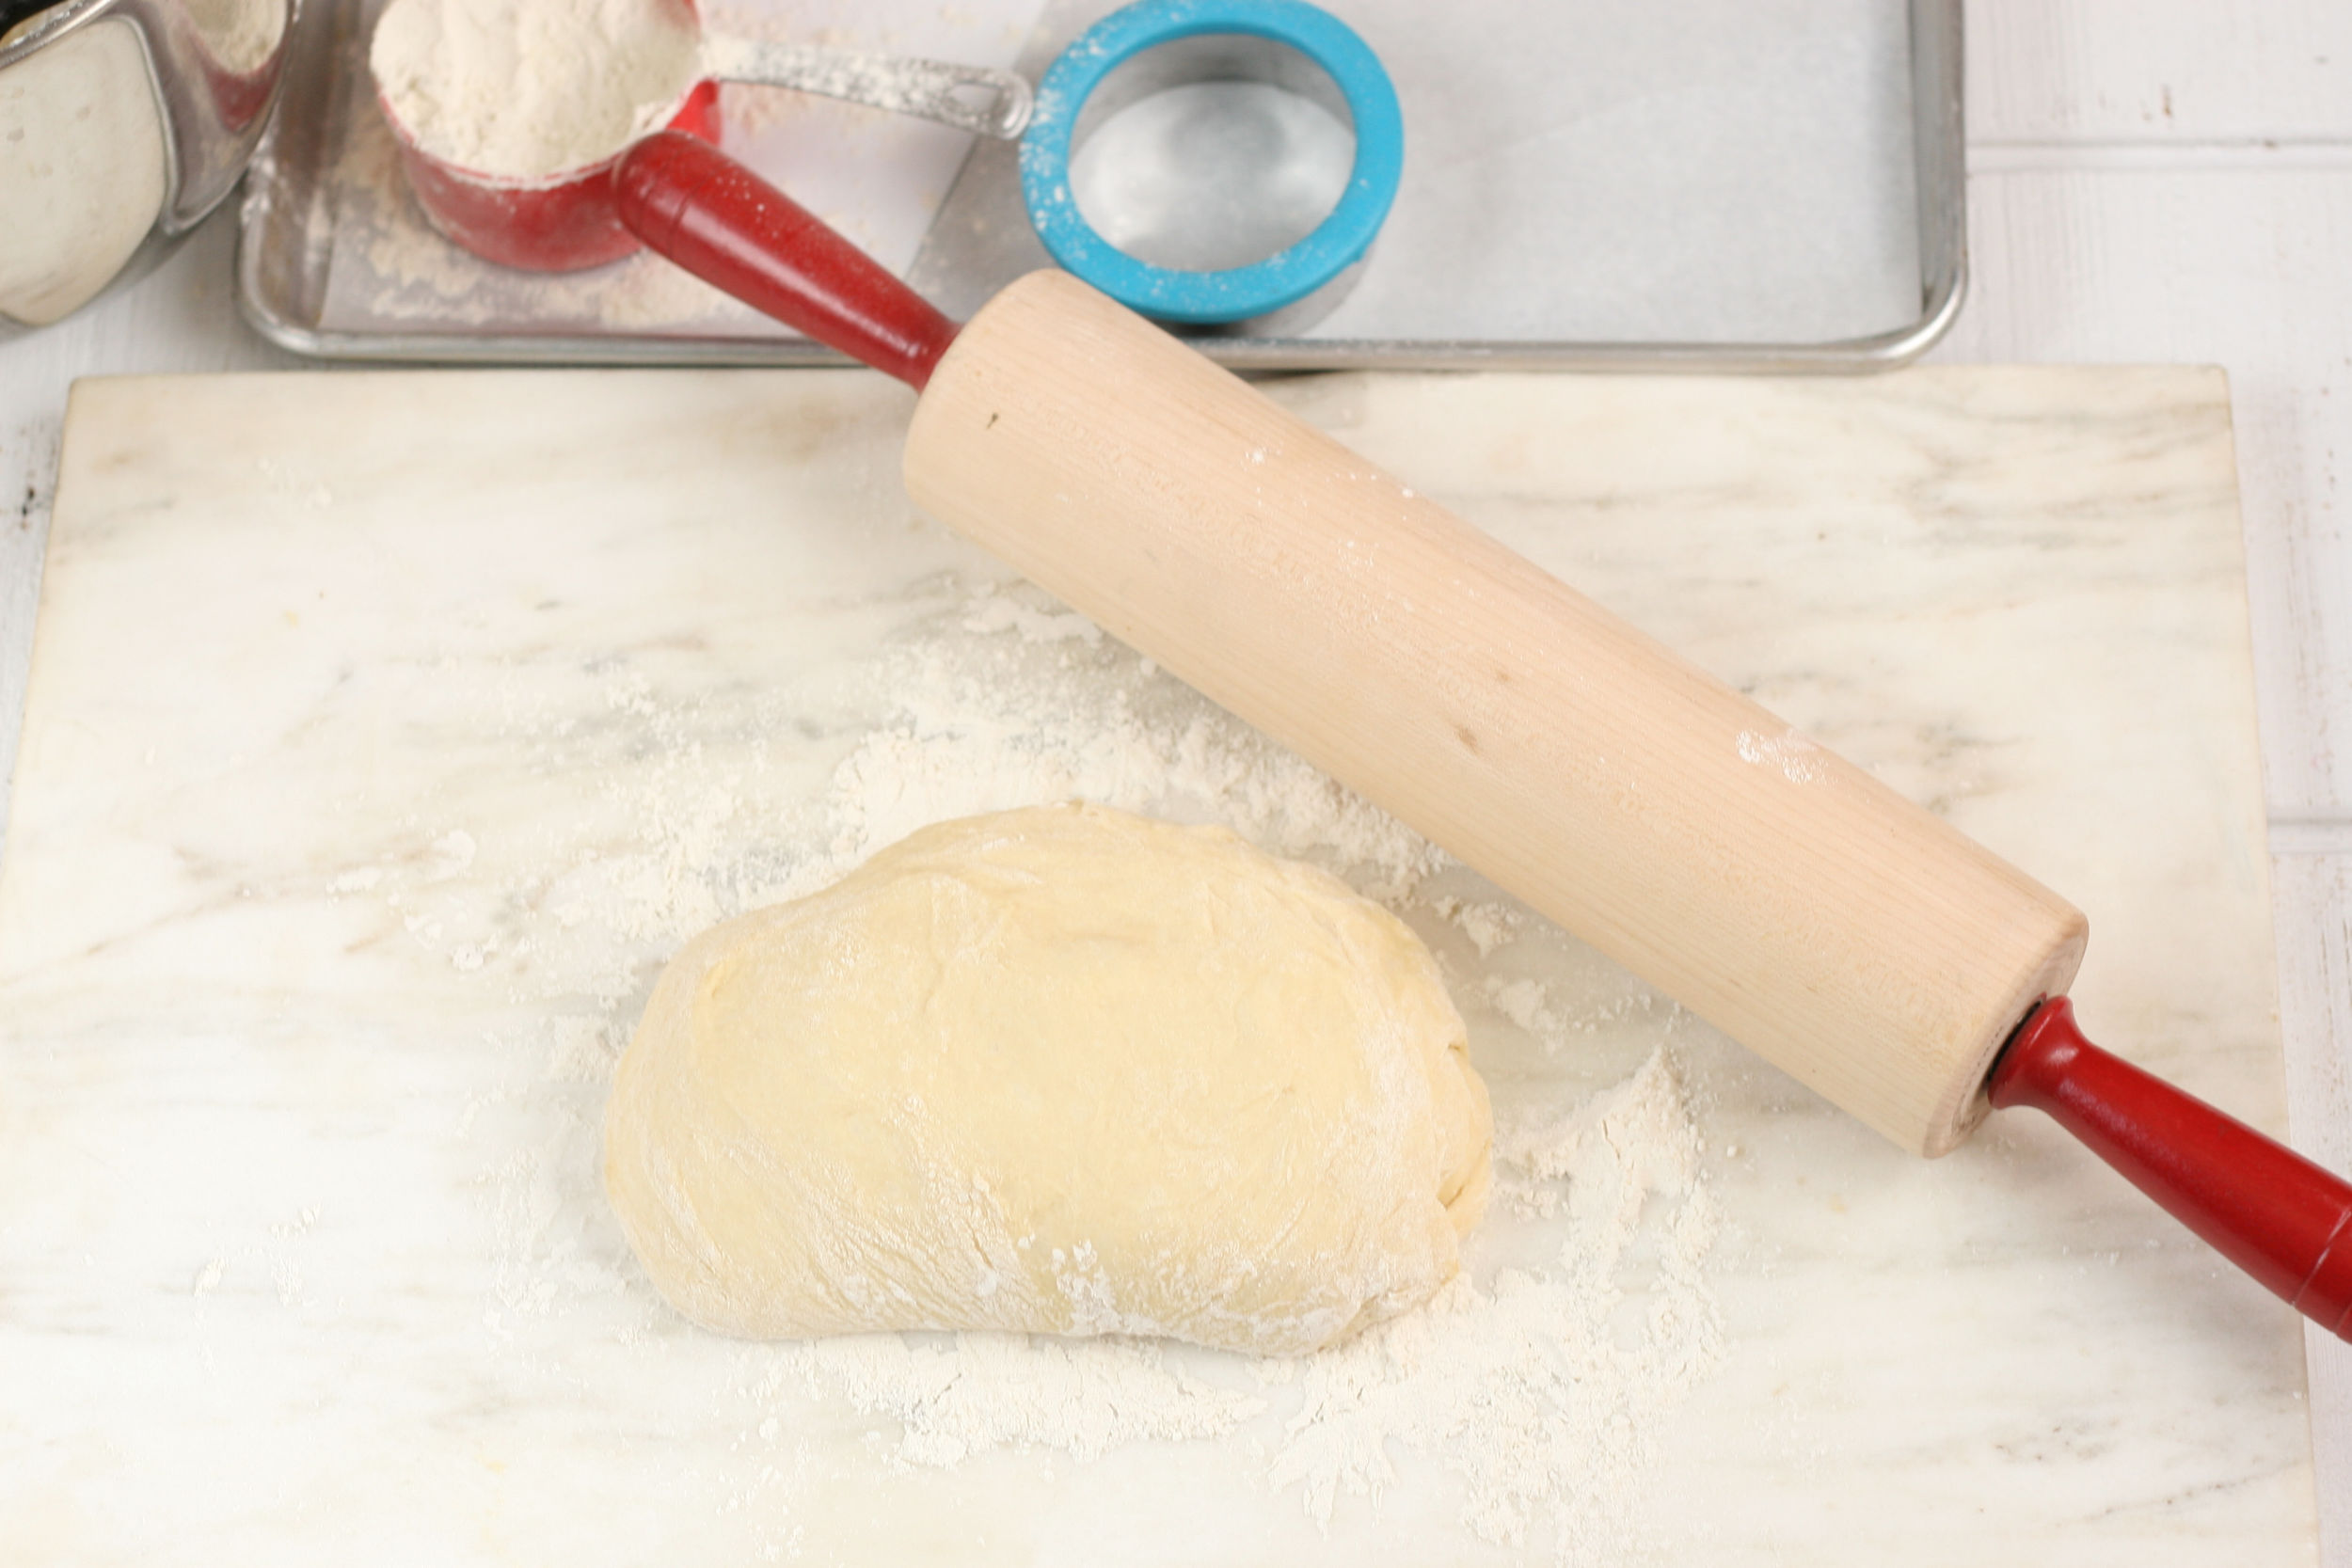
Step 5: Roll out the dough to about ¾-inch thickness on a lightly floured surface. Then cut out doughnuts with a 3 ½-inch round doughnut cutter.
Rub the doughnut cutter in plenty of flour for each cut you make. Twist the doughnut cutter back and forth a bit and gently bang out the doughnut onto the counter.
Step 6: Place the doughnuts evenly onto a half sheet pan lined with parchment paper. You’ll want to give them a little room to rise on the sheet pan. (I generally put 3 doughnuts in each row and you’ll fit about a dozen on each half sheet pan)
Step 7: Cover loosely with plastic wrap and plop in the refrigerator overnight. This way, they’ll proof in the fridge and you’ll have most of the work done in the morning. Just get to frying them up fresh.
Step 8: Take the donuts out of the fridge and let them warm up while your oil heats up. Place about 3-4 inches deep of canola oil in a 12-inch or 13.5-inch cast iron skillet.
Heat up the oil over medium heat to 375 degree F canola oil. Use a digital thermometer to maintain 375 degrees at all times while frying doughnuts.
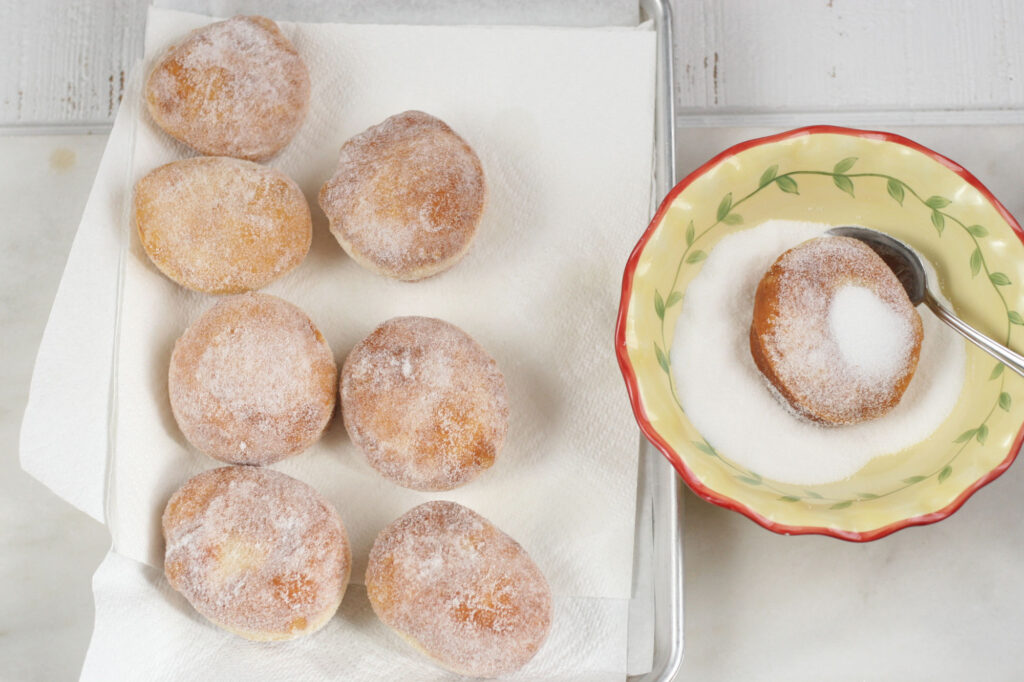
Cook a few doughnuts at a time for about 1-2 minutes per side. Once fried, place them on a sheet pan lined with plenty of paper towels to absorb some of the excess oil.
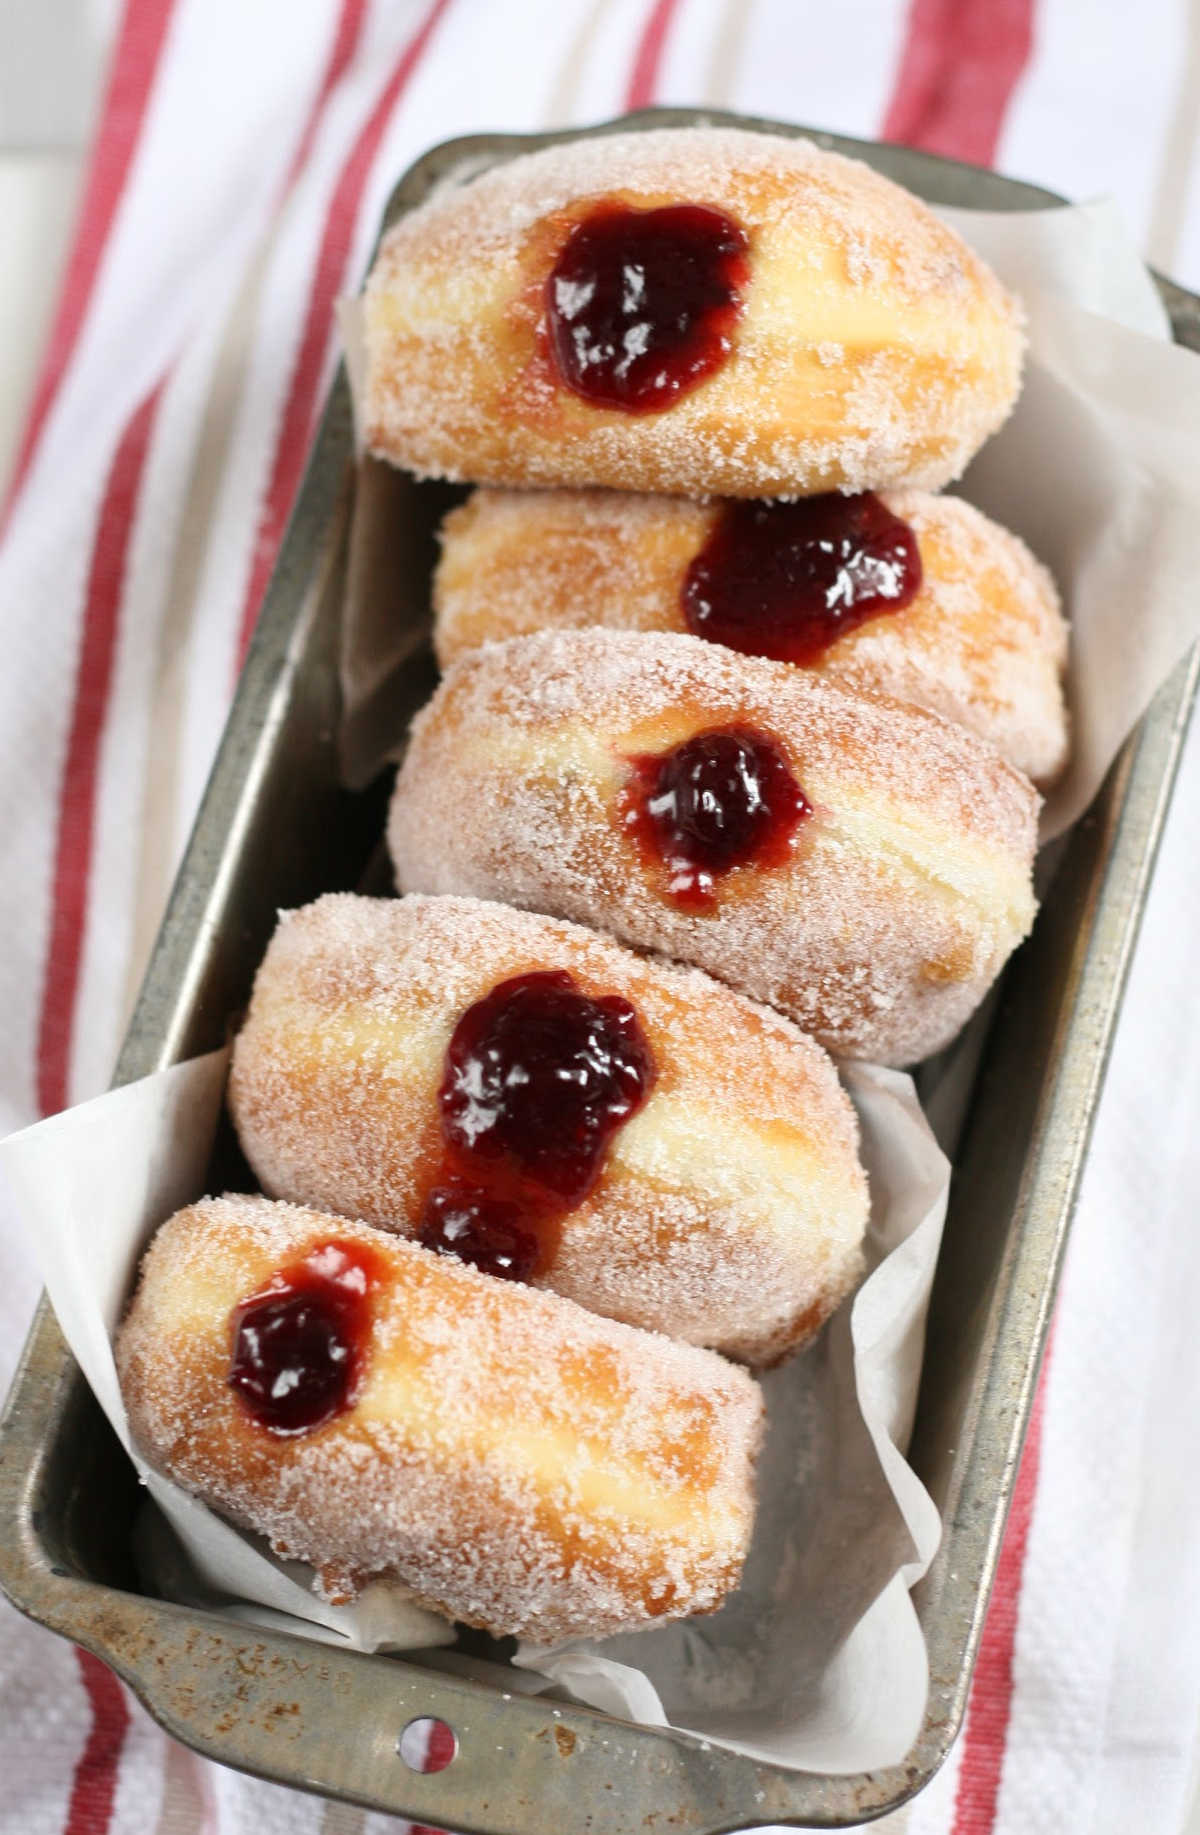
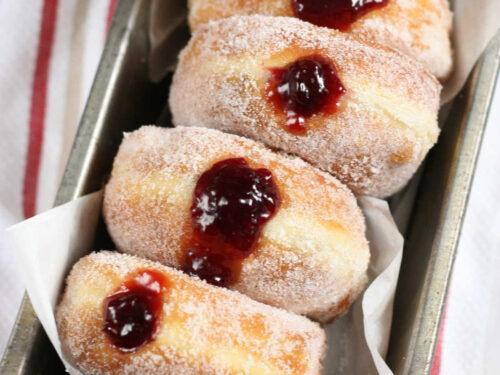
While they are still warm, gently toss in granulated sugar.
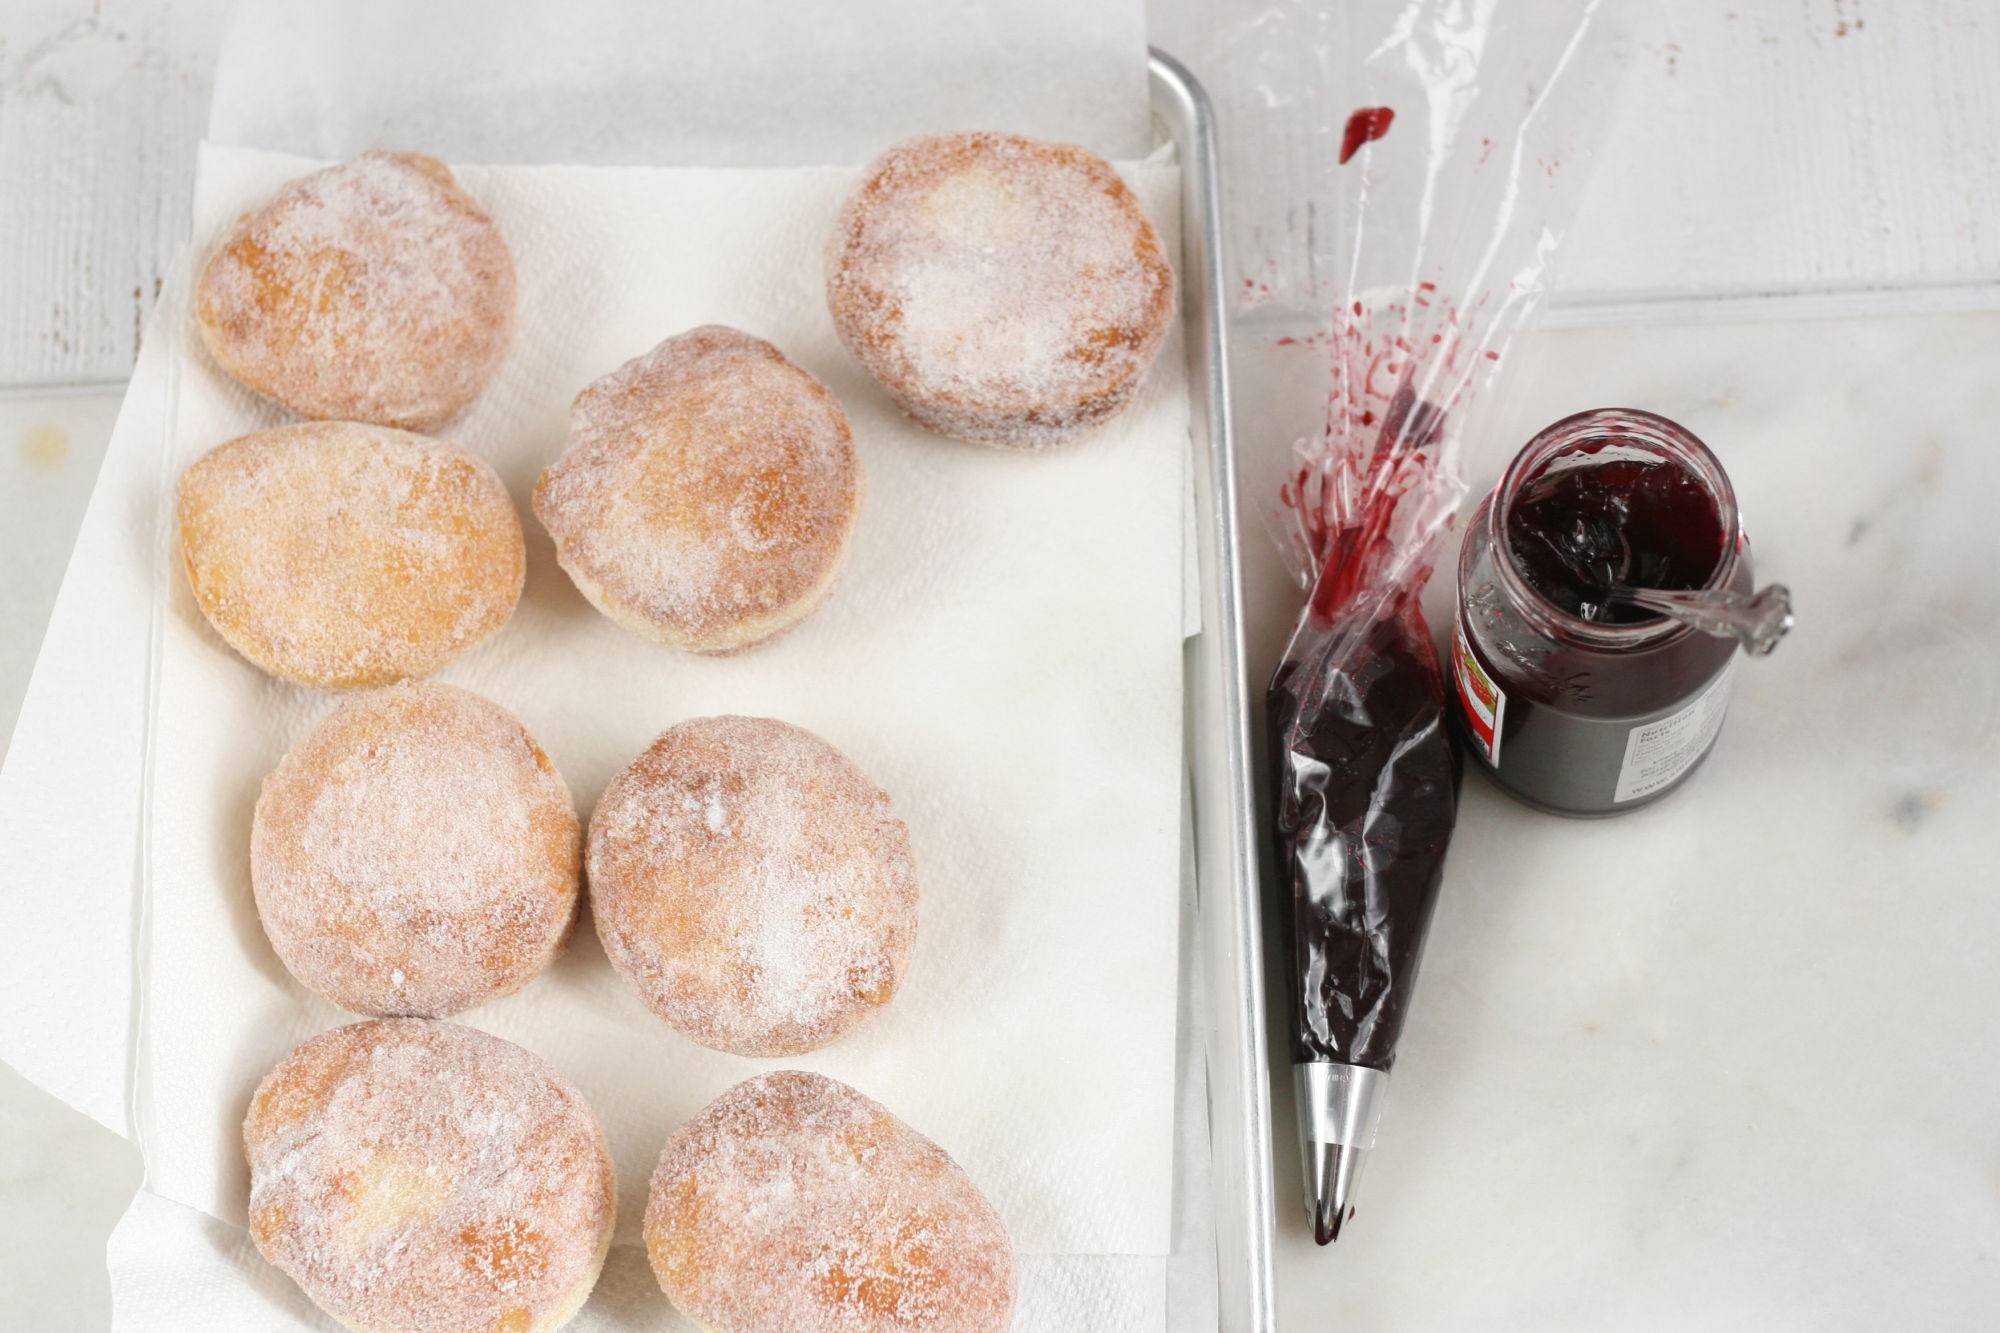
Fill Jelly Donuts with store-bought Raspberry or Strawberry Jam
Place preserves or jelly into a disposable pastry bag with a pastry tip and insert the tip into the side of a doughnut. Squeeze preserves or jelly into each donut to fill. Enjoy immediately or within a day or so.
You can also roll them in powdered sugar. But, but sure and wait until the donuts are completely cooled before rolling in powdered sugar. I hope you enjoy these jelly donuts as much as we do!
And for more great doughnut recipes, try Apple Cider Donuts, Blueberry Cake Donuts, Homemade Pumpkin Donuts, and Red Velvet Donuts.
Did you make one of my recipes? Please take a moment to leave a star rating. Also, if you are on Pinterest, please feel free to leave a comment there! Follow A Farmgirl’s Kitchen on FACEBOOK, PINTEREST and YouTube and subscribe my mailing list for ALL the latest recipes!
Jelly Donuts
Equipment
Ingredients
Jelly Doughnuts
- 2 ¼ teaspoons (1 packet) active dry yeast
- ¼ cup lukewarm water
- 1 ½ cups whole milk (scalded and cooled to warm)
- ½ cup granulated sugar
- 3 large eggs room temperature
- 5 ½ to 6 cups all-purpose flour
- 1 teaspoon salt
- ½ cup (1 stick) unsalted butter softened
- canola oil for frying (substitute lard or vegetable shortening)
- sugar to coat doughnuts
- 1 (18-ounce) jar Raspberry preserves or jelly (seedless jam or preserves)
Instructions
Jelly Doughnuts
- In a large mixing bowl of a stand mixer dissolve the yeast in the warm water. Add the warm milk, sugar, and eggs. Add the dough hook attachment, and stir in the flour and salt. Scrape the bottom and sides of the bowl occasionally with a rubber spatula. Cut the butter into small pieces and incorporate into the dough. Scrape the bowl a few times. Beat the dough until it becomes smooth, about 5-7 minutes.
- Turn the dough out onto a floured work surface and knead for 5-6 minutes, making a smooth dough. This dough is going to be sticky when you turn it out. After kneading, shape into a round ball and place back into the greased mixing bowl. Cover loosely with plastic wrap and drape with a clean kitchen towel. Place in a warm area and let rise until doubled in size, about 1 to 1 ½ hours.
- Turn the dough out onto a lightly floured work surface and knead the dough for a few minutes. Turn back into the greased bowl (spray with cooking spray again if needed) and let rise until doubled, about 1 hour.
- Roll out the dough to about ¾-inch thickness on a lightly floured surface. Then cut out doughnuts with a 3 ½-inch round doughnut cutter. Rub the doughnut cutter in plenty of flour for each cut you make. Twist the doughnut cutter back and forth a bit and gently bang out the doughnut onto the counter.
- Place the doughnuts evenly onto a half sheet pan lined with parchment paper. You’ll want to give them a little room to rise on the sheet pan. (I generally put 3 doughnuts in each row and you’ll fit about a dozen on each half sheet pan) Cover loosely with plastic wrap and plop in the refrigerator overnight. This way, they’ll proof in the fridge and you’ll have most of the work done in the morning. Just get to frying them up fresh.
- OR To make doughnuts immediately, let the doughnuts rise on the counter for about 30 minutes. (Cover the tray loosely with plastic wrap or with a clean kitchen cloth)
- Place about 3-4 inches deep of canola oil in a 12-inch or 13.5-inch cast iron skillet. Heat up the oil over medium heat to 375 degree F canola oil. Use a digital thermometer to maintain 375 degrees at all times while frying doughnuts.
- Cook a few doughnuts at a time for about 1-2 minutes per side. Flip carefully. Once fried, place them on a sheet pan lined with plenty of paper towels to absorb some of the excess oil. While they are still warm, gently toss in granulated sugar.
- Place preserves or jelly into a pastry bag with a pastry tip and insert the tip into the side of a doughnut. Squeeze in preserves or jelly to fill. Enjoy immediately with a fresh cup of coffee, if desired.
Nutrition
Disclosure: As an Affiliate Marketer, I earn from qualifying purchases. If you click a product affiliate link on A Farmgirl’s Kitchen and make a purchase, I may receive a commission at no additional cost to you! I own every cooking product I recommend and love how they perform.
Janet larsen says
I make these often. I fill some with homemade whipped cream or apple pie filling or raspberry jam. I would not add more flour before the first rise. You do not need to knead them as it is so sticky it’s impossible. I just put in the bowl and after the first rise they are easy to work with. So light and fluffy.
Gina Small says
So Good! Thank you for sharing your recipes!
Jessica Robinson says
Thank you Gina for following
Angie B. says
Hands down, the BEST brioche donuts I’ve ever tasted..created cinnamon-sugar, nutella filled, strawberry custard filled, and maple glazed pecan. Outstanding and I’ll be adding these to my menu!
Jessica Robinson says
Thank you Angie!! Glad you enjoyed them!
Becky Tenvoorde says
Have you tried freezing the dough circles after the second rise? These are so good, but makes too many for my husband and me.
Jessica Robinson says
Hey Becky,
My suggestion is to use half of the dough for donuts and the other portion roll into cinnamon rolls. THOSE can easily be frozen and baked later.
Chef Monica says
These were the best donuts. Texture was like a donut + funnel cake. I LOVED IT! I love the steps into making them easier to fry the next morning.
Adrienne says
I noticed you mentioned saving half the dough to make cinnamon rolls, which are baked. What would happen if you baked the doughnuts instead of frying them?
Jessica Robinson says
Jelly Donuts cannot be baked to turn out properly
Annina says
Excellent Recipe
Eleanor marano says
How good are the donuts only raised for 30mins.
Jessica Robinson says
The donut dough rises twice for an hour or so, then again after you cut it into donuts for about 30 minutes. That’s plenty of rise time. Should your kitchen be cold, it may take longer.
Megan says
hi there! do the eggs absolutely have to be room temperature?
Jessica Robinson says
Not necessarily. But definitely better if they are.
Esther Brueck says
These were the best donuts, I have made. Thank you for a wonderful recipe. I did use my electric mixer to knead the dough for the first kneading. The dough was very sticky but, adding a bit more flour did take care of that problem. During the second kneading, a dusting of the dough was all I needed to prevent
the dough from sticking. Rolling out was a breeze. The donuts came out beautifully. I glazed them after placing homemade raspberry jam inside. Our guest enjoyed them as much as we did.
Jessica Robinson says
Thanks Esther,
Just be really careful with adding extra flour, as if you add too much it can make your dough tough and donuts won’t be light and fluffy. Glad to hear you enjoyed them!
Oralia says
Can I use an electric skillet to fry these instead of a cast iron skillet?
Jessica Robinson says
You can use any method you prefer to fry them!