

Homemade caramel apples coated with soft & chewy caramel. Homemade caramel is sweet, buttery and delicious paired with tart, crisp Granny Smith apples. Made with simple ingredients and rolled into your favorite toppings.
I’ve been using this recipe for homemade caramel apples for over 25-years.
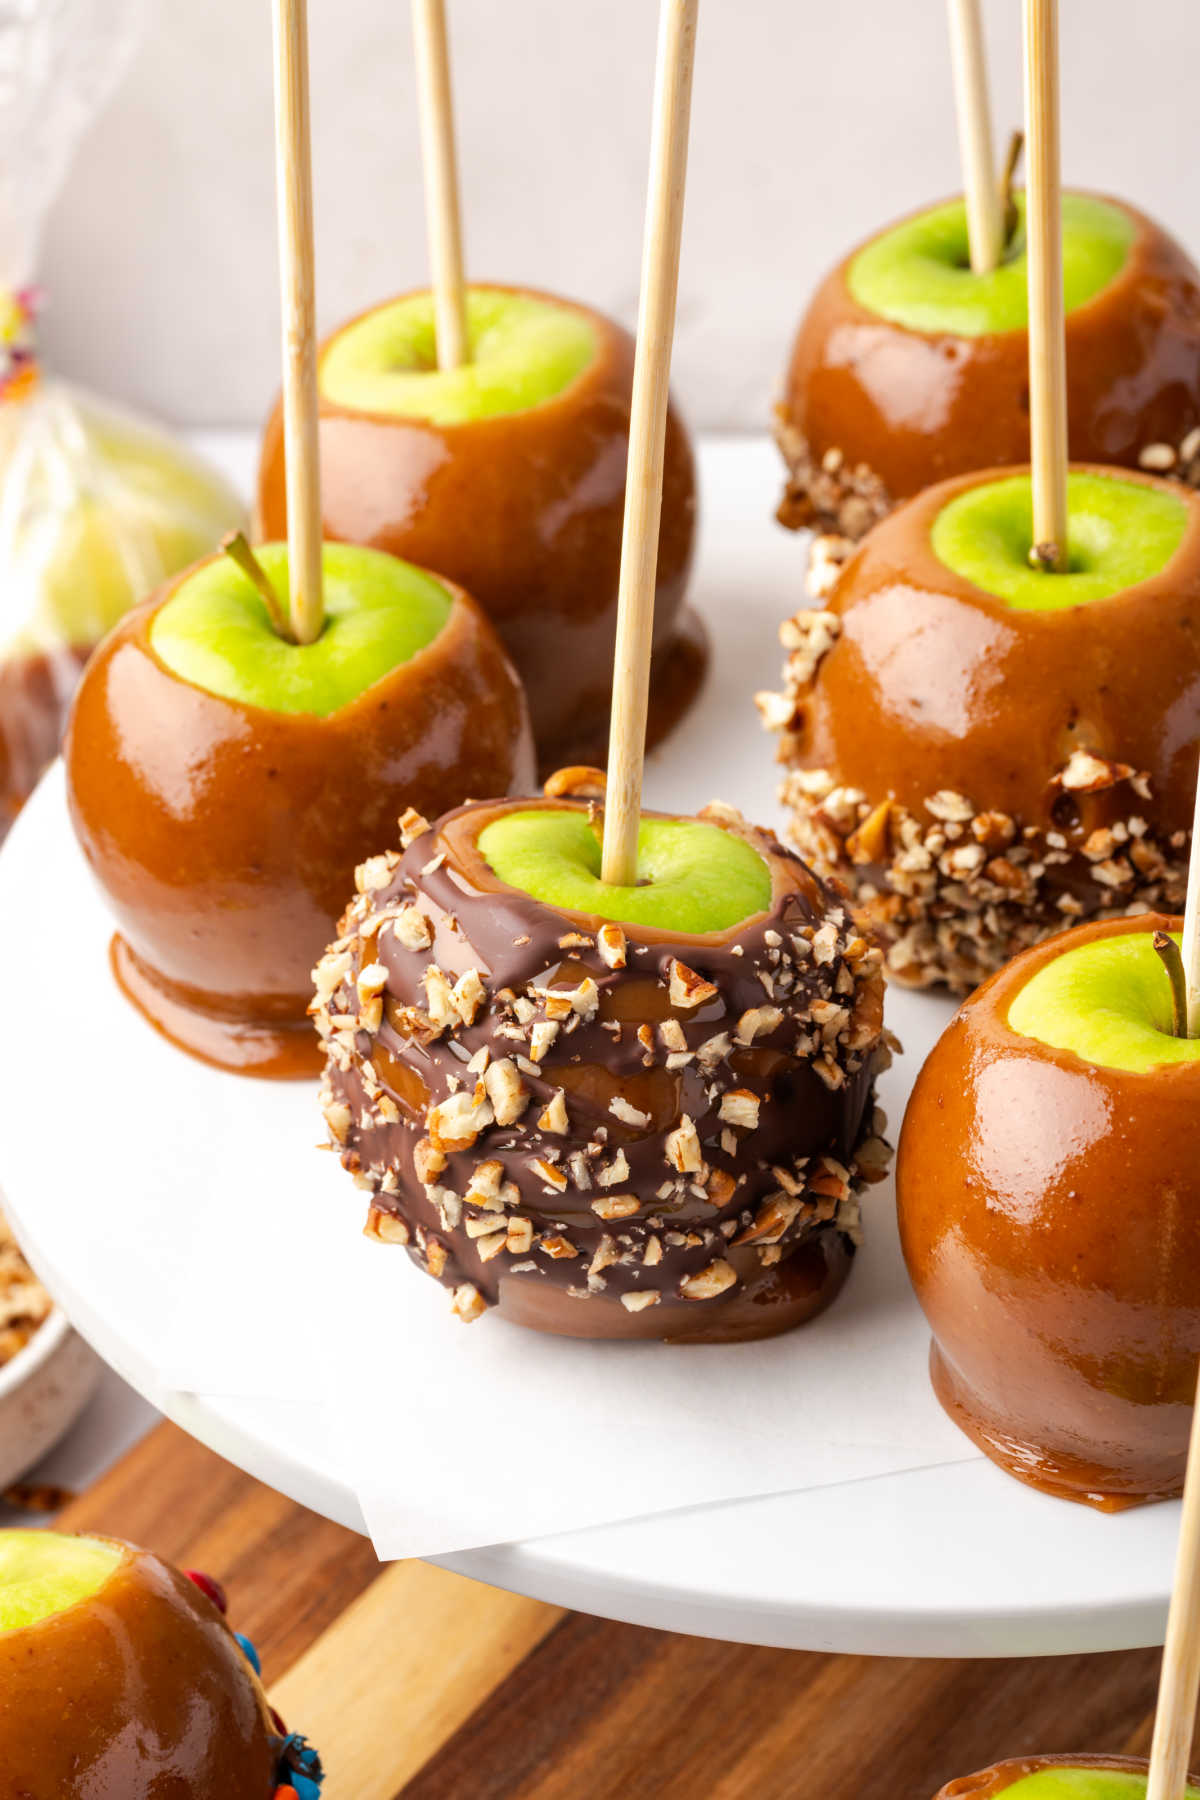
Caramel apples with caramel made from scratch in a saucepan on the stove. Homemade caramel is much better than store-bought and caramel apples are the perfect DIY holiday gift or party favor. Follow our step-by-step instructions.
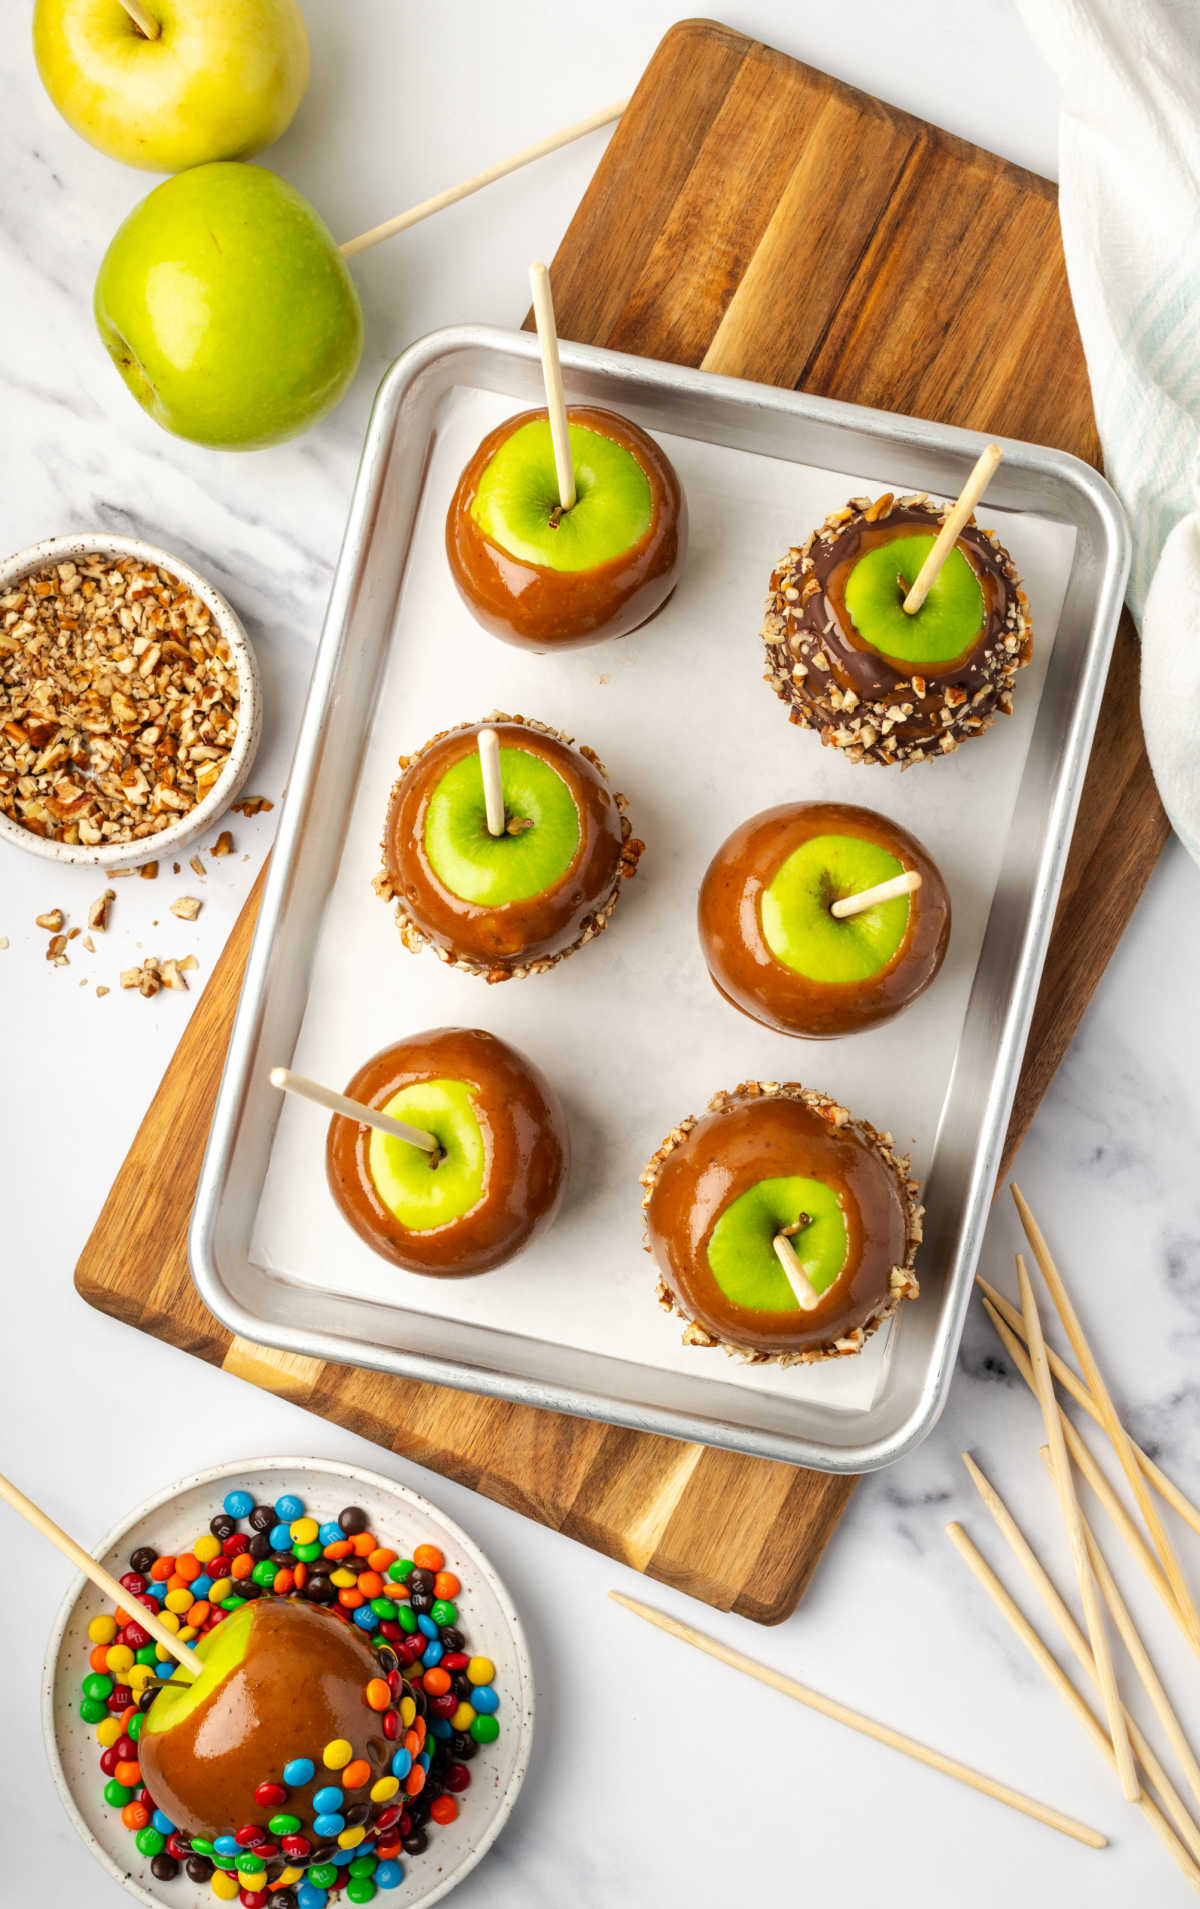
Why this recipe works
- Nostalgic – Classic caramel apples just like at local fairs & festivals.
- Easy to make – Simple ingredients, readily available in your pantry. Achieve perfect caramel apples each and every time.
- Individual dessert – The fall treat for farmers markets, bake sales and farmstands. Caramel apples are great for party favors and DIY holiday gifts.
What you’ll need
- Apples – Granny Smith apples are my go-to choice because their tartness balances well with the sweetness of caramel. Honeycrisp or McIntosh are also great choices. Pick medium to large firm apples with no soft spots and fairly flat bottoms.
- Butter – Either salted or unsalted butter will work with this recipe. Use a high-quality brand of European or Amish butter for the best results.
- Brown sugar – Adds a depth of flavor with molasses.
- Corn syrup – This is an essential ingredient to keep caramel chewy and smooth. It’s an invert sugar that helps caramel not crystalize.
- Vanilla extract – Added at the very end of cooking caramel, as it will dissipate if added while cooking. Adds a depth of flavor.
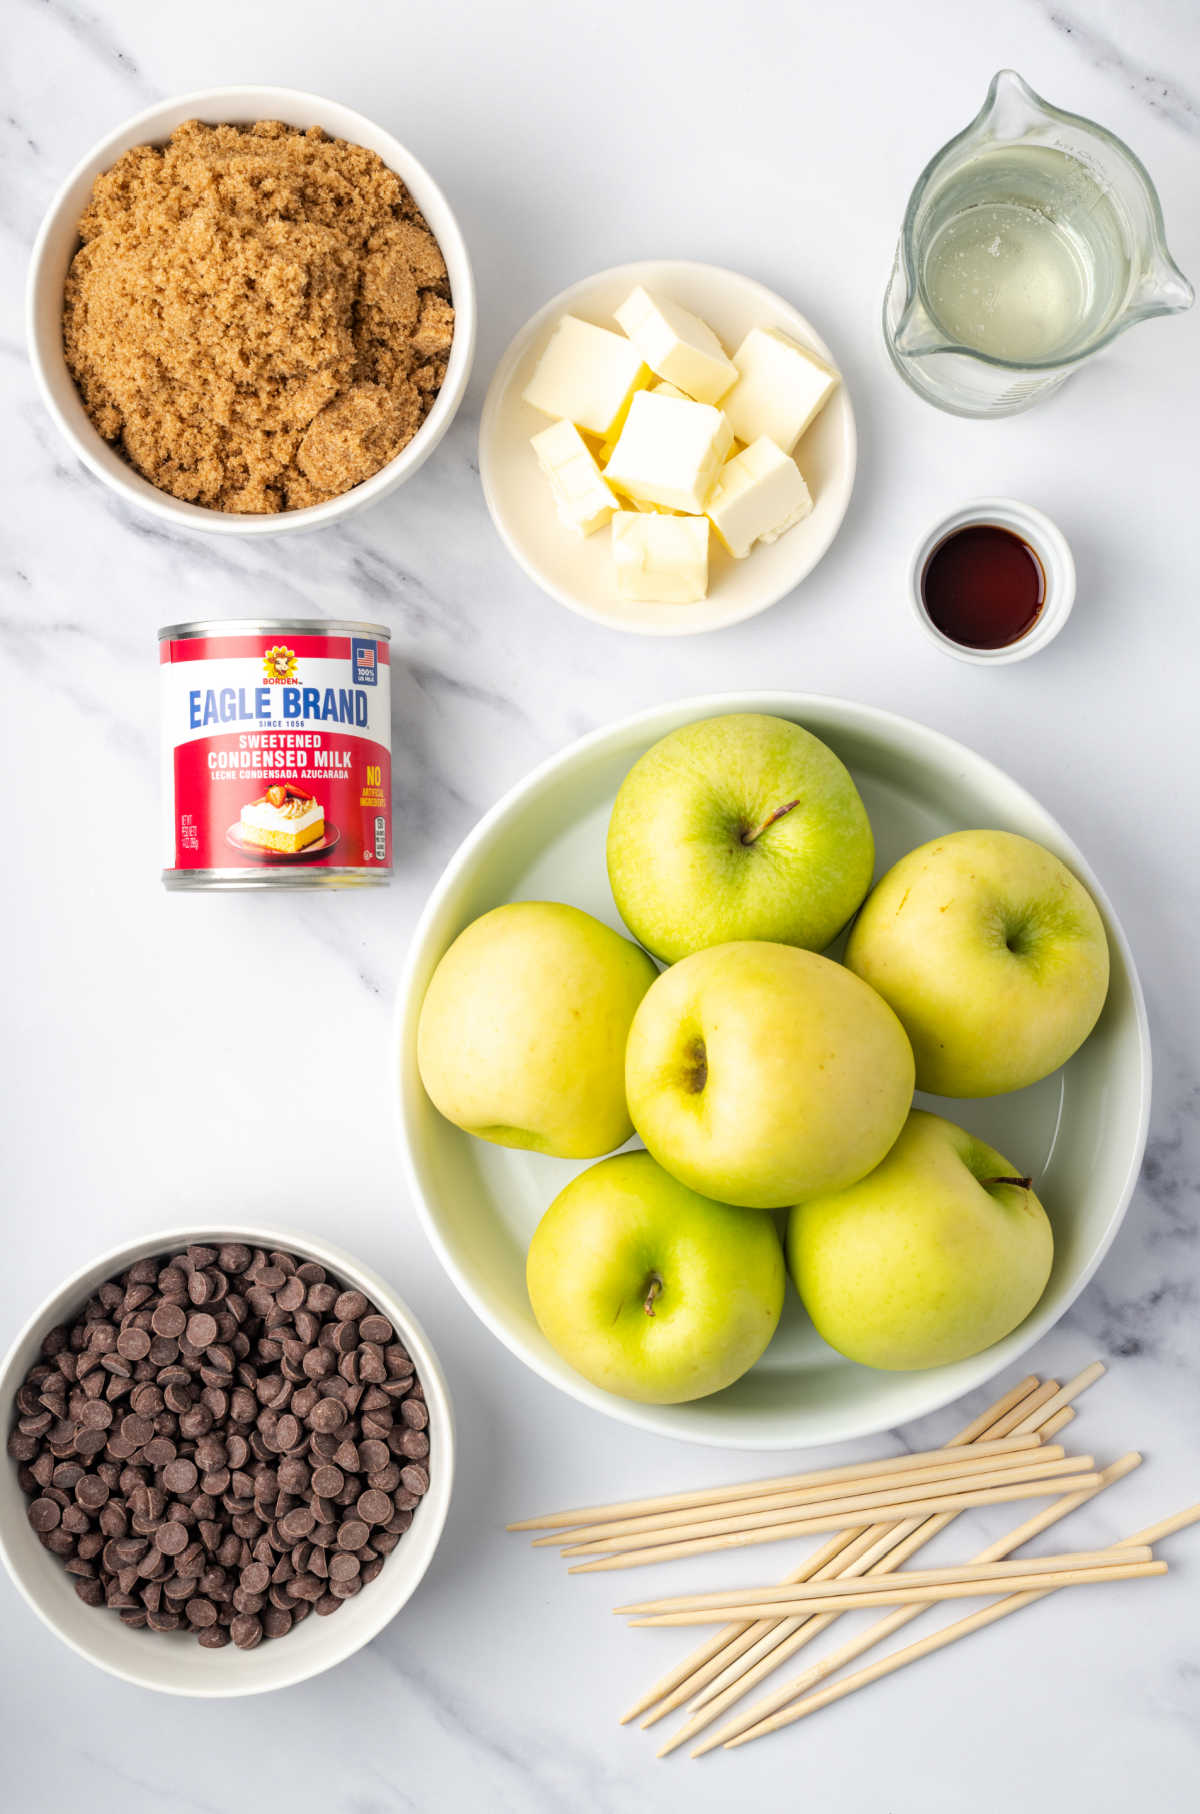
Homemade caramel is easy to make with butter, brown sugar, corn syrup, and real vanilla extract. It’s so much better than store-bought wrapped caramel candies.
This easy caramel recipe is delicious drizzled over Apple Hand Pies.
Caramel Apples from scratch make the perfect holiday gift. Pack them in these food safe bags for gifts. They stay fresh refrigerated for up to 2-weeks.
Best Apples for Caramel Apples
Granny Smith or anything tart such as McIntosh is the most popular choice for caramel apples because they are tart and pairs perfectly with the sweetness of caramel and chocolate.
- Medium to large apples
- Firm with no bruises or soft spots
- As round and flat on the bottom as you can find- so they sit up on their own
Tools you’ll need for Caramel Apples
- Candy Thermometer -This tool is essential when making homemade caramel to be sure you reach the proper temperature. This is my favorite one.
- Saucepan or pot – A tall sided heavy-bottomed pot big enough to cook the caramel and not have it boil over.
- Parchment Paper – Pre-measured sheets of parchment paper fit perfectly on half sheet pans. This makes the process of dipping homemade caramel apples a breeze.
- Wooden Apple Sticks – These wooden candy sticks are perfect for dipping apples into caramel. These 7-inch wooden apple sticks are the perfect size.
- Poly Bags – Food-safe poly bags are perfect to wrap up each apple individually. They keep apples fresh and other smells from your fridge out! These are the perfect size for apples and gusset sides open up for fatter apples with plenty of toppings! Order here!
- Double Boiler To melt the chocolate I use these stainless steel double boiler melting pots. They are easy to use and fit in most of the saucepans you already own!
How to make Caramel Apples
Once it becomes caramel, keep the pot over low heat, just to keep it warm enough to dip apples.
- Prep the apples – Twist the stem off apples and remove stickers. Make sure apples are room temperature and dry. There’s no need to remove the wax from apples.
- Push sticks into apples – Push wooden apple sticks (7-inch wooden apple sticks) into straight into each apple. Use a kitchen towel to protect the palm of your hand, or you will eventually bruise.
- Cook the caramel – A tall sided heavy-bottomed pot big enough to cook the caramel and not have it boil over. While the caramel cooks, do NOT walk away from the pot, or it may burn! Use a high-heat spoon to stir the caramel.
- Dip the apples – Dip each apple in and shake off any excess. Roll into toppings and set apples onto a prepared half sheet pan, lined with parchment paper.
- Let caramel set – Place apples in cool place or in the refrigerator to set caramel.
- Add melted chocolate – If desired, drizzle with melted chocolate.
- Bag & refrigerate – Place into cellophane or poly bags, add twist ties and refrigerate.
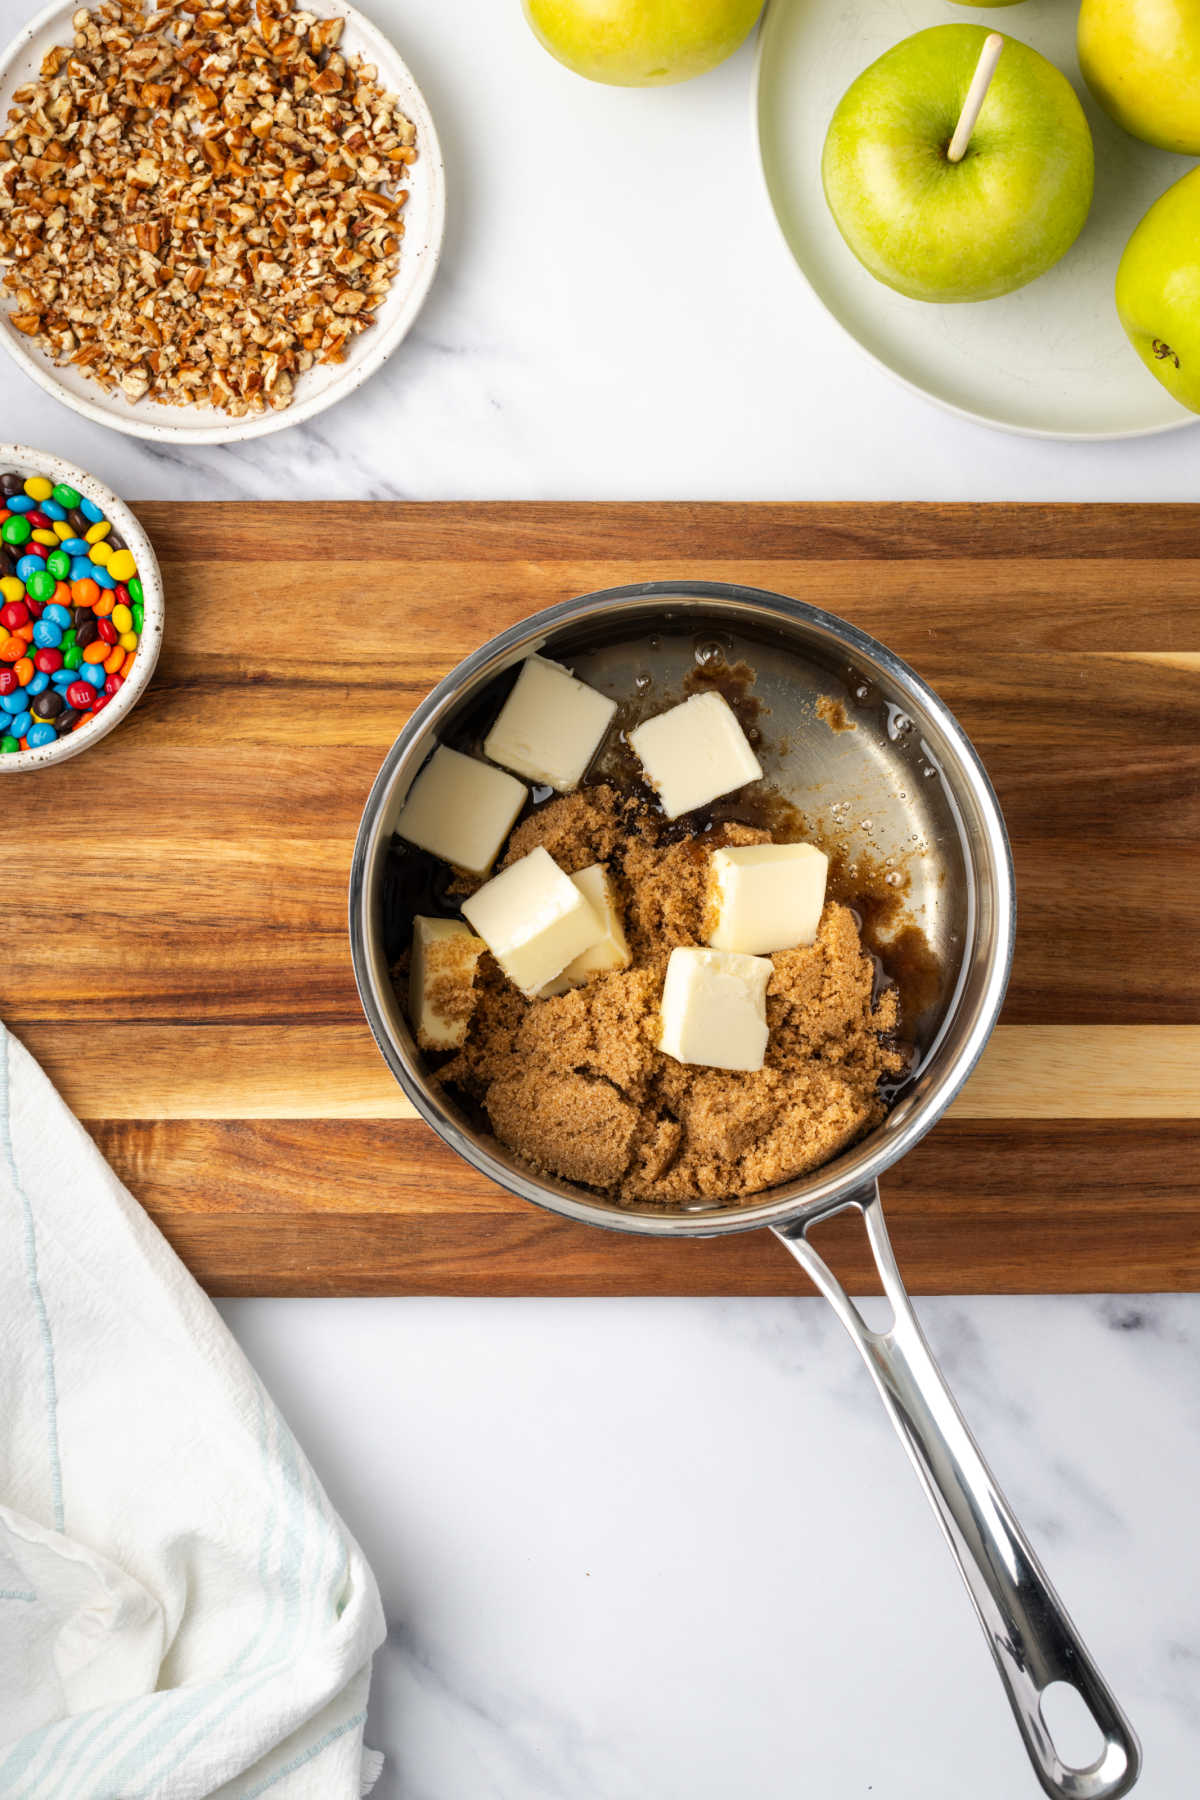
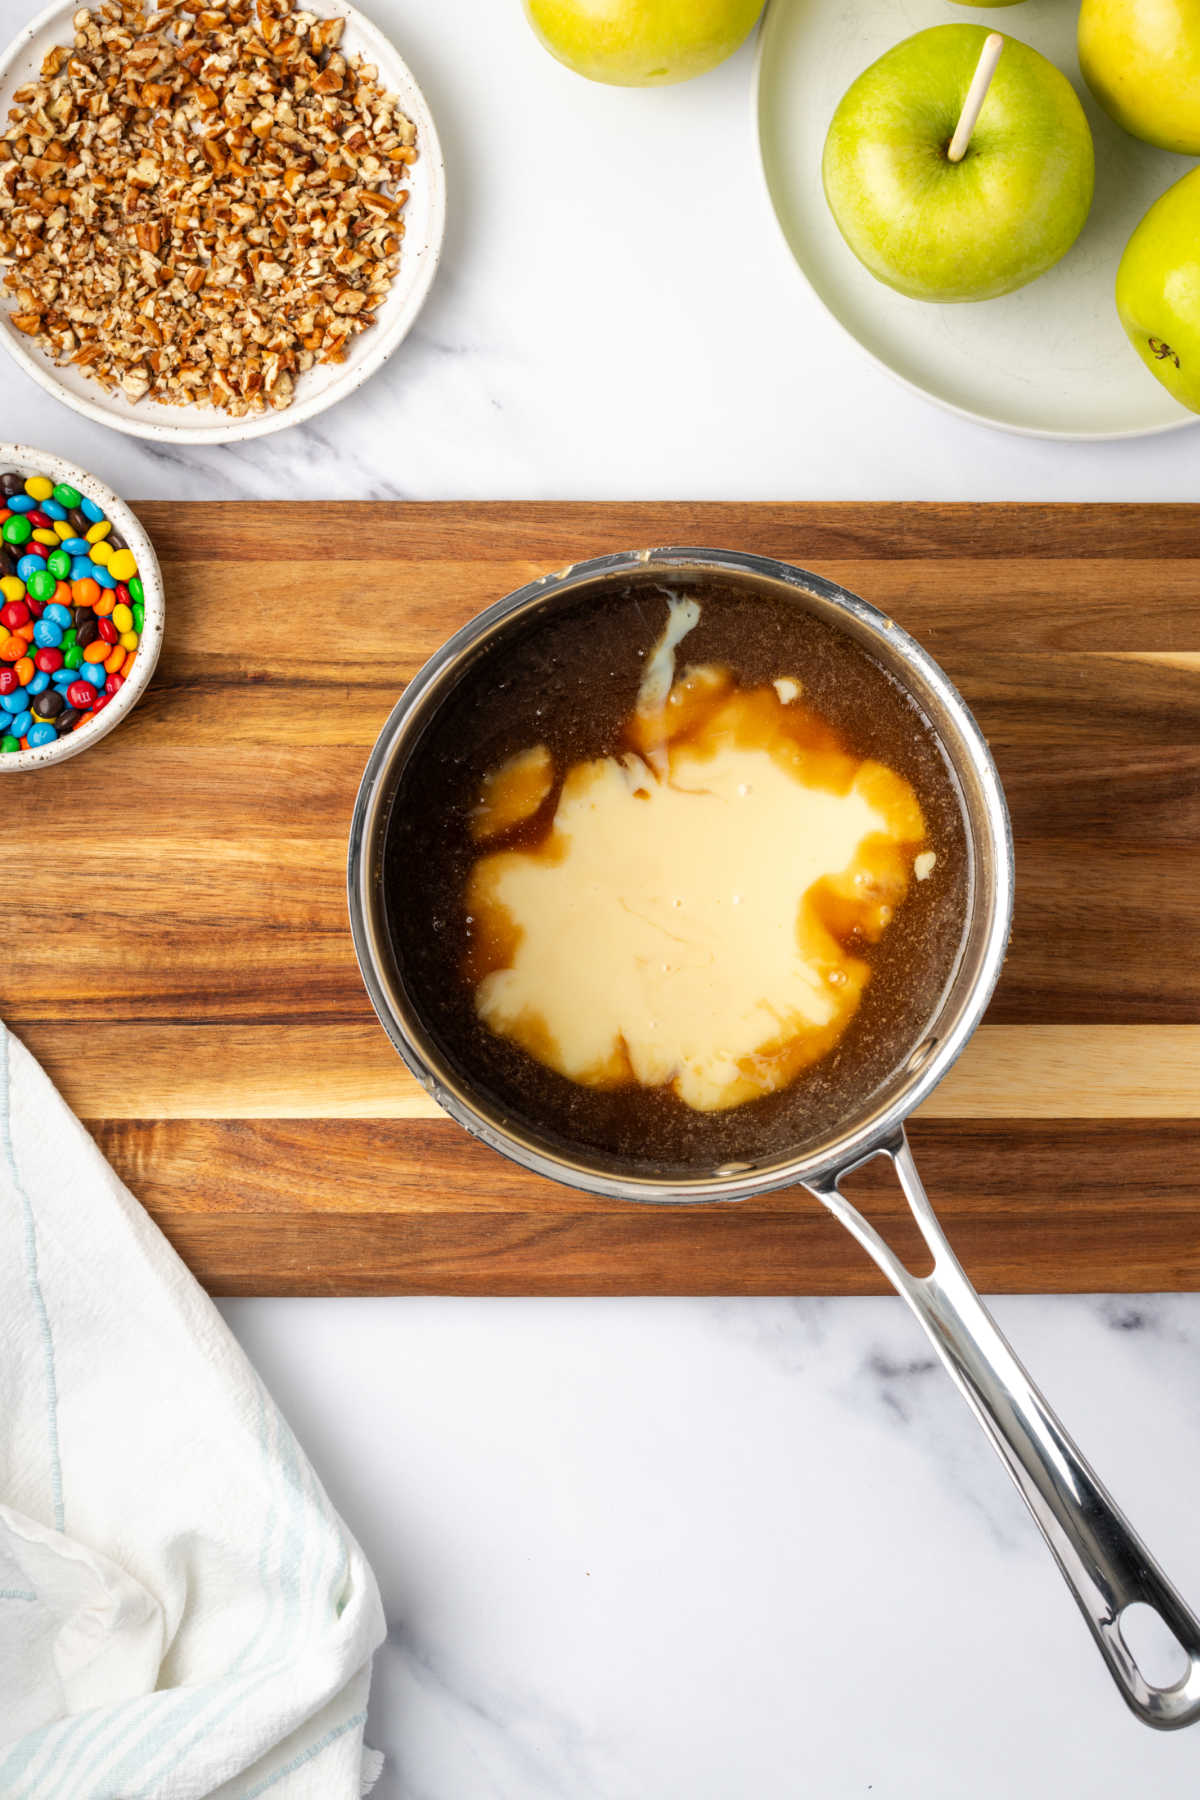
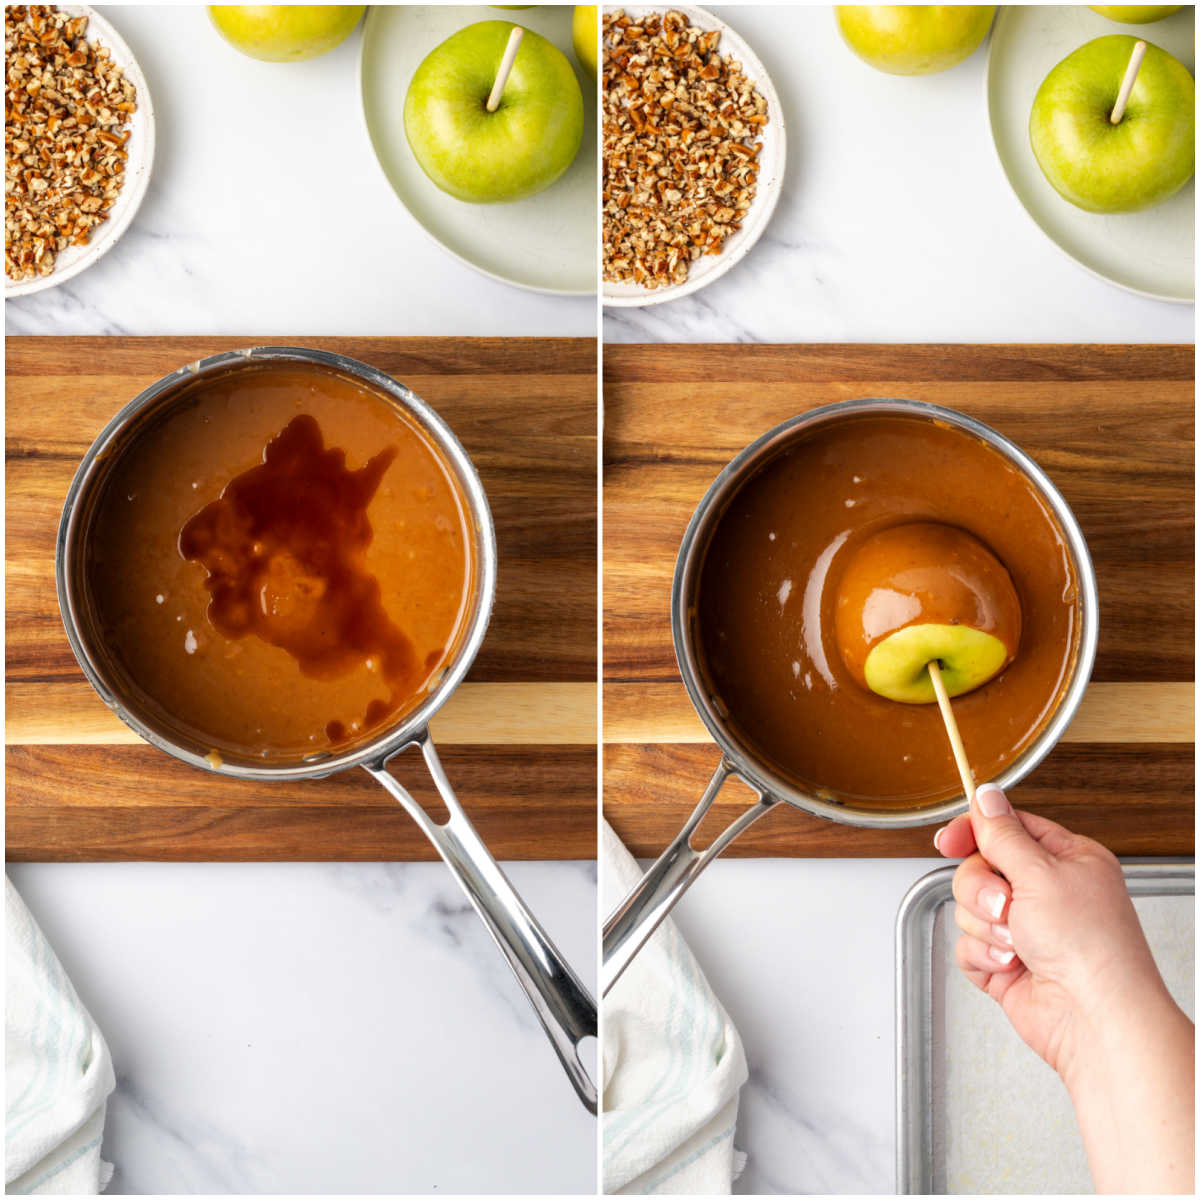
Toppings for Caramel Apples
While the caramel is wet, roll the apples in anything you prefer. Dig through your kitchen cabinets and see what you have.
- Toasted coconut
- Peanut butter cups, chopped small
- Mini M&M’s or mini peanut butter M&M’s
- Chopped Nuts
- Candy bar pieces
- Crushed graham crackers or Biscoff cookies
- Cinnamon-sugar mixture to create an apple pie version

Recipe faqs
Wash the apples thoroughly and dry them completely with a clean, dry kitchen towel. Let them come to room temperature while you prepare the caramel. Any residual moisture, condensation, or significant temperature difference between the apples and the caramel can cause bubbles to form on the coating.
Contrary to popular belief, you do not need to remove the wax from store-bought apples. Use a candy thermometer to ensure the caramel reaches the proper temperature and candy stage. Before dipping, wash the apples thoroughly, dry completely, and allow them to come to room temperature. Caramel will not stick properly if it is too thin or if condensation forms on chilled apples.
Yes, once the caramel apples have completely set, wrap each one individually in a cellophane or food-safe poly bag and refrigerate to help maintain freshness.

For some creative homemade DIY Christmas gifts, be sure and check out Salt Dough Ornaments, Homemade Barbecue Sauce, Mixed Berry Jam, and Raspberry Rhubarb Jam.
Or make a Christmas cookie tray filled with Homemade Chewy Brownies, Grandma’s Molasses Cookies, Raspberry Oatmeal Bars, and rolled sugar cookies. Make these beautiful homemade Christmas cookies made from a rolled sugar cookie and decorated with royal icing.
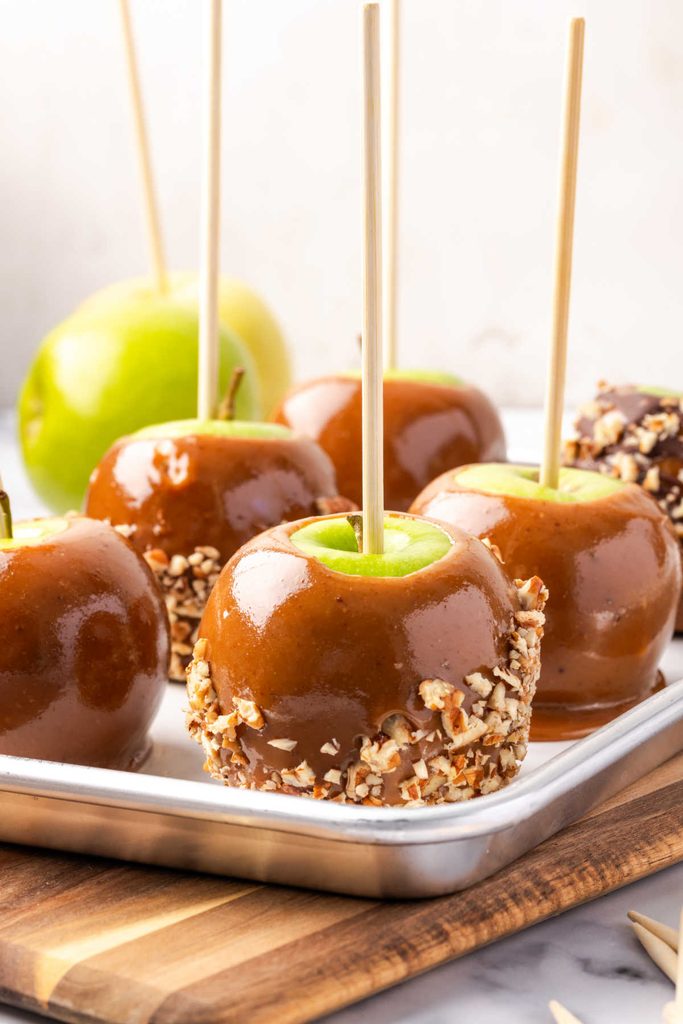
How to store Caramel Apples
If making caramel apples in the fall and winter you can use a cool garage or outdoor space to help them set when you’re making a big batch. Make sure the apples are protected from dirt, insects, and animals, and that the temperature stays consistently cold, but doesn’t freeze.
After the caramel and chocolate is set, package in food safe poly bags with twist tie. Store in a cool and dark place for up to two-weeks. Let the apples sit at room temperature for about 20-minutes before slicing with a chef’s knife.
Did you make one of my recipes? Please take a moment to leave a star rating. Also, if you are on Pinterest, please feel free to leave a comment there! Follow A Farmgirl’s Kitchen on FACEBOOK, PINTEREST and YouTube and subscribe my mailing list for ALL the latest recipes!

Caramel Apples
Ingredients
Caramel Apples
- 2 cups brown sugar packed
- ½ cup (1 stick) butter (salted or unsalted)
- 1 cup corn syrup
- 1 (14-ounce) can sweetened condensed milk
- 1 teaspoon pure vanilla extract
- 12 Granny Smith apples
- 7-inch apple sticks
- 1 pound semisweet chocolate chips (optional)
- various toppings
Instructions
Caramel Apples
- In a medium saucepan or heavy-bottom pot, over medium heat combine the brown sugar, butter and corn syrup.
- Once they are melted, add the can of sweetened condensed milk and stir. Heat until it comes to 245-degrees F. Use a candy thermometer to monitor the temperature.
- Stir continuously with a high-heat or wooden spoon. Be careful not to burn.
- Remove from heat, add the vanilla and stir to combine. Let cool slightly before dipping apples.
- Keep the pot of caramel over the lowest heat setting while dipping the apples. If the caramel isn’t kept warm, it will cool down and become too thick by the time you finish dipping all the apples, making them more difficult to coat evenly.
- Line half sheet pans with parchment paper and spray lightly with cooking spray.
- Place caramel dipped apples on half sheet pans lined with parchment paper. Let the caramel harden in a cool place. If rolling into toppings, do this right away before placing onto prepared sheet pans.
- If desired, dip in melted chocolate or drizzle melted chocolate. While the chocolate is still wet, roll the apples in your desired toppings.
- If you are doing a topping such as candy pieces (such as M&M’s), let the chocolate harden slightly before pressing on the candy. Otherwise it will slide off.
- Let the apples dry in a cool location.
- Once caramel and/or chocolate is set, package in clear bags, add a twist tie and refrigerate or store in a very cool (but not freezing) location.
Video
Recipe Notes
Nutrition
Disclosure: As an Affiliate Marketer, I earn from qualifying purchases. If you click a product affiliate link on A Farmgirl’s Kitchen and make a purchase, I may receive a commission at no additional cost to you! I own every cooking product I recommend and love how they perform.
Linda says
Do you need to let the melted chocolate cool a little before dipping the caramel apple?
Jessica Robinson says
We temper chocolate – which is melted chocolate (different temperatures depending on whether it’s dark chocolate, semisweet or white chocolate) and then we add some chocolate and stir. That brings chocolate back up to the correct temperature. Just melt chocolate, stir and keep it warm to dip apples. Shake off excess and let dry on sheet pans lined with parchment paper. Once the chocolate is set – you can bag apples and refrigerate.
Patti says
Recipe calls for 1 can of sweetened condensed milk, how many ounces is required for this recipe.
Jessica Robinson says
a standard can of sweetened condensed milk is 14-ounces
Ms. J says
I just made these yesterday and the caramel was delish. I loved it! My only issue is that my caramel bubbled up a lot and my apples had a lot of bubbles. How can I prevent this for next time? Any tips?
Jessica Robinson says
Make sure you stir caramel slowly and have apples at room temperature.
Ms. J says
Thank you. Do you remove wax from apples prior to dipping?
Jessica Robinson says
I’ve never removed the wax, ever in the 25 plus years of making them!
Laurie says
These look delicious and something different to sell at a craft show!
When you do the chocolate/caramel apples do you add the melted chocolate once the caramel has hardened on the apple?
Jessica Robinson says
Hey! Yes, they are wonderful for selling at farmers markets, holiday craft shows, etc.
I’d recommend dipping apples into caramel, we shake off excess and/or gently wipe the bottom of apples onto the side of the pot. Then set onto half sheet pans lined with parchment paper. Make sure apples are not touching, or they stick together.
We place the entire tray of apples into the fridge or in a cool/cold place for caramel to set. Then drizzle or dip entirely into melted chocolate. You can even add a thin layer of melted peanut butter with a spoon over the caramel before dipping into chocolate. (Just be careful for cross contamination if doing this) and peanut butter should set up again before dipping into chocolate.
I’d highly suggest sampling the apples at the craft show so they sell really well. Set yourself up with an area to slice an apple with a Chef’s knife and pass out little slices with toothpicks. Or prepackage them in sample containers. Just check with local rules on food safety and hand washing protocols.
Jessica K says
Hi! I’ve been looking for a good caramel apple recipe to make for our farm stand, and yours looks wonderful. Once the apples have set in the refrigerator and are individually packaged, can they be kept at room temperature, or do they need to remain refrigerated?
Jessica Robinson says
As long as they are kept out of the sun and in a cool place, they can be out of the fridge for a few days. Probably keep most of your stock in the fridge and restock your display as needed daily. If selling them retail, it’s a great idea to put a made date on them (even if numbers are backwards and only you can understand them) or sell by date.
Patty Castillo says
I haven’t tried this yet but they look amazing! Question: video shows 3 sticks of butter while ingredients specifically list 1 stick, which is it?
Jessica Robinson says
In the viral video, I’ve made a TRIPLE batch.
Jacquelyne Jenkins says
So does that mean triple everything or just butter?
Jessica Robinson says
Yes, when you triple a recipe it’s whatever the ingredients are multiplied times three.
Gen Marvin says
I see three sticks butter to and only 1 c of the rest should be more b sugar & corn syrup to ?
Jessica Robinson says
Hey!! I made a triple batch of caramel for apples in the video. That’s the ingredients multiplied by three.
Kia Hewett says
I’ve tried probably 6 or 7 different caramel recipes over the years. Everything from melting premade blocks of caramel to using those little Kraft squares or bits to from-scratch recipes. Nothing has ever worked for me before.
But this recipe? I don’t know why it’s magic but it is. It has given me the most beautiful caramel apples ever.
This recipe is easy to follow and comes out beautifully every time. Love it!!!
Jessica Robinson says
thrilled to hear that you had success with this recipe!
Bailey says
Do you know if we have leftover caramel can we store it in a jar in the fridge? Or will it harden to much?
Jessica Robinson says
We store any leftover caramel in Quart deli containers and either keep in a cool, dark place or you can certainly refrigerate.
Patty Castillo says
Can you make small caramel candies out of the leftovers? Will they set up properly or would you have needed more syrup?
Jessica Robinson says
Of course!! You can definitely do that
Dolores Cartagena says
How long do the apples last without spoiling?
Jessica Robinson says
Wrapped in cellophane bags and refrigerated, they’ll last about 2 weeks
Anonymous says
These are better than the store bought ones!
Jessica Robinson says
Thrilled to hear that!
Bonnie Kurz says
Haven’t tried to make them yet, But they look delicious 😋 will let you know when I make them for Helloween.
Consuelo Robertson says
Hello. How long should the caramel cool before dipping the apples?
Jessica Robinson says
Just a few minutes. Getting it back down towards 210 degrees F and still melted. You can always add more evaporated milk to thin it out if needed and/or reheat it if needed.
Lisa Ozment says
Hi Jessica,
When you said, “you can always add MORE evaporated milk,” did you mean sweetened condensed milk, or did you just mean you can add evaporated milk (not more)? I’m sorry, I am not a pastry chef (or any other for that matter), and just need to clarify. Thank you! 😊
Jessica Robinson says
After caramel is made and should it become too thick or you’re reheating it, we add evaporated milk. No sense in adding more sugar, you’re just looking to thin it back out again.
Evaporated milk is a great item to keep in your pantry for caramel and frosting recipes.
Imelda Garcia says
Did you prepare the apples before.. some ppl will put them in boiling water to remove the wax.. is that necessary.. please help.. it’s my first time making them lol
Jessica Robinson says
That’s not necessary at all. Just make sure apples are clean, dry and bring to room temperature while you prep the caramel.
Tammy Gallegos says
How long do you boil the apples
Jessica Robinson says
You do NOT NEED to boil apples to remove the wax. I’ve not done that once in over 25 years of making them!!
Kate says
Absolutely amazing! We didn’t do the chocolate coating, but will definitely try it next time. My 9 & 11 year old were so excited to make these! Such a fun activity and delicious recipe!
Lori says
This is the best Carmel Apple recipe! Rich buttery caramel. They come out perfect every time!
Vanessa says
This is the best caramel I ever made. worked perfectly for the caramel apples.
Jessica Robinson says
Vanessa,
Thank you so much!! I’m thrilled to hear you enjoyed it!