Raised garden beds can be a great way to grow vegetables, herbs, potatoes and even flowers. Raised beds have become increasingly popular for the ease and convenience when gardening. They provide the opportunity to grow vegetables and help you maximize what you can grow in a small space.
Learn how to build inexpensive raised garden beds along with tips on how to fill your raised beds. A simple construction of wood DIY raised beds using 4×4 posts and 2×6 boards, using cedar, locust or pine boards.
Raised beds are optimum for a longer growing season and better growing conditions.
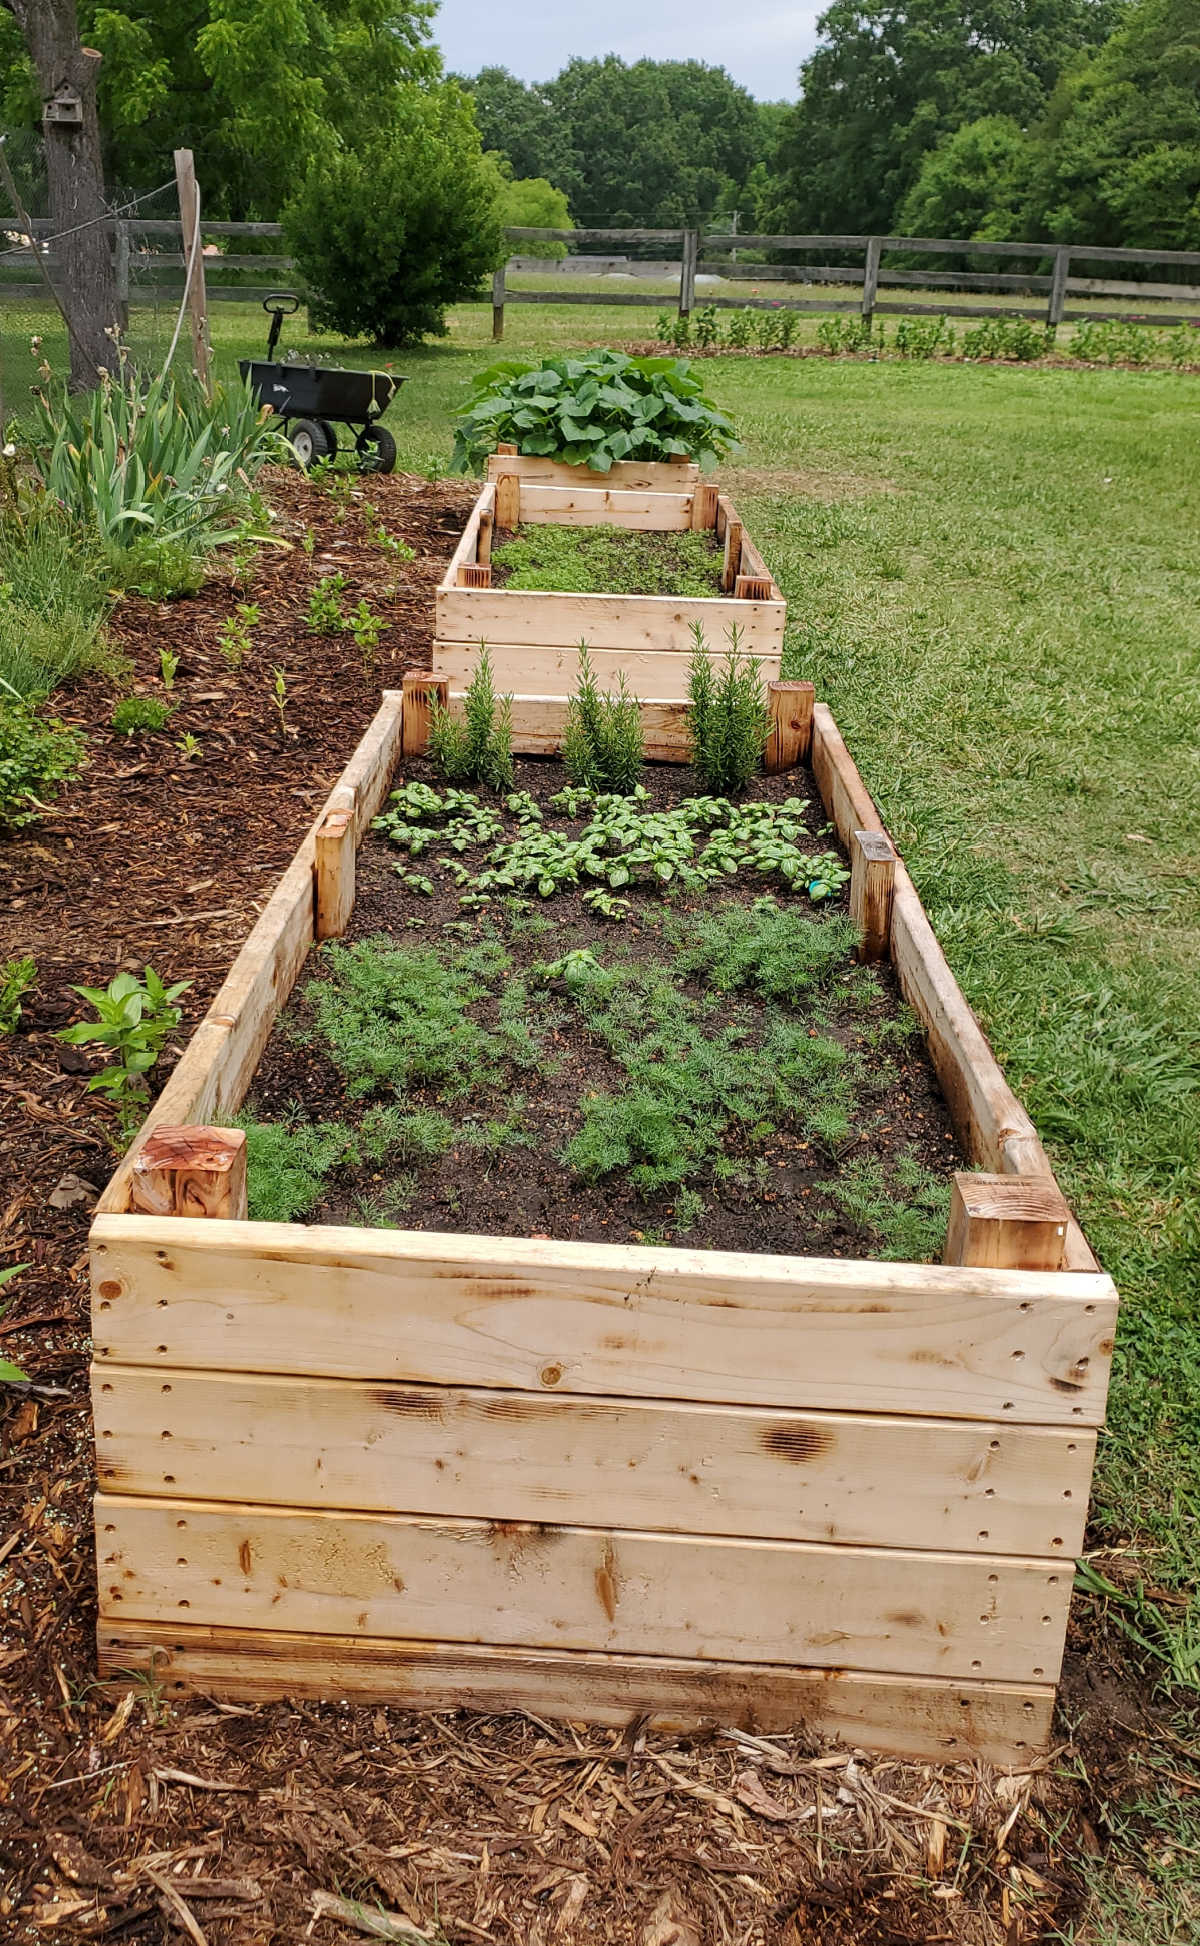
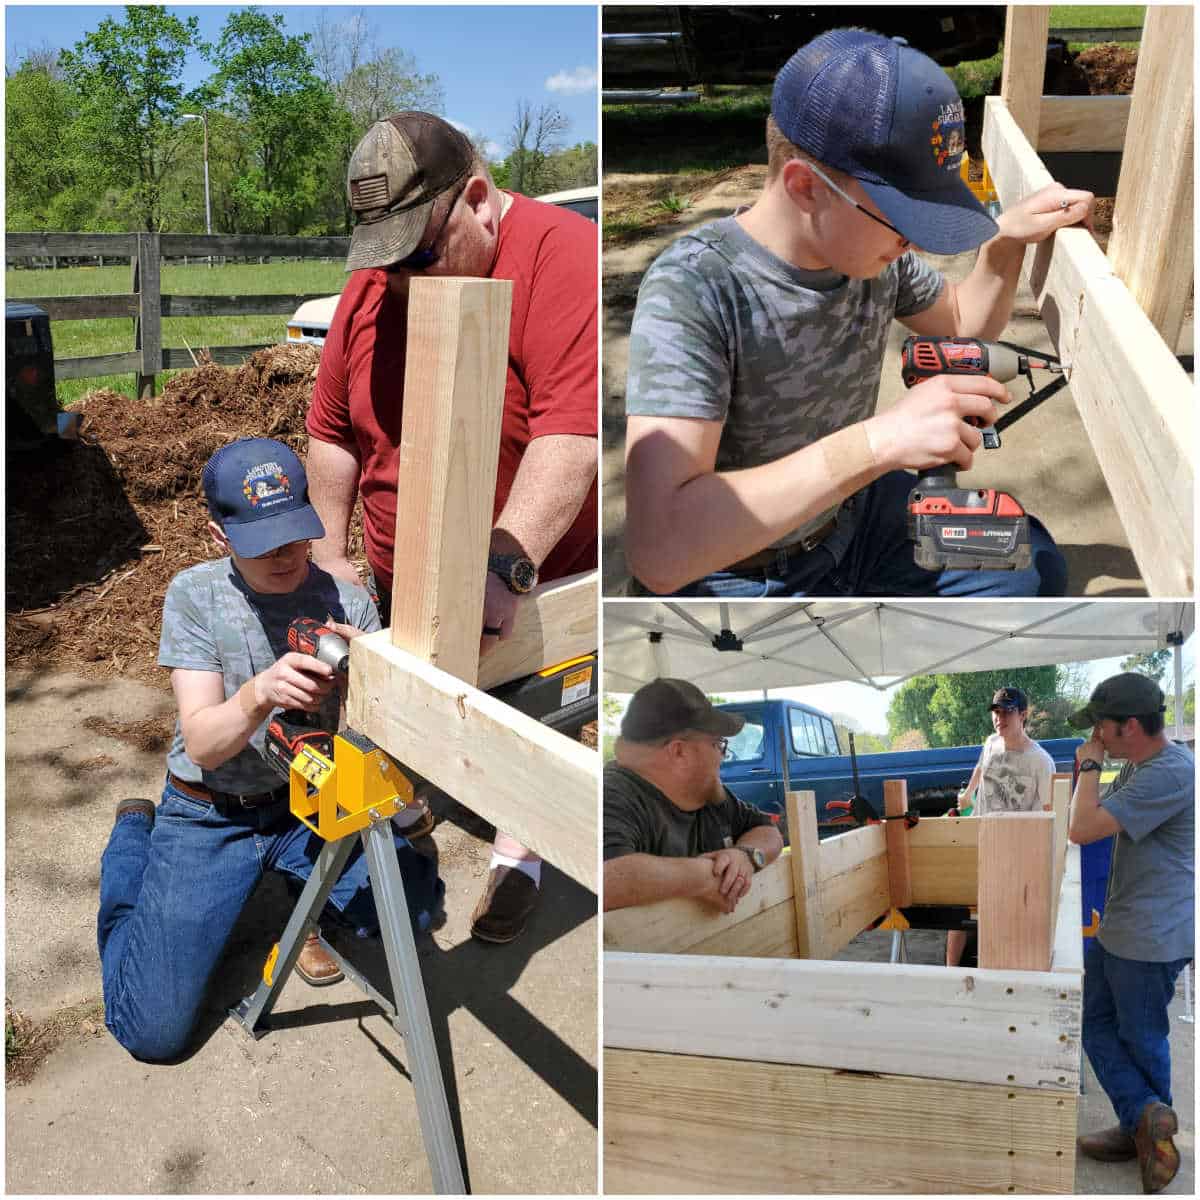
Construction of these raised garden beds took only a few simple building materials, readily available at your local hardware store and the majority of a weekend. It was a great family project and got the kids outside!
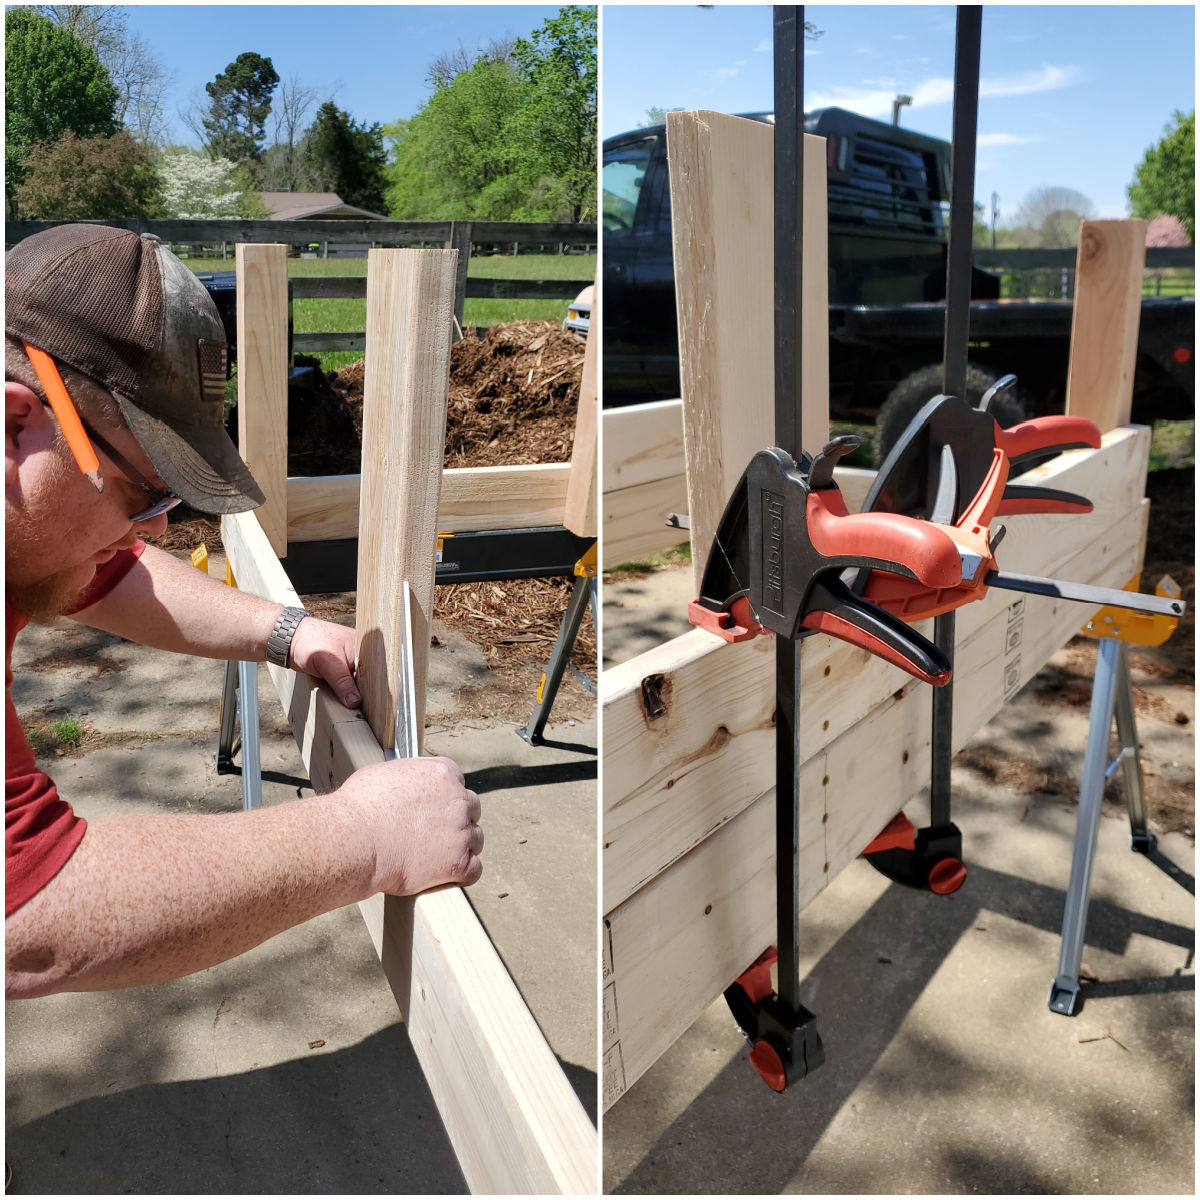
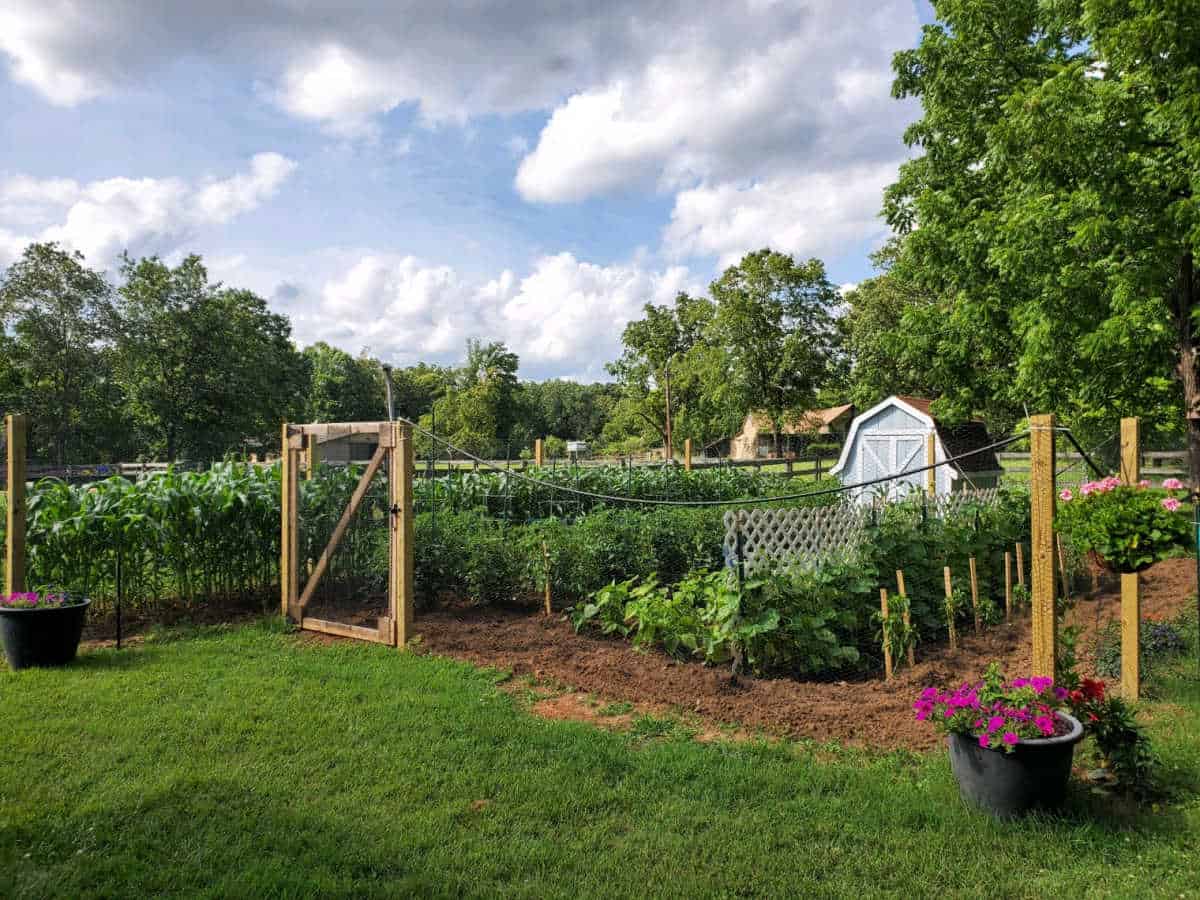
We worked on creating a vegetable garden a few years back. Soil in North Carolina (Zone 7B) is so much different than what we were used to in Connecticut. This growing season we decided to add a few raised garden beds.
While we love the traditional vegetable garden, we needed a little more growing space and raised beds were the perfect solution. Traditional gardens are planted in rows and we leave space in between rows and plants in order to rototill and weed.
In a raised bed, plants can be planted closer together because you do not need to leave space to walk. We also find there are less weeds in raised vegetable beds because you are starting with a high-quality soil mixture.
Reasons to use a raised garden bed
- Plants have potential to be healthier and more productive because we are using a 50/50 mix of potting soil and compost.
- Raised beds provide good drainage, which increases your productivity of your garden.
- Costs can be relatively inexpensive. The initial costs will depend on how elaborate or simplistic you make them.
- Placement of raised beds can be anywhere in your yard that is optimum.
- There is no need to rototill a vegetable garden or amend the soil, as you initially start with the best soil.
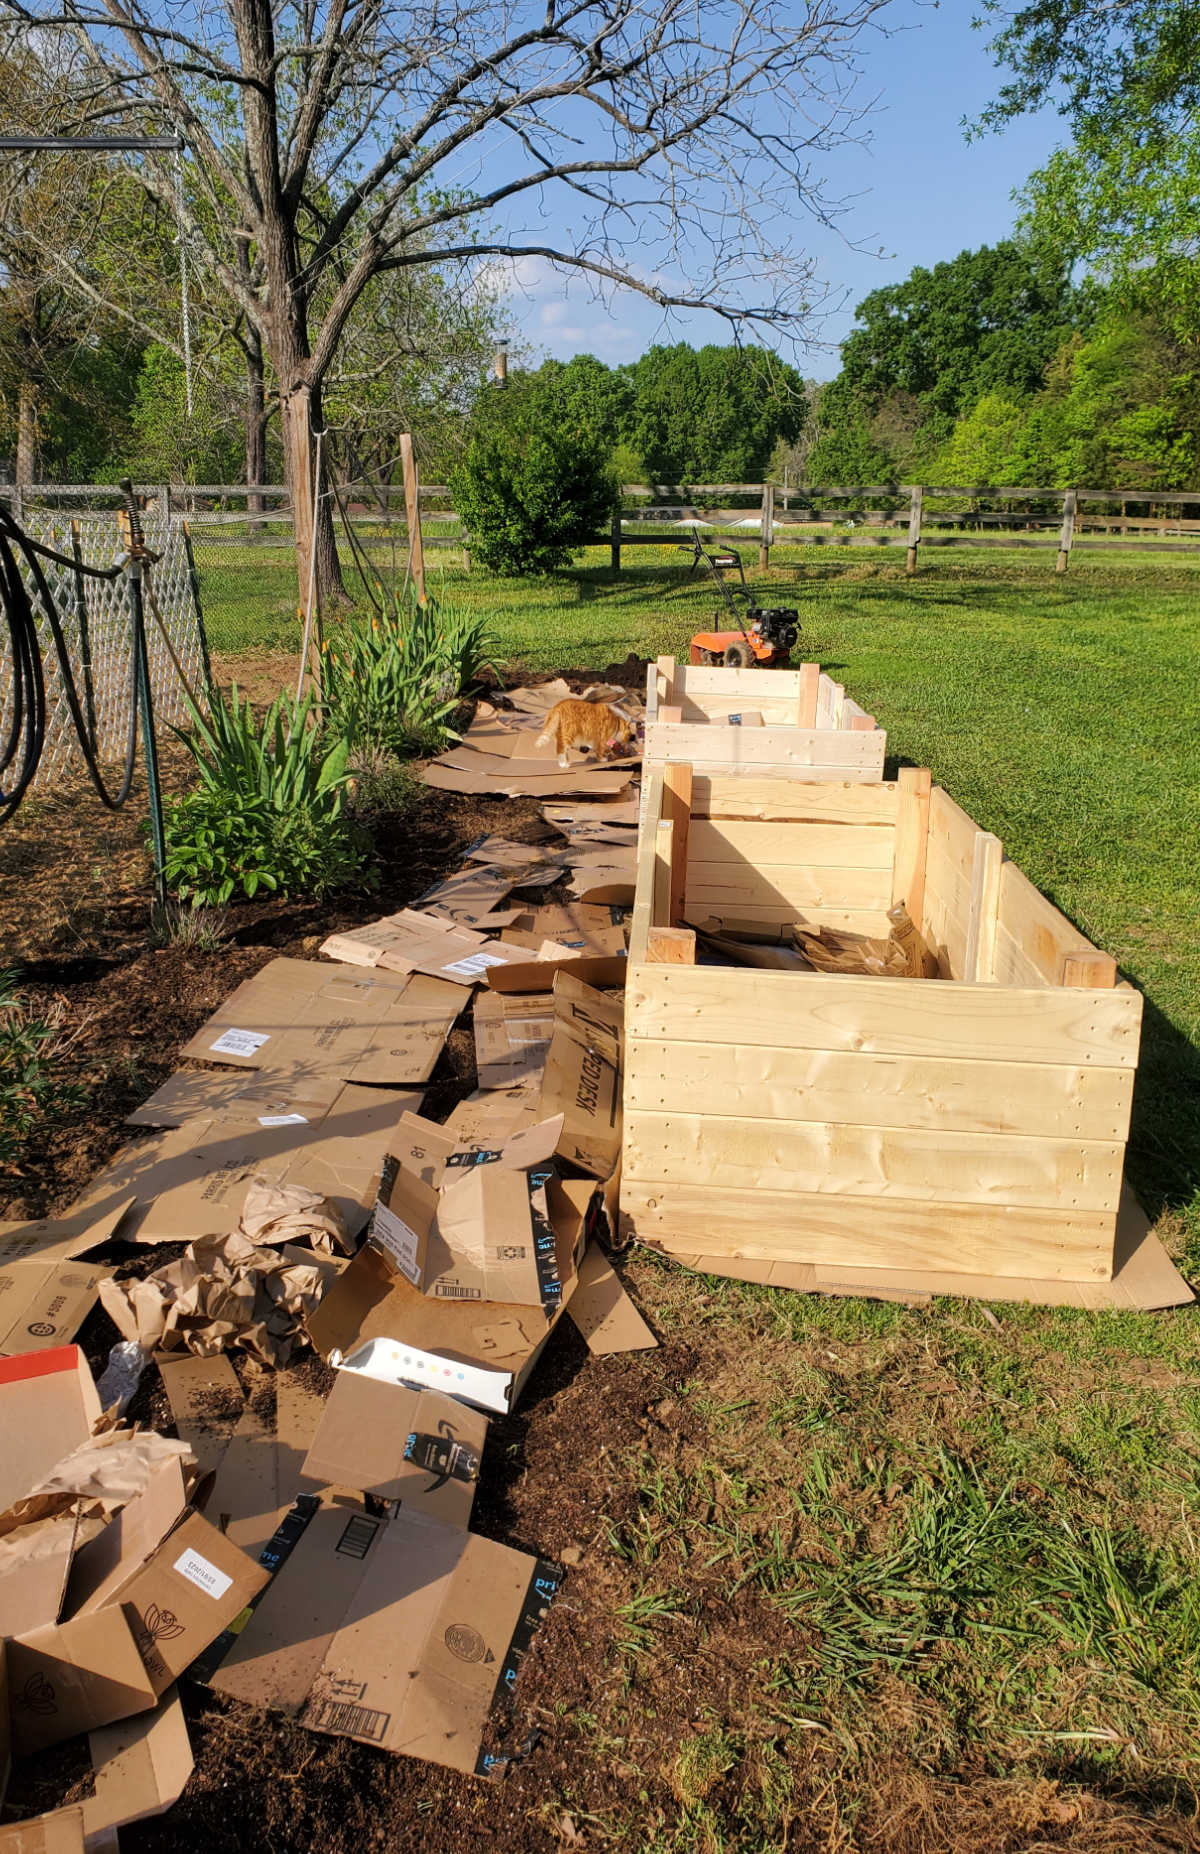
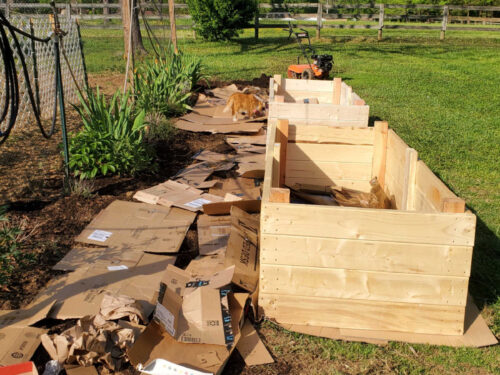
- Preparation for a raised bed is simple. There is no need to till soil or remove the grass below it. (We use a layer of cardboard under raised beds when prepping them!)
- You’ll be bending over a lot less when weeding and while harvesting vegetables or herbs.
- Raised beds sit above the underground frost line, so the soil warms up faster in the spring and you can plant earlier.
What you’ll need:
- 2x6x10 white pine boards (non pressure treated)
- 4x4x8 posts cut to 2 feet in each corner and 2×6 cut to 2 feet to tie everything together and support them when we add compost and soil
How to build a raised garden bed
We used #10 (3 ½-inch) decking screws. Center supports are #10 (2 ½-inch) decking screws.
Each raised bed is 3 feet x 7 feet long and 2 feet tall.
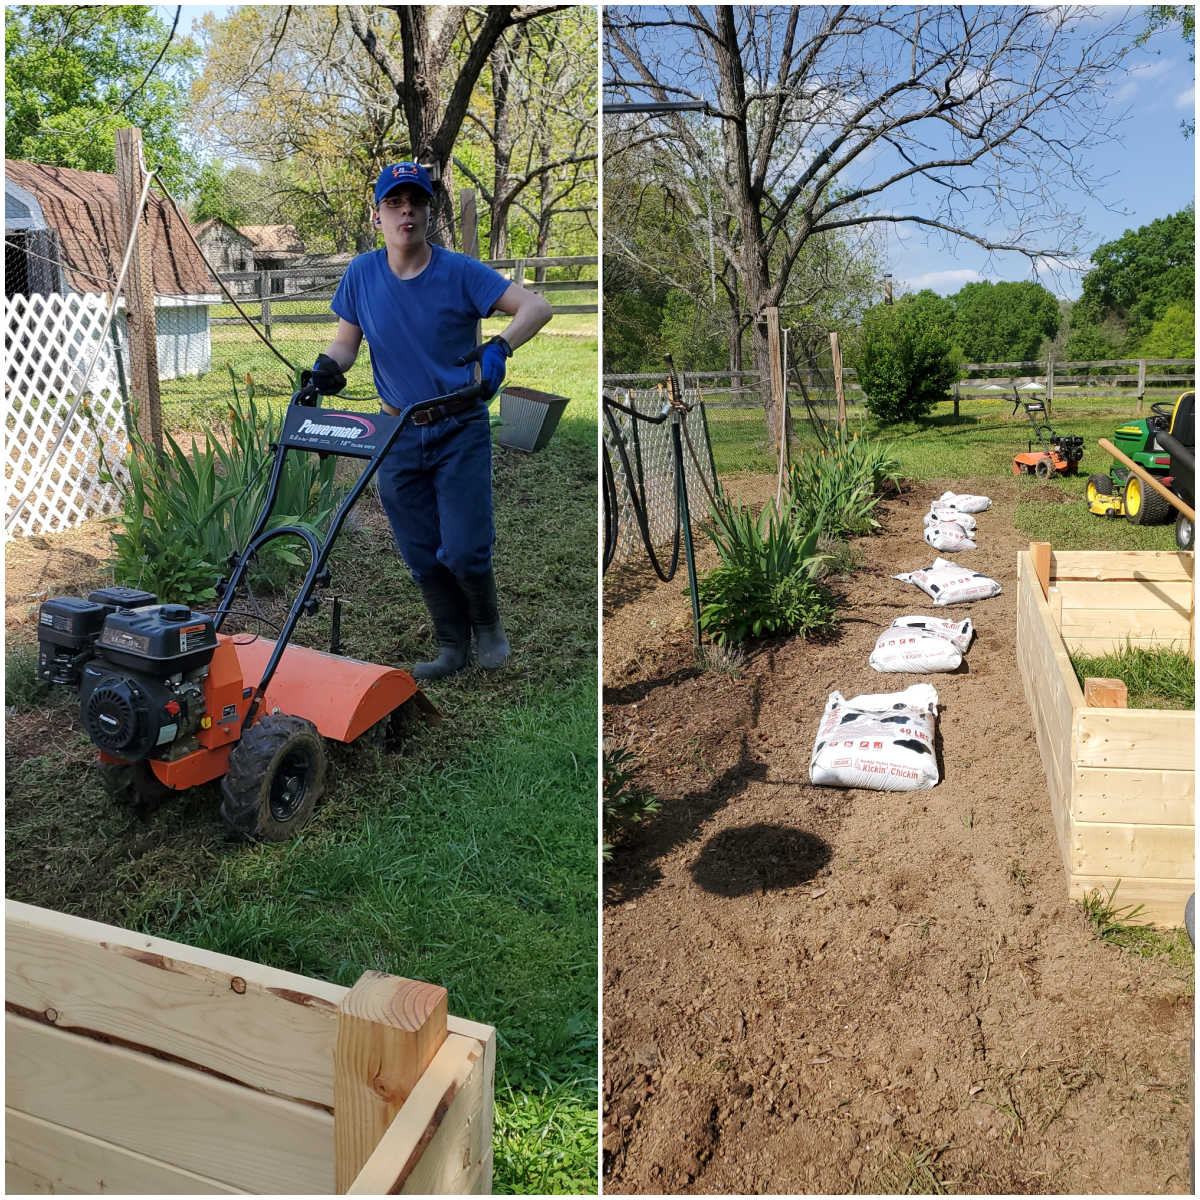
✅️ We rototilled the grass and weeds, raked up what we could and through it into our compost pile. Went a little deeper with the rototiller a few passes back and forth. Then added Daddy Pete’s kickin chickin compost, raked it into the tilled soil. (This is a product made in North Carolina!)
✅️ We covered the ground with flattened cardboard, remove any packing tape as it is not biodegradable. Inside the raised beds we also filled with a layer of cardboard, then branches/sticks and leaves. The cardboard will keep weeds from growing, keeps moisture in and will decompose to attract lots of worms!
✅️ We will top that off with a layer of bagged compost and 50/50 potting soil raised bed planting mix.
✅️ We planted carrots, lettuce, peppers, herbs, and potatoes later on. This helps to extend our vegetable garden a bit.
✅️ We’ve got hundreds of 4-inch pots of zinnias to plant right outside the vegetable garden. This will provide lots of color, be an excellent cut flower and attract hummingbirds and butterflies.
Placement of raised beds
When making a raised bed, you can choose the best placement for it in your yard, where the sun or shade is best for the types of crops you are looking to grow.
For many vegetable crops, raised beds are best placed in full-sun.
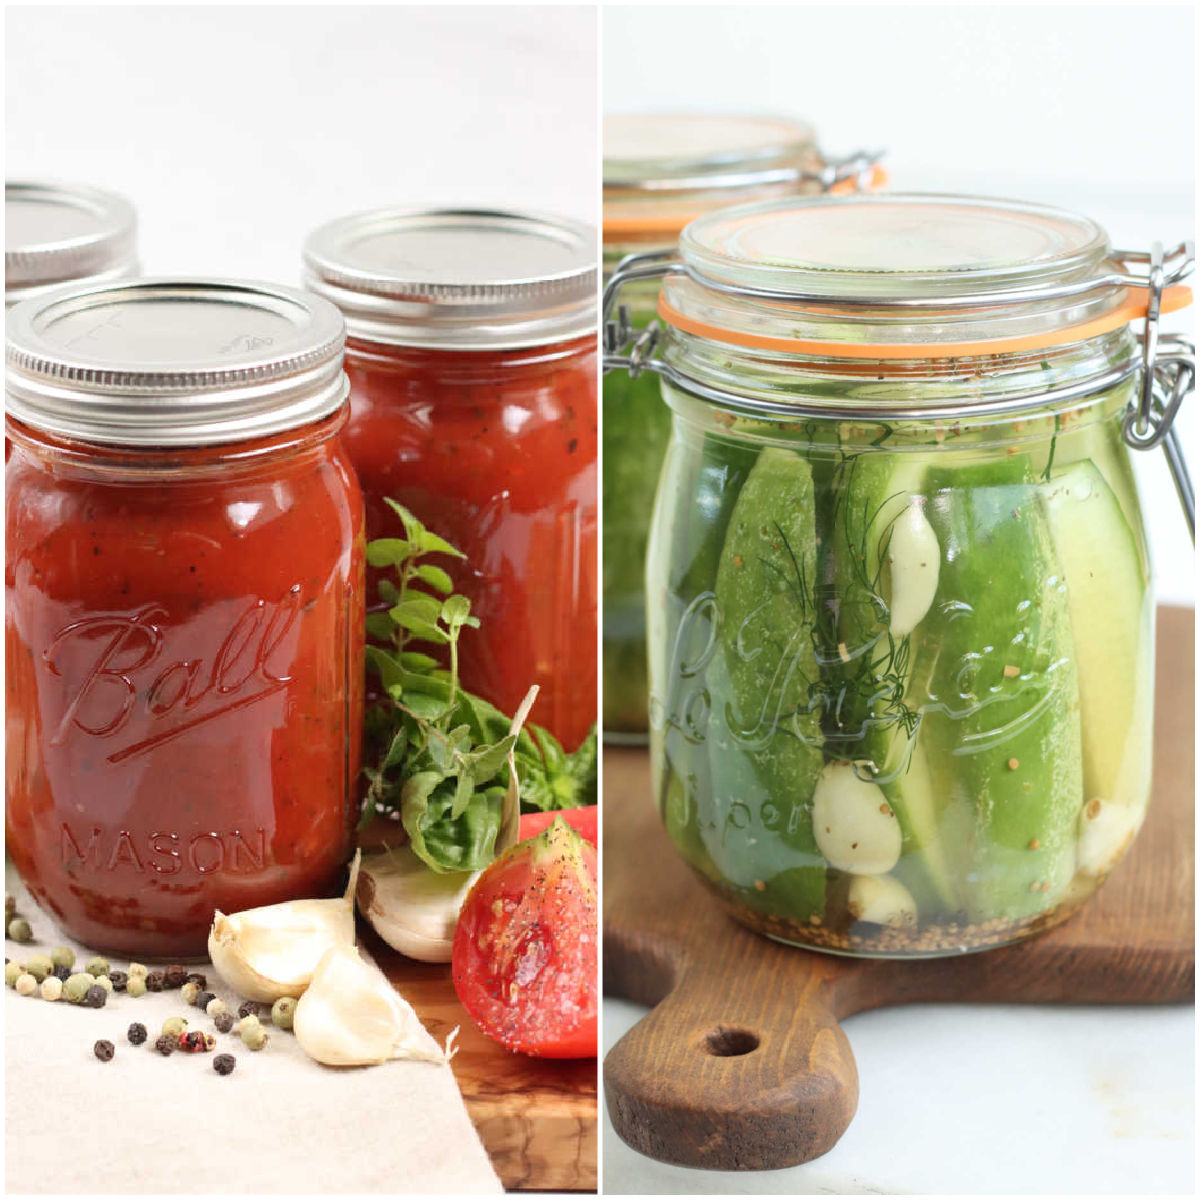
We use many of the vegetables for home canning. Be sure and try our marinara sauce, Dill pickles, Bread and Butter Pickles, Pickled Peppers and other home canning recipes!
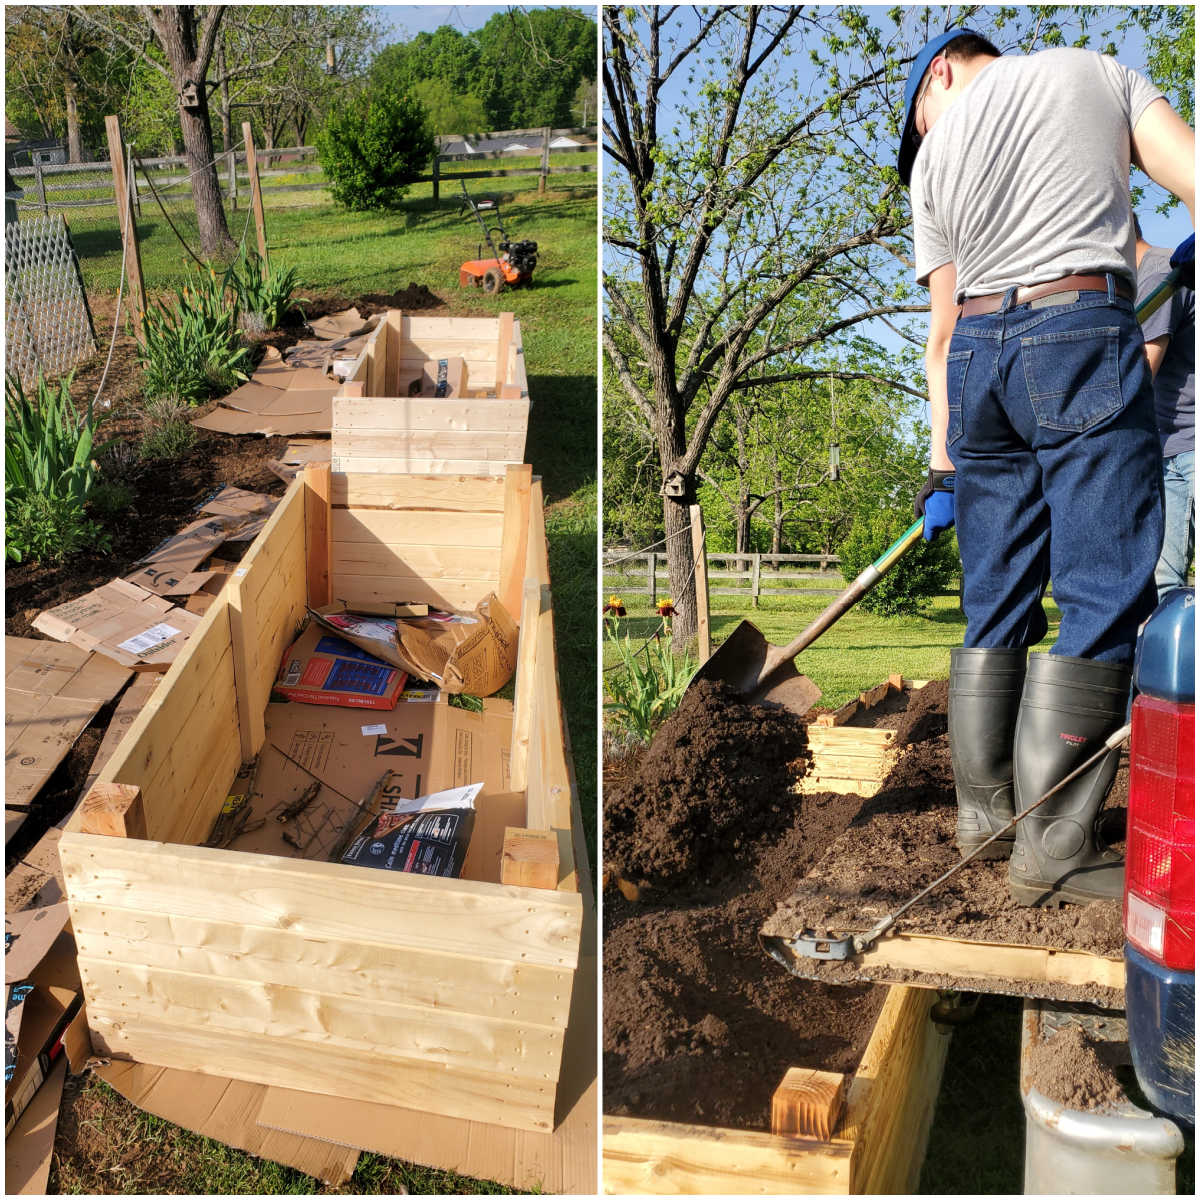
What kind of wood should I use for raised beds?
Cedar or locust are the best wood to use for building garden beds because they are both naturally rot resistant. However, it’s perfectly acceptable to use pine to build raised beds.
We burned the outside and inside of our wood raised beds which helps them last longer and gives them an atheistically pleasing look.
Lumber treated with ACQ is safe for garden use. Its durability and nontoxicity make it among the best woods for raised garden beds. Pressure treated wood offers extra protection against damage from insects, fungi and moisture. Even though the new pressure–treated woods are considered safe, we do not recommend using pressure treated lumber for building raised beds for vegetables.
While the risk of chemical exposure from pressure-treated lumber is very low, I’m not sure personally I would recommend it for raised beds.
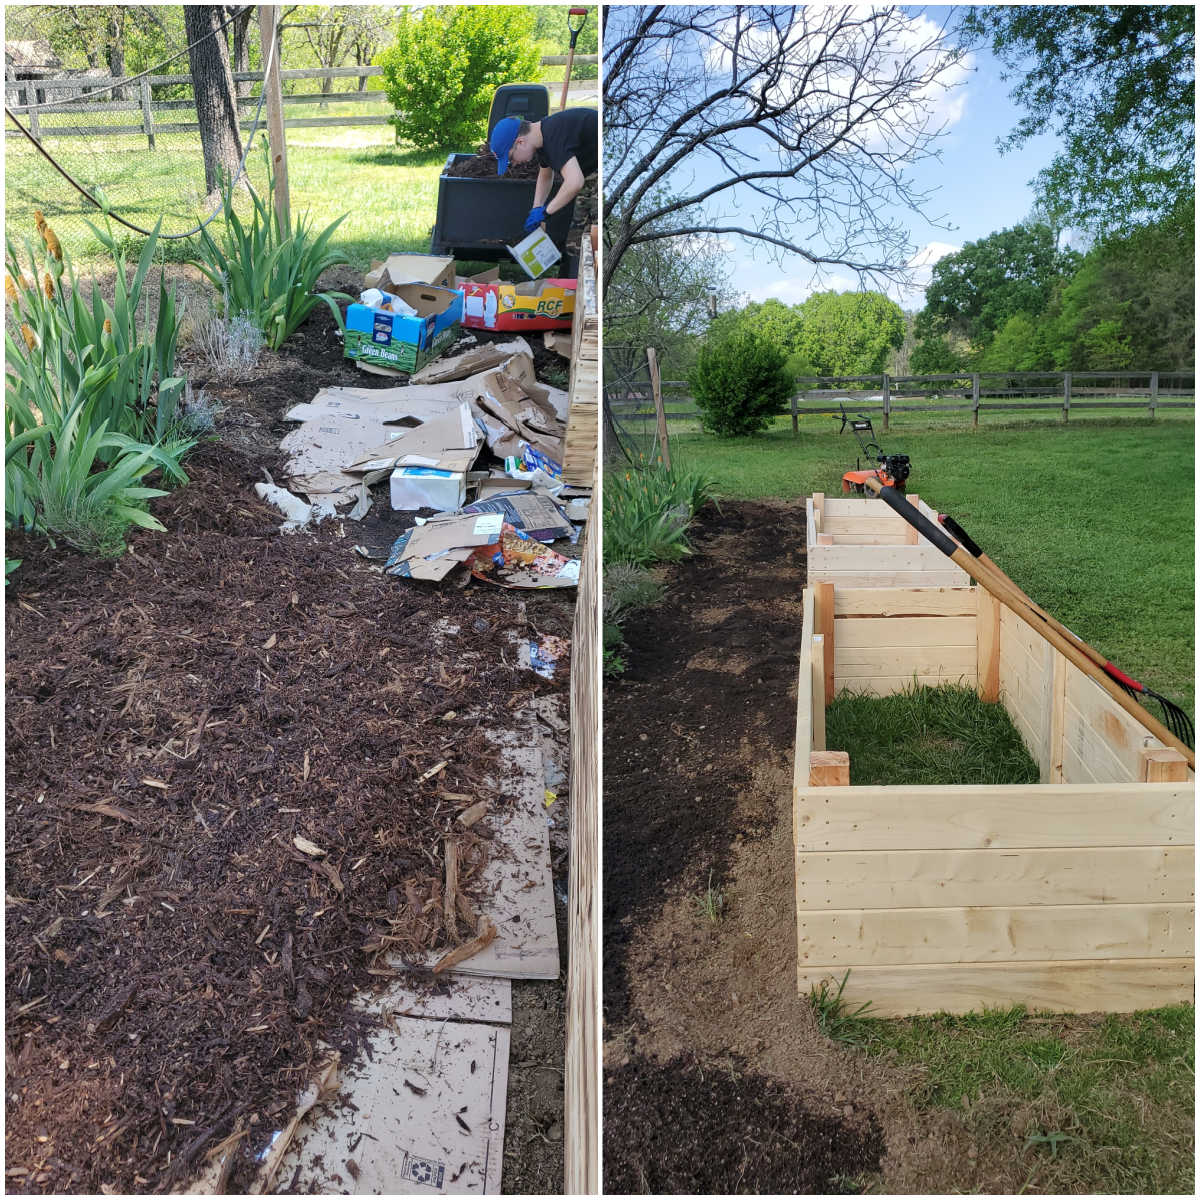
What do I put on the bottom of a raised garden bed?
While you can use a weed barrier material, there’s really no need to. Fill the bottom of the raised bed with organic materials such as cardboard, sticks, branches, leaves, eggshells, coffee grounds and paper coffee filter.
We recommend using a layer of cardboard at the bottom of the raised bed, then adding more organic materials on top. The cardboard layer will help keep weeds out, naturally decompose and encourage earth worms. (All of this helps your increase the nutrients in your soil and help plants grow successfully!)
Should I line my raised bed with plastic?
You should avoid lining raised beds with plastic, as it will prevent proper drainage and not a natural product. If you have a weed problem, you can add a layer of cardboard or weed fabric.
Should you have a critter problem, you can use chicken wire to protect plants from being destroyed.
Should I put rocks in the bottom of my raised garden bed?
Avoid putting rocks in the bottom of a raised garden bed, as excess water can potentially collect and this can prevent good drainage.
What soil is best for raised beds?
We recommend a 50/50 mix. It’s 50% topsoil and 50% compost. You can purchase this locally at a garden or landscape supply that offers bulk mulch, stone and soil. Or you can also purchase potting soil for raised beds at places such as Home Depot and Lowe’s Home Improvement.
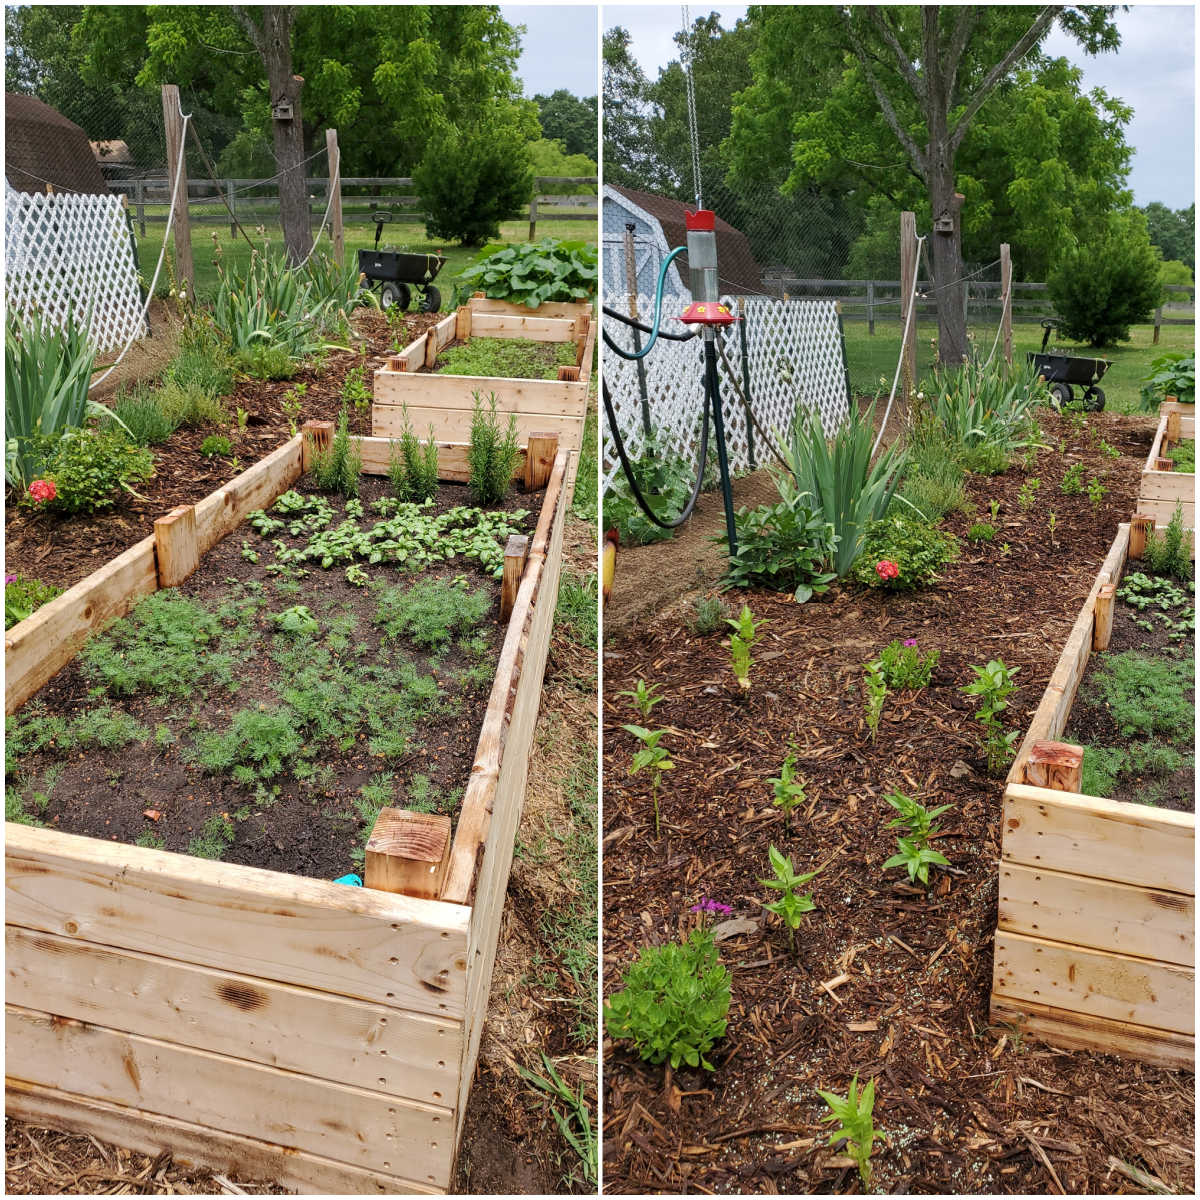
Plants for raised beds
- Summer squash and zucchini (we recommend planting bush varieties)
- Beats
- Green beans and yellow wax beans (we recommend planting bush varieties)
- Carrots (carrots thrive in raised beds because of the good drainage)
- Herbs such as basil, dill, thyme, oregano, rosemary and mint. Mint is great in raised beds or planters, as it can be very invasive and this will help contain it.
- Lettuce, arugula, mixed greens or spinach are a great cool weather crop to grow early and again in the fall, when the weather is cooler.
- Peas are a great crop for raised beds. Plant them in early spring. You can add a trellis or twine for them to grow up on. The more you harvest peas, the more they will produce.
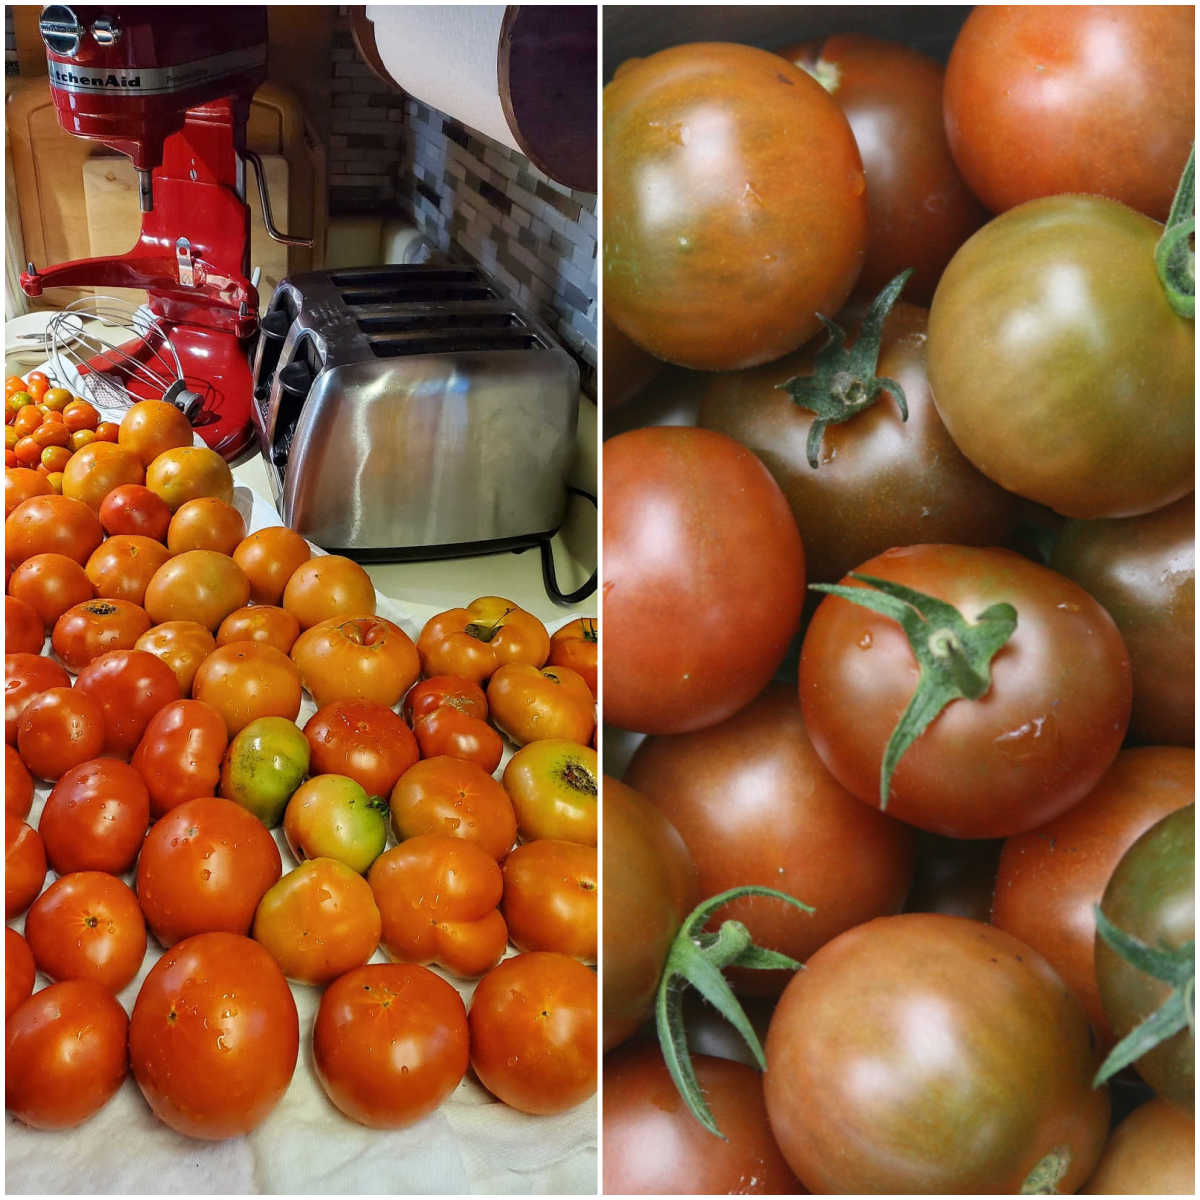
- Tomatoes (both full-size and cherry tomatoes will work, use wooden tomato stakes along with metal tomato cages or wire fencing to keep tomatoes upright.)
- Onions, garlic and potatoes
- Radishes
The loose, aerated soil of a raised bed gives root vegetables like carrots, beats and turnups plenty of room to grow and thrive. Carrot seeds are very tiny and only need to be planted about ¼-inch deep. Planting carrots in raised beds makes it super convenient to thin them, as you are not on your hands and knees.
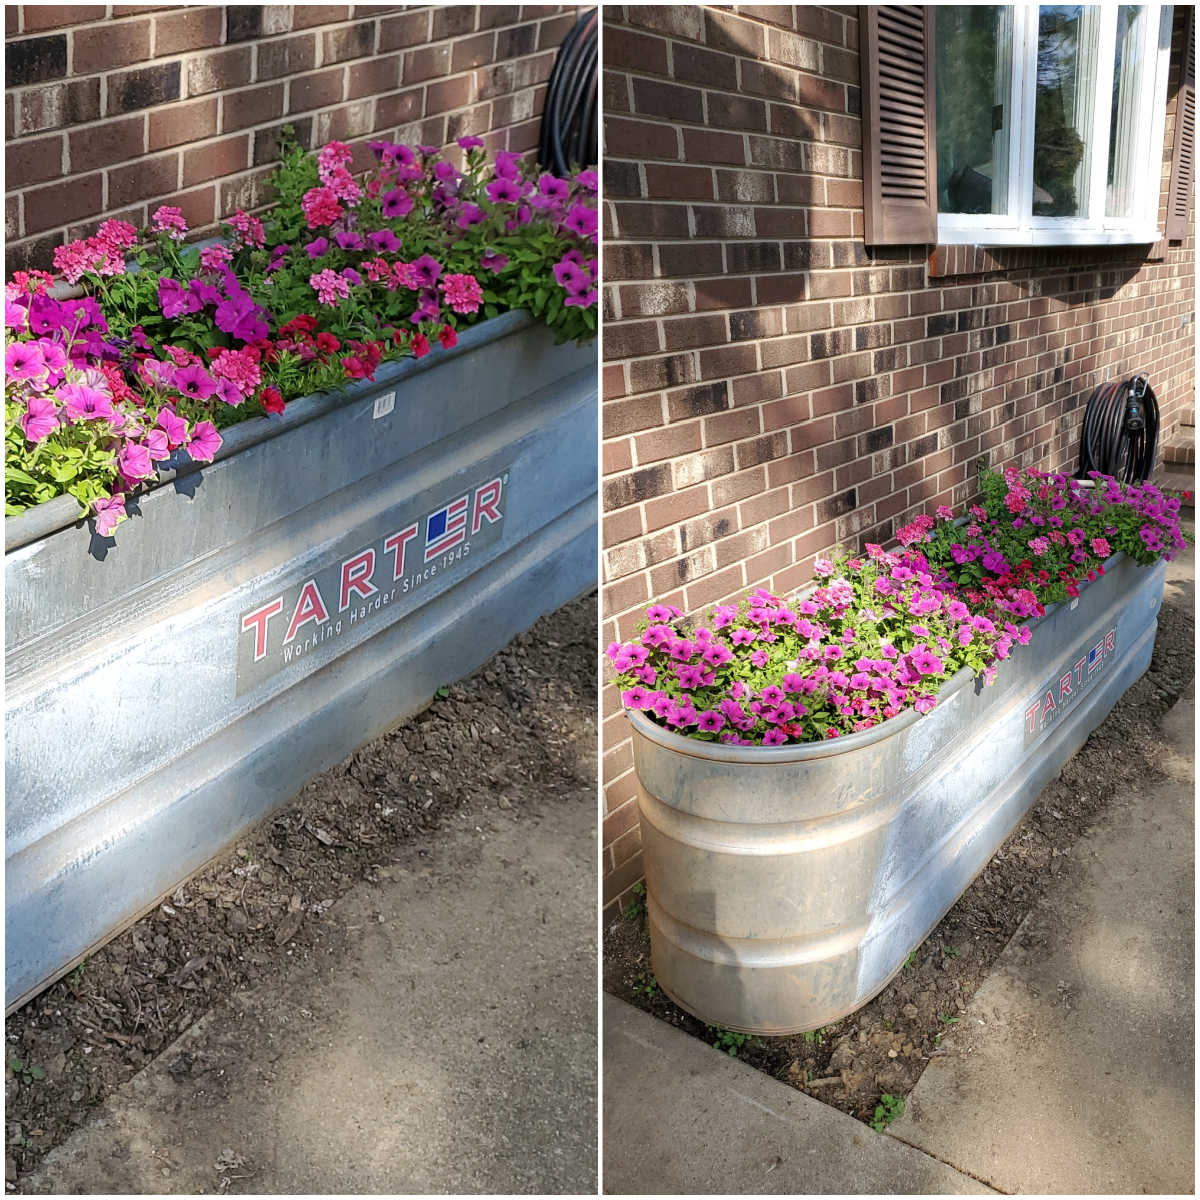
We also have repurposed Tarter galvanized horse troughs as galvanized raised beds. These were old horse troughs that were leaking. We’ve drilled drainage holes in the bottom, added cardboard, sticks, leaves, compost and bagged potting soil.
Tarter also makes raised bed planters that are manufactured in the USA and readily available at Tractor Supply stores or your local garden center. These planters are wonderful for edibles and ornamentals. It is perfectly safe to use a galvanized container for a raised vegetable garden.
Have you made this DIY project? Please take a moment to leave a star rating!
Also, if you are on Pinterest, please feel free to leave a comment there and a photo if you have one! Follow A Farmgirl’s Kitchen on FACEBOOK, PINTEREST and YouTube and subscribe my mailing list for ALL the latest recipes!
Did you make one of my recipes? Please take a moment to leave a star rating. Also, if you are on Pinterest, please feel free to leave a comment there! Follow A Farmgirl’s Kitchen on FACEBOOK, PINTEREST and YouTube and subscribe my mailing list for ALL the latest recipes!
Raised Garden Beds
Materials
Raised Beds
- 1 (4x4x8) pine lumber (not pressure treated)
- 3 (2x6x10) pine lumber (not pressure treated)
- 1 (2x6x12) pine lumber (not pressure treated)
- 2-3 pounds (#10) 3 ½-inch decking screws
- ½ pound (#10) 2 ½-inch decking screws
Instructions
Raised Garden Beds
- 2x6x10 pine boards will be cut once at 7 feet, leaving a 3-foot section to be used for the sides.
- 2x6x12 pine boards will be cut twice. One cut at 7 feet and another at 3 foot, leaving a 2 foot piece to be used as bracing in the center.
- Cut the 4×4 pine board into four sections, 2-feet each.
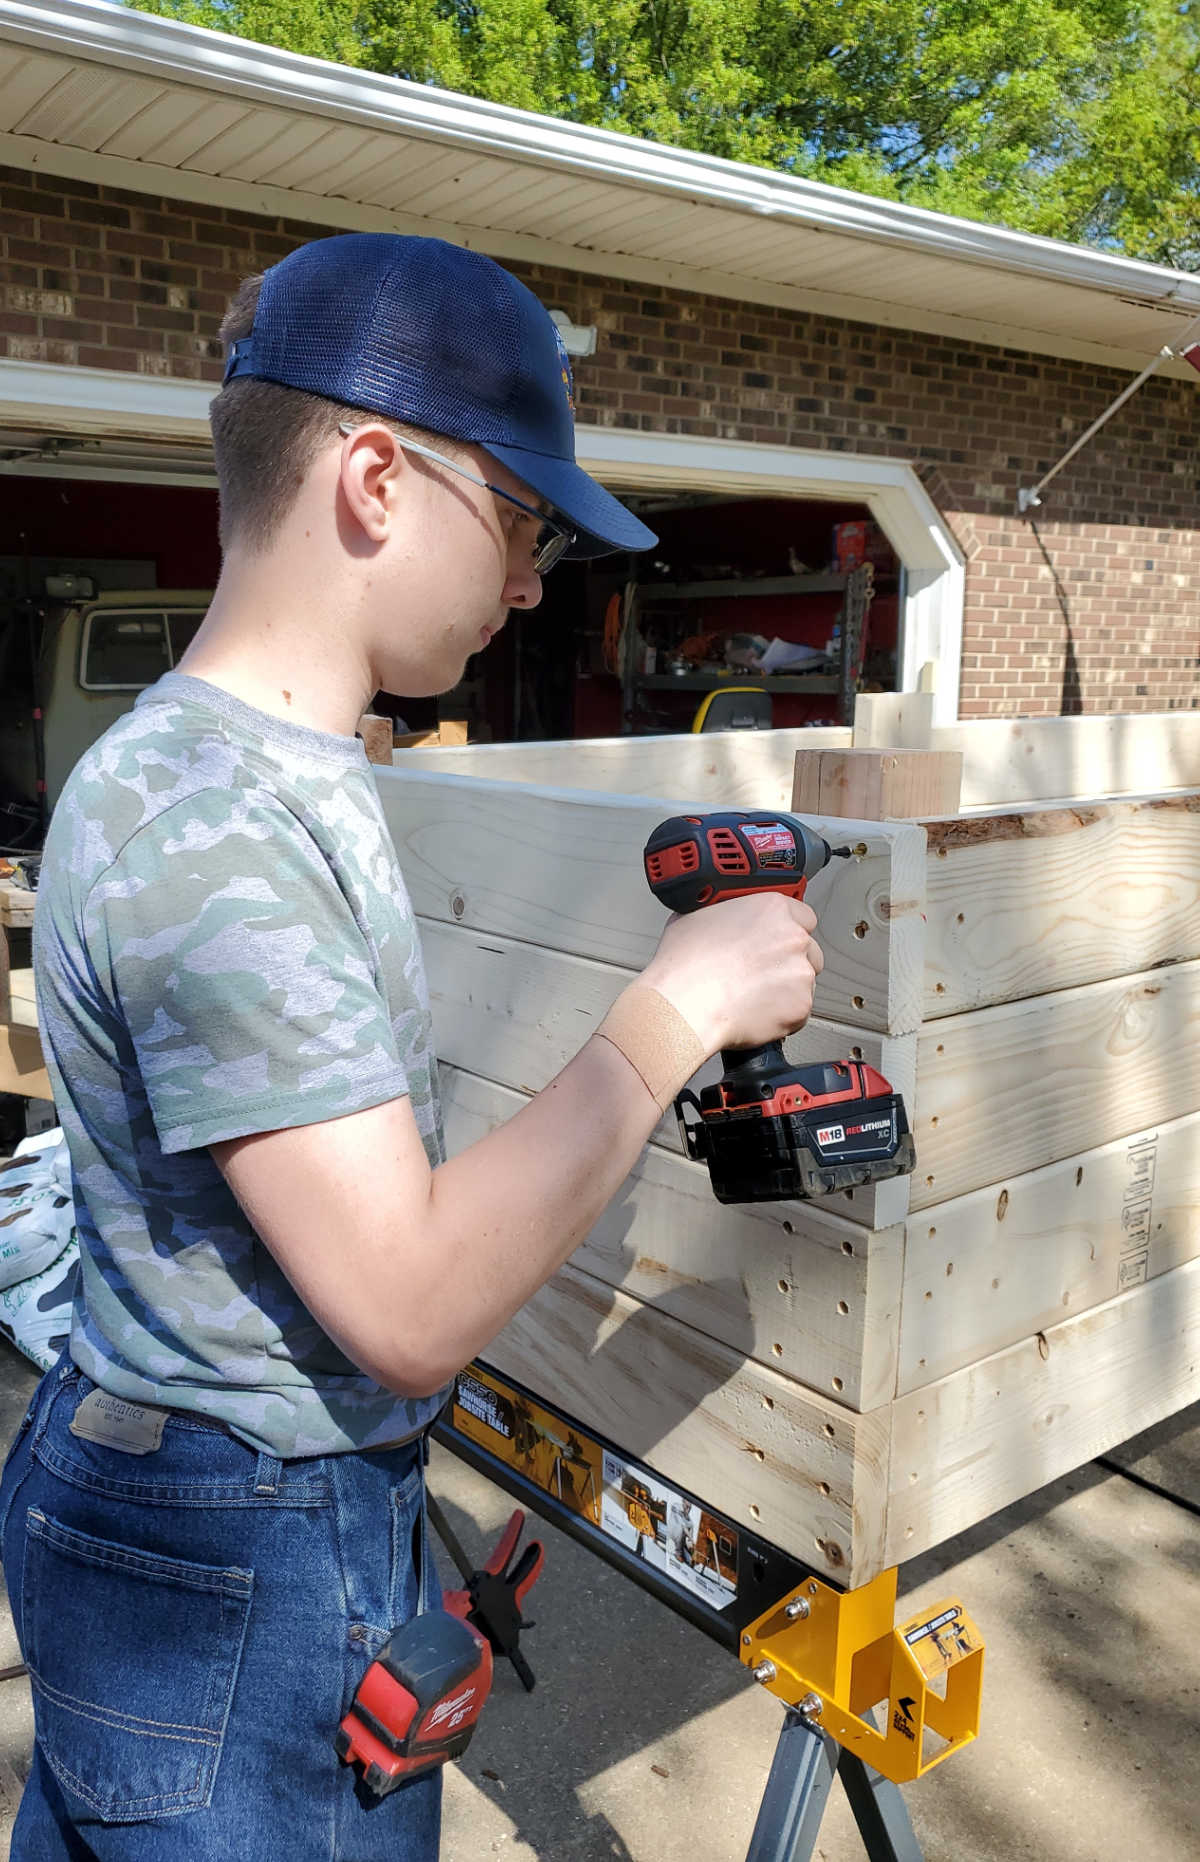
- The 7-foot pieces (2×6 boards) should be lined up to be flush with the ends of the 3-foot (2×6 boards). Predrill and countersink holes and use 3 ½-inch screws to secure boards together on all four corners.
- Measure the rectangle to make sure it is square. Then place 4×4 (2-foot) boards in each corner. Predrill and countersink holes and use 3 ½-inch screws to secure boards on all eight sides, contacting the 2×6 boards. (Approximately 3 screws per side)
- Continue placing 2×6 boards and fastening at each end in the same manner as the same boards, until all boards are fully secured.
- Take the 2×6 (2-foot boards) and place them vertically in the center of the 7-foot section, spanning all four 2×6 (7-foot boards) on each side. Predrill and countersink and use the 2 ½-inch screws to secure. (Approximately 2 screws per 7-foot long board)
Filling Raised Beds
- Choose the best placement for it in your yard. For many vegetables, they prefer full-sun. Choose the best location based on your needs.
- Cover the grass or area where you will place the raised bed with a layer of flattened cardboard. Remove any plastic packing tape, as it is not biodegradable.
- Add a layer of organic material, including sticks, branches, leaves, coffee grounds, paper coffee filters, eggshells and other natural products.
- Use a 50/50 mixture on top of the organic materials (50% topsoil and 50% compost). Use either your own compost or locally purchased from a garden or landscape supply store.
- You can use a bulk 50/50 raised bed mixture or bagged soil for raised beds. Use whatever is most convenient for you.
- Add your vegetable seeds and/or plants. Use plant markers to identify what you have planted.
- Water as needed.
Recipe Notes
Disclosure: As an Affiliate Marketer, I earn from qualifying purchases. If you click a product affiliate link on A Farmgirl’s Kitchen and make a purchase, I may receive a commission at no additional cost to you! I own every cooking product I recommend and love how they perform.


Leave a Reply